
Leaderboard


Popular Content
Showing content with the highest reputation on 09/12/18 in all areas
-
Hello everyone, This is an ACPI driver to enable the Fn Keys (HotKey) controlled by WMI device of Lenovo Notebooks, implemented by me based on the linux WMI source as base with my own research on ACPI, OS X API which resulted in adding few new features with customizations along the way. For some Fn keys require DSDT patches in order to work. Tested so far: Lenovo IdeaPad Z50-70, Z51-70, Z500, G70 Lenovo G580 Lenovo Essential G400 For others, I'm not sure until its tested and it may or may not work, so i request you to contact me for support. The Fn keys which my driver enables are: Fn + F11 - Brightness down F12 - Brightness up F7 - Wi-Fi and BT on/off (If not working then apply DSDT patches) F6 - HotKey mode toggle (IdeaPad) / Fan mode toggle (Essential) - Extended with Native Touchpad on/off Fn key F9 - Battery conservation mode toggle - Extended with Native Display on/off Fn key -/+/Space - Fan mode toggle - Extended with Native Keyboard backlight toggle Fn key (Only IdeaPad) Also enables AC/DC notifications with brightness increase/decrease pop up. NOTE: Extended HotKey will work like this: F6 (TPad) -This key works without my driver as Touchpad on/off, but i wanted to extend for controlling HotKey/Fan mode. To toggle HotKey / Fan modes, you have to turn the touchpad off & on once and this extended Function is triggered when touchpad is turned back on. F9 (BLlight) - This key works without my driver as Display on/off, but i wanted to extend for controlling Battery conservation mode. To toggle Battery conservation mode, you have to turn the display off & on once and this extended Function is triggered when display is turned back on. +/-/Space (SEvent) - This key works without my driver as Keyboard backlight on/off in supported models, but i wanted to extend for controlling Fan modes. To toggle Fan modes, you have to turn the backlight off & on and this extended Function is triggered when display is turned back on. CUSTOMIZE DEFAULT PREFERENCES: Edit the file "info.plist" file located inside my kext "LenovoNBFnKeys.kext/Contents/" Look for the section "IOKitPersonalities->LenovoNBFnKeys->Preferences" to change SoftDisplayBacklightOff - Enable backlight on/off control in soft mode? Useful it native control not working. DimBacklightOnAC/DC - Enable brightness pop up on AC/DC to notify? Useful to see AC/DC status. DimBrightnessByLevels - 0 - 15, Default value is 3. DimBrightnessByLevels - 0 - 15, Default value is 3. DimBrightnessThreshold - Sets threshold value for Dim feature to prevent brightness level, Default value is 1. DisableBluetoothAtBoot - Disable Bluetooth at boot? DisableWiFiAtBoot - Disable WiFi at boot? BatteryCModeAtBoot - Enable battery conservation mode at boot? Battery conservation mode prevents charge above 60% to extend its life, so if laptop being used on AC most of the time then enable, otherwise disable this if you work with laptop on battery more. MakeFnKeysAsFunction - Disable Lenovo Hotkeys mode? (only for IdeaPad) If you disable then you have to use Fn + Fx combination to trigger them, otherwise you can use Fx keys instead. Note: This will swap Fn an Function keys. DualFunctionKeysConfig - Configuration value for enabling/disabling dual function (extended) HotKeys in my driver [ 0 - Disable all, 1 - TPad, 2 - BLight, 3 - TPad & BLight, 4 - SEvent, 5 - TPad & SEvent, 6 - BLight & SEvent, 7 - All] Supports: Mac OS X 10.7 or greater How to install: 1) Remove my kext if already installed (Optional). 2) Apply the DSDT patches attached which are required for some keys to work. 3) Install my kext using your favorite kext installer to System/Library/Extensions. For support just PM me (or) mail me at [email protected]. Change Log Update v1.2 Released Updated support for Lenovo Z500 Updated battery conservation mode feature (DSDT patch not needed now) Updated to support new DSDT patches Added Brightness dim level threshold control in plist Updated support for El Capitan Bug fixes and optimizations Initial release v1.0 Released Works on IdeadPad Z50-70, Z51-70, G70, Lenovo G580 and Essential G400 PS: If you like my work then I request you to consider a small donation if possible, because it helps me and allows to spend some time on this for future updates. Paypal: Thanks for the support. LenovoNBFnKeys_v1.0.zip LenovoNBFnKeys_v1.2.zip DSDT Patches (Updated for v1.2).zip1 point
-
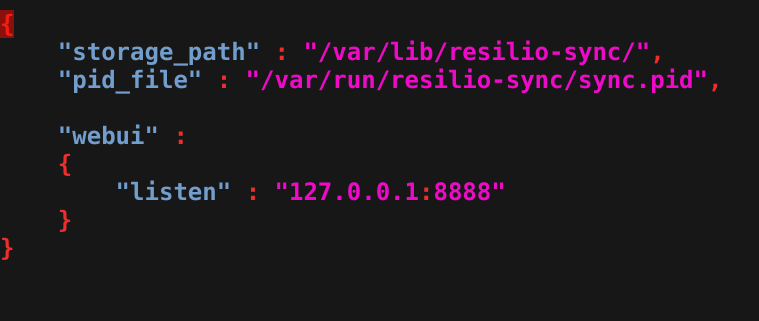
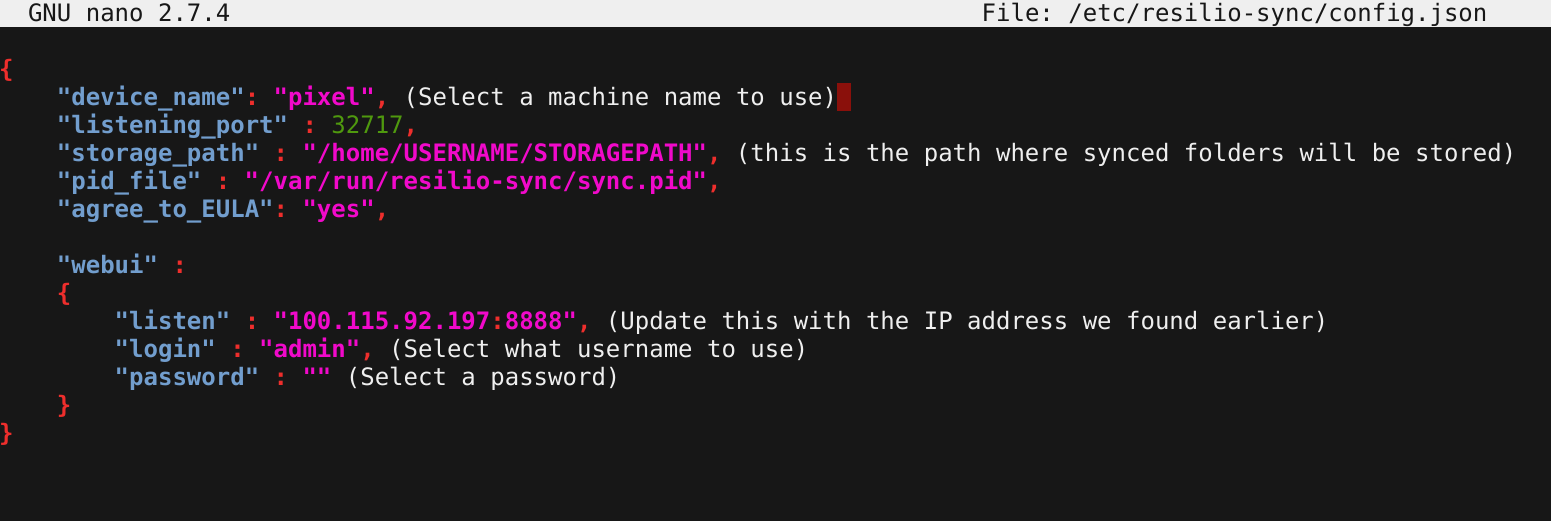
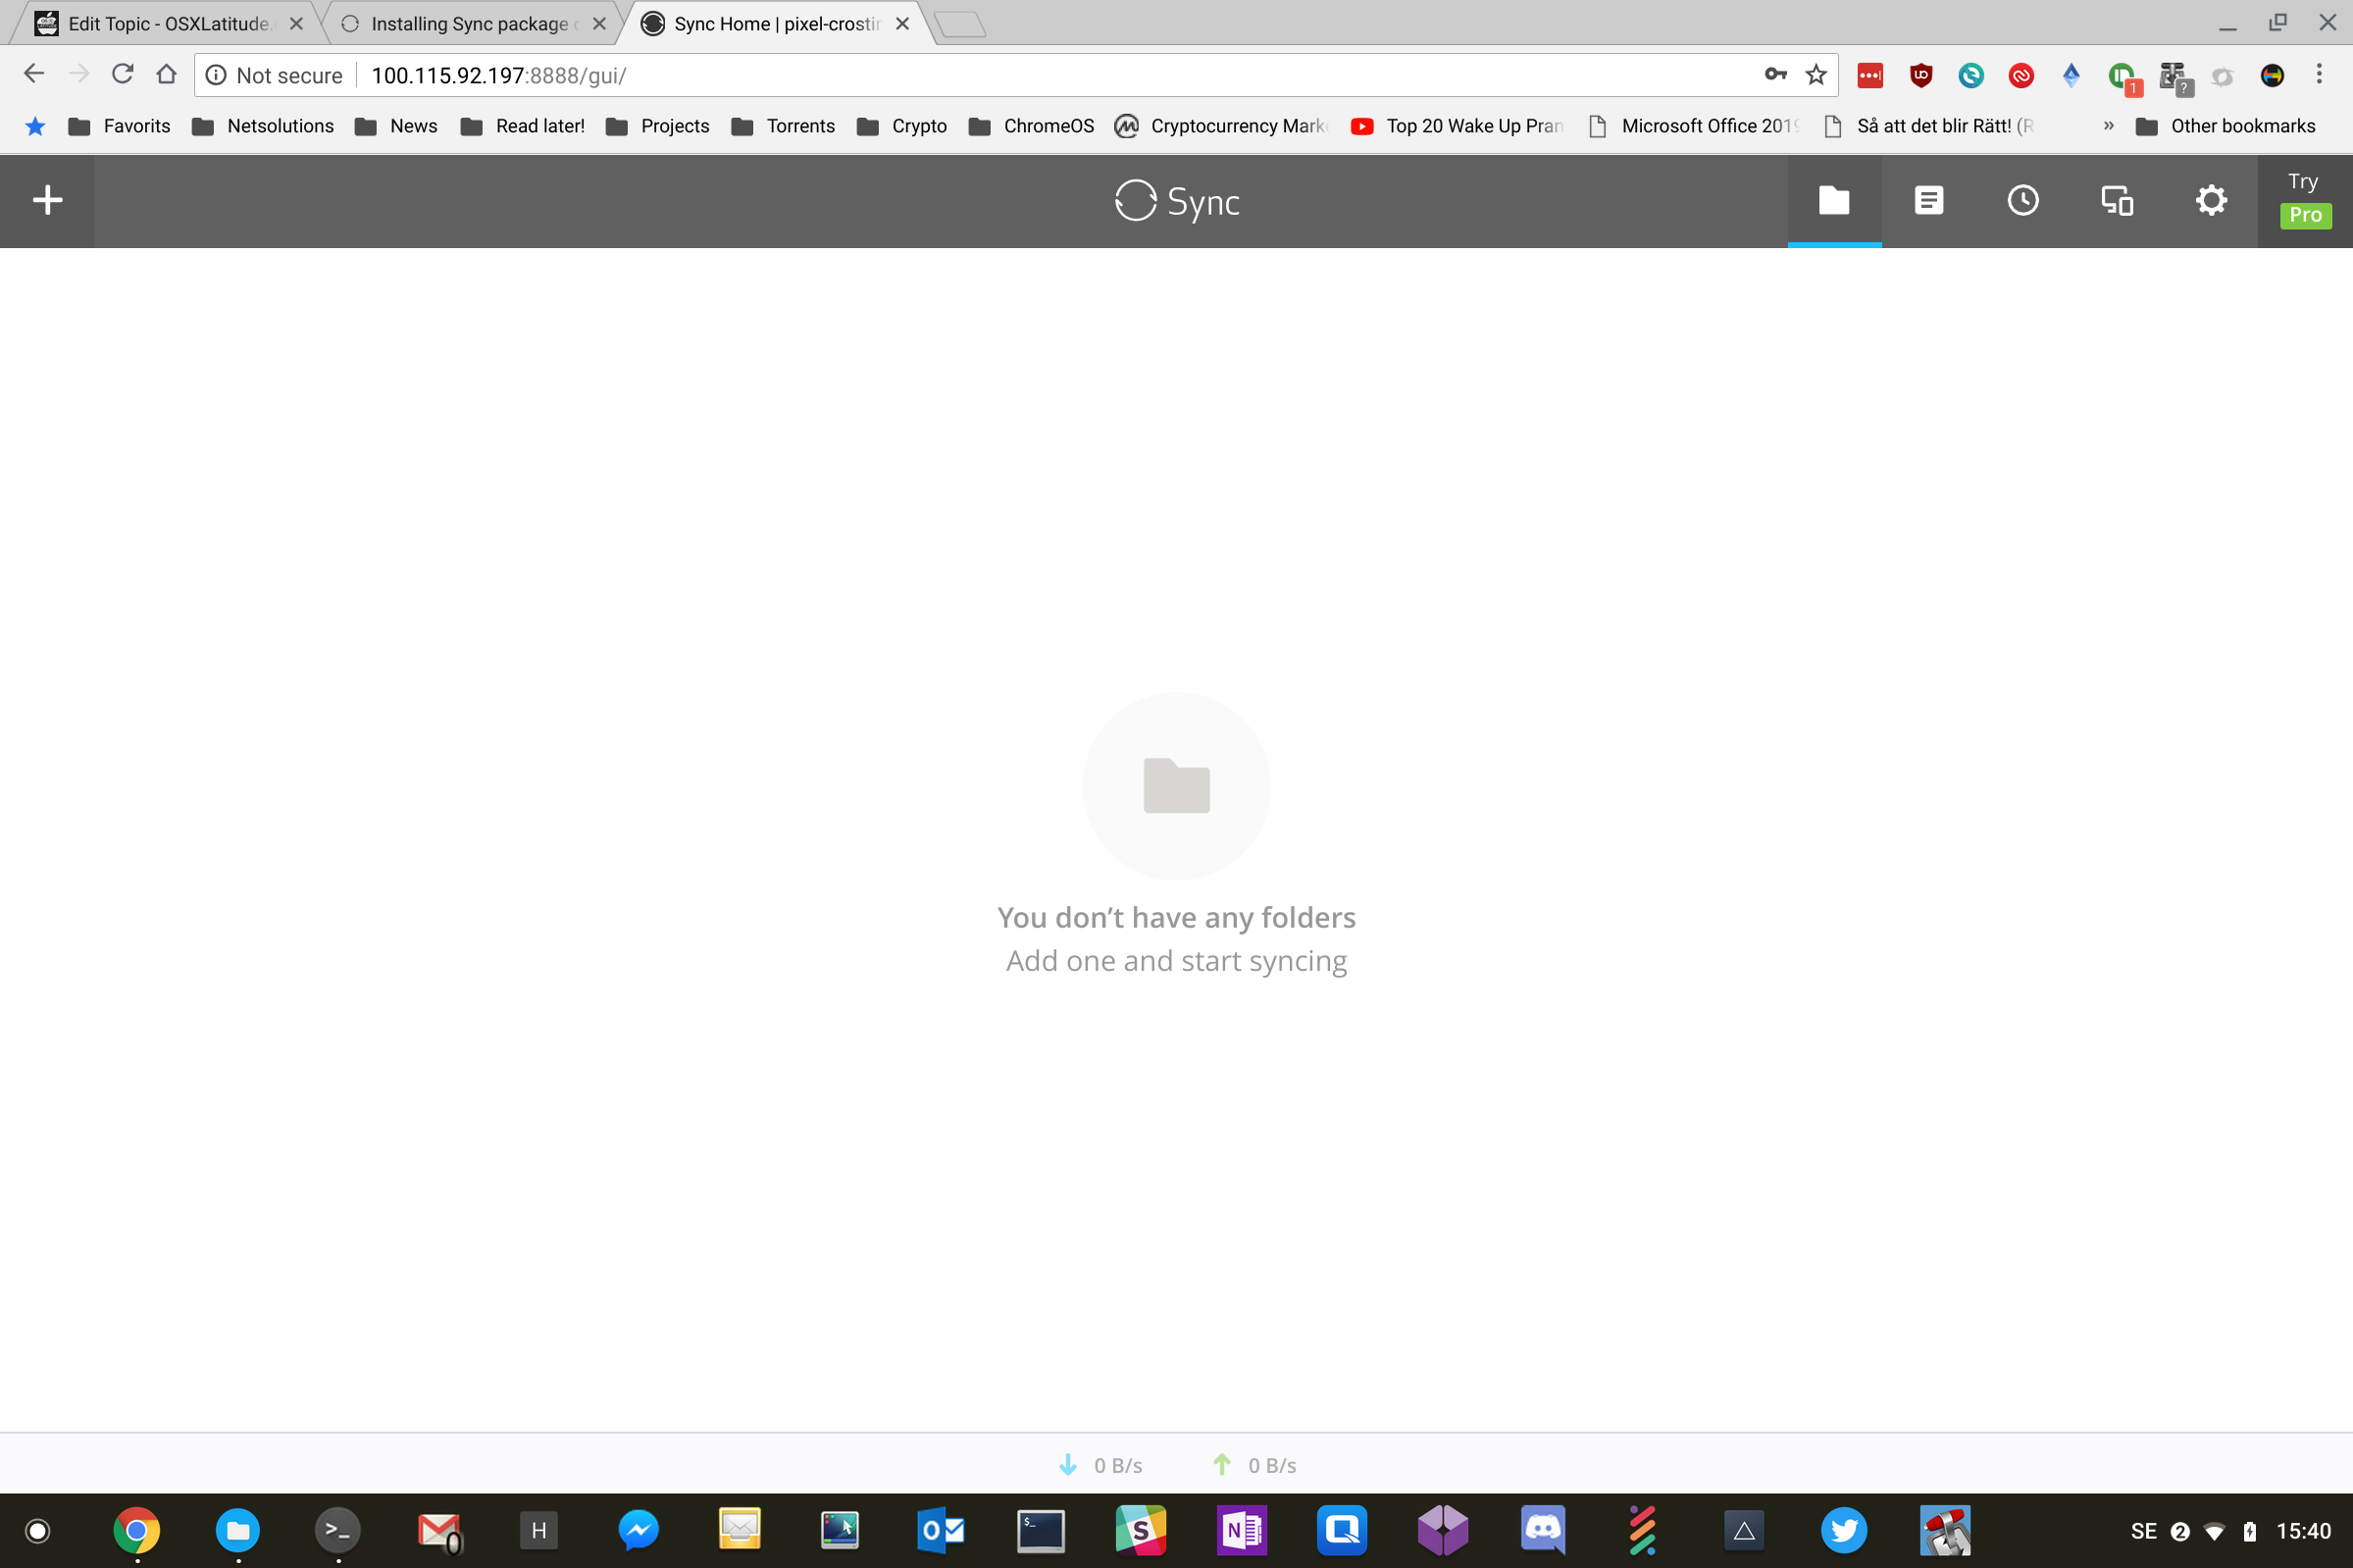
Hi, One of my favorite sync software is ResilioSync (former torrentsync) - its unique because its a real "mesh" sync - whereas others are essentially extremely centralized - in line with as much other - i dont like centralized systems. In this post we are going to discuss how you can install resiliosync in crostini - and more important - how you can manage it. Installation Resiliosync can either be installed via a DEB package (which for most users maybe is the most easy way to go around it) since is not in the default debian package tree - however - if you choose to go with a package tree installation you will also get updates.. so thats what we are going for here. Instructions for this is on: https://help.resilio.com/hc/en-us/articles/206178924-Installing-Sync-package-on-Linux - but for the sake of the arguement - i'll post them here also. Start by opening up a crostini console and change to root, type: sudo su Lets add the rep. to the package tree, type: echo "deb http://linux-packages.resilio.com/resilio-sync/deb resilio-sync non-free" | sudo tee /etc/apt/sources.list.d/resilio-sync.list Add public key with the following command: wget -qO - https://linux-packages.resilio.com/resilio-sync/key.asc | sudo apt-key add - Update packages index, type: sudo apt-get update; Install sync, type: sudo apt-get install -y resilio-sync ResilioSync is now installed.. but we need to configure it and figure out howto access it. First its important to find the IP address of your crostini - to my knowledge this IP is static and wont change... type: ifconfig In this case - you can see that my crostini IP address is: 100.115.92.197 - remember this ip address for later The configuration for Sync is stored in: /etc/resilio-sync/ Listing the files in there: root@penguin:/etc/resilio-sync# ls -la total 12 drwxr-xr-x 1 root root 92 Sep 12 13:19 . drwxr-xr-x 1 root root 2402 Sep 12 13:19 .. -rw-r--r-- 1 root root 174 May 23 16:42 config.json -rwxrwxr-x 1 root root 951 May 23 16:40 init_user_config.sh -rw-r--r-- 1 root root 193 May 23 16:40 user_config.json config.json is the file we are looking for - i will use "nano" to edit it with - if you dont have nano, install it with "apt-get install -y nano" Now lets edit the file and have a look at it, type: nano /etc/resilio-sync/config.json The standard config.json file looks like this: { Now its time to update / and add a few items.. like device_name, storage_path, listen, login and password... have a look at this: NOTICE: the storage path is for settings - not where you will actually sync folders to.. that will be decided via the webinterface Make your changes and save your file using CTRL+O Remember to create the primary storagepath folder.. in my case i use /home/leon/synced (since i can access /home/leon from the chrome OS files app) - i also chmod the folder in order to make sure sync can access it - there is properly a better way todo this, but its just me who is going to access it - so security is less important. root@penguin:/etc/resilio-sync# mkdir /home/leon/synced/ root@penguin:/etc/resilio-sync# chmod -R 777 /home/leon/synced/ Now that we have configured sync, its time to restart the sync application and access the webinterface. We'll do it like this: root@penguin:/etc/resilio-sync# /etc/init.d/resilio-sync stop [ ok ] Stopping resilio-sync (via systemctl): resilio-sync.service. root@penguin:/etc/resilio-sync# /etc/init.d/resilio-sync start [ ok ] Starting resilio-sync (via systemctl): resilio-sync.service. Open a web browser an goto: http://YOUR_CROSTINI_IPADDR:8888/gui/ .. follow the guide to setup the last things - if everything went ok you should have something like this on your screen: Congratulations - you now have ResilioSync on your chromebook and you can access it via your files app. Let the sync begin //Leon Notes: Make sure Resiliosync starts automaticlly (when you start crostini): Type: $ systemctl enable resilio-sync $ service resilio-sync start
 1 point

This leaderboard is set to London/GMT+01:00