


Piraterex lk
-
Posts
12 -
Joined
-
Last visited
-
Days Won
1
Content Type
Profiles
Articles, News and Tips
Forums
Posts posted by Piraterex lk
-
-
how to exactly find about whitelisiting status?
-
What is size of this card? Which one can I use for replacement?
HP 792204-001

-
I knew about bios white list but did not knew about "invisibly embodiment".
thank you for clarifying that.
-
I am not able to find anything online of much use.
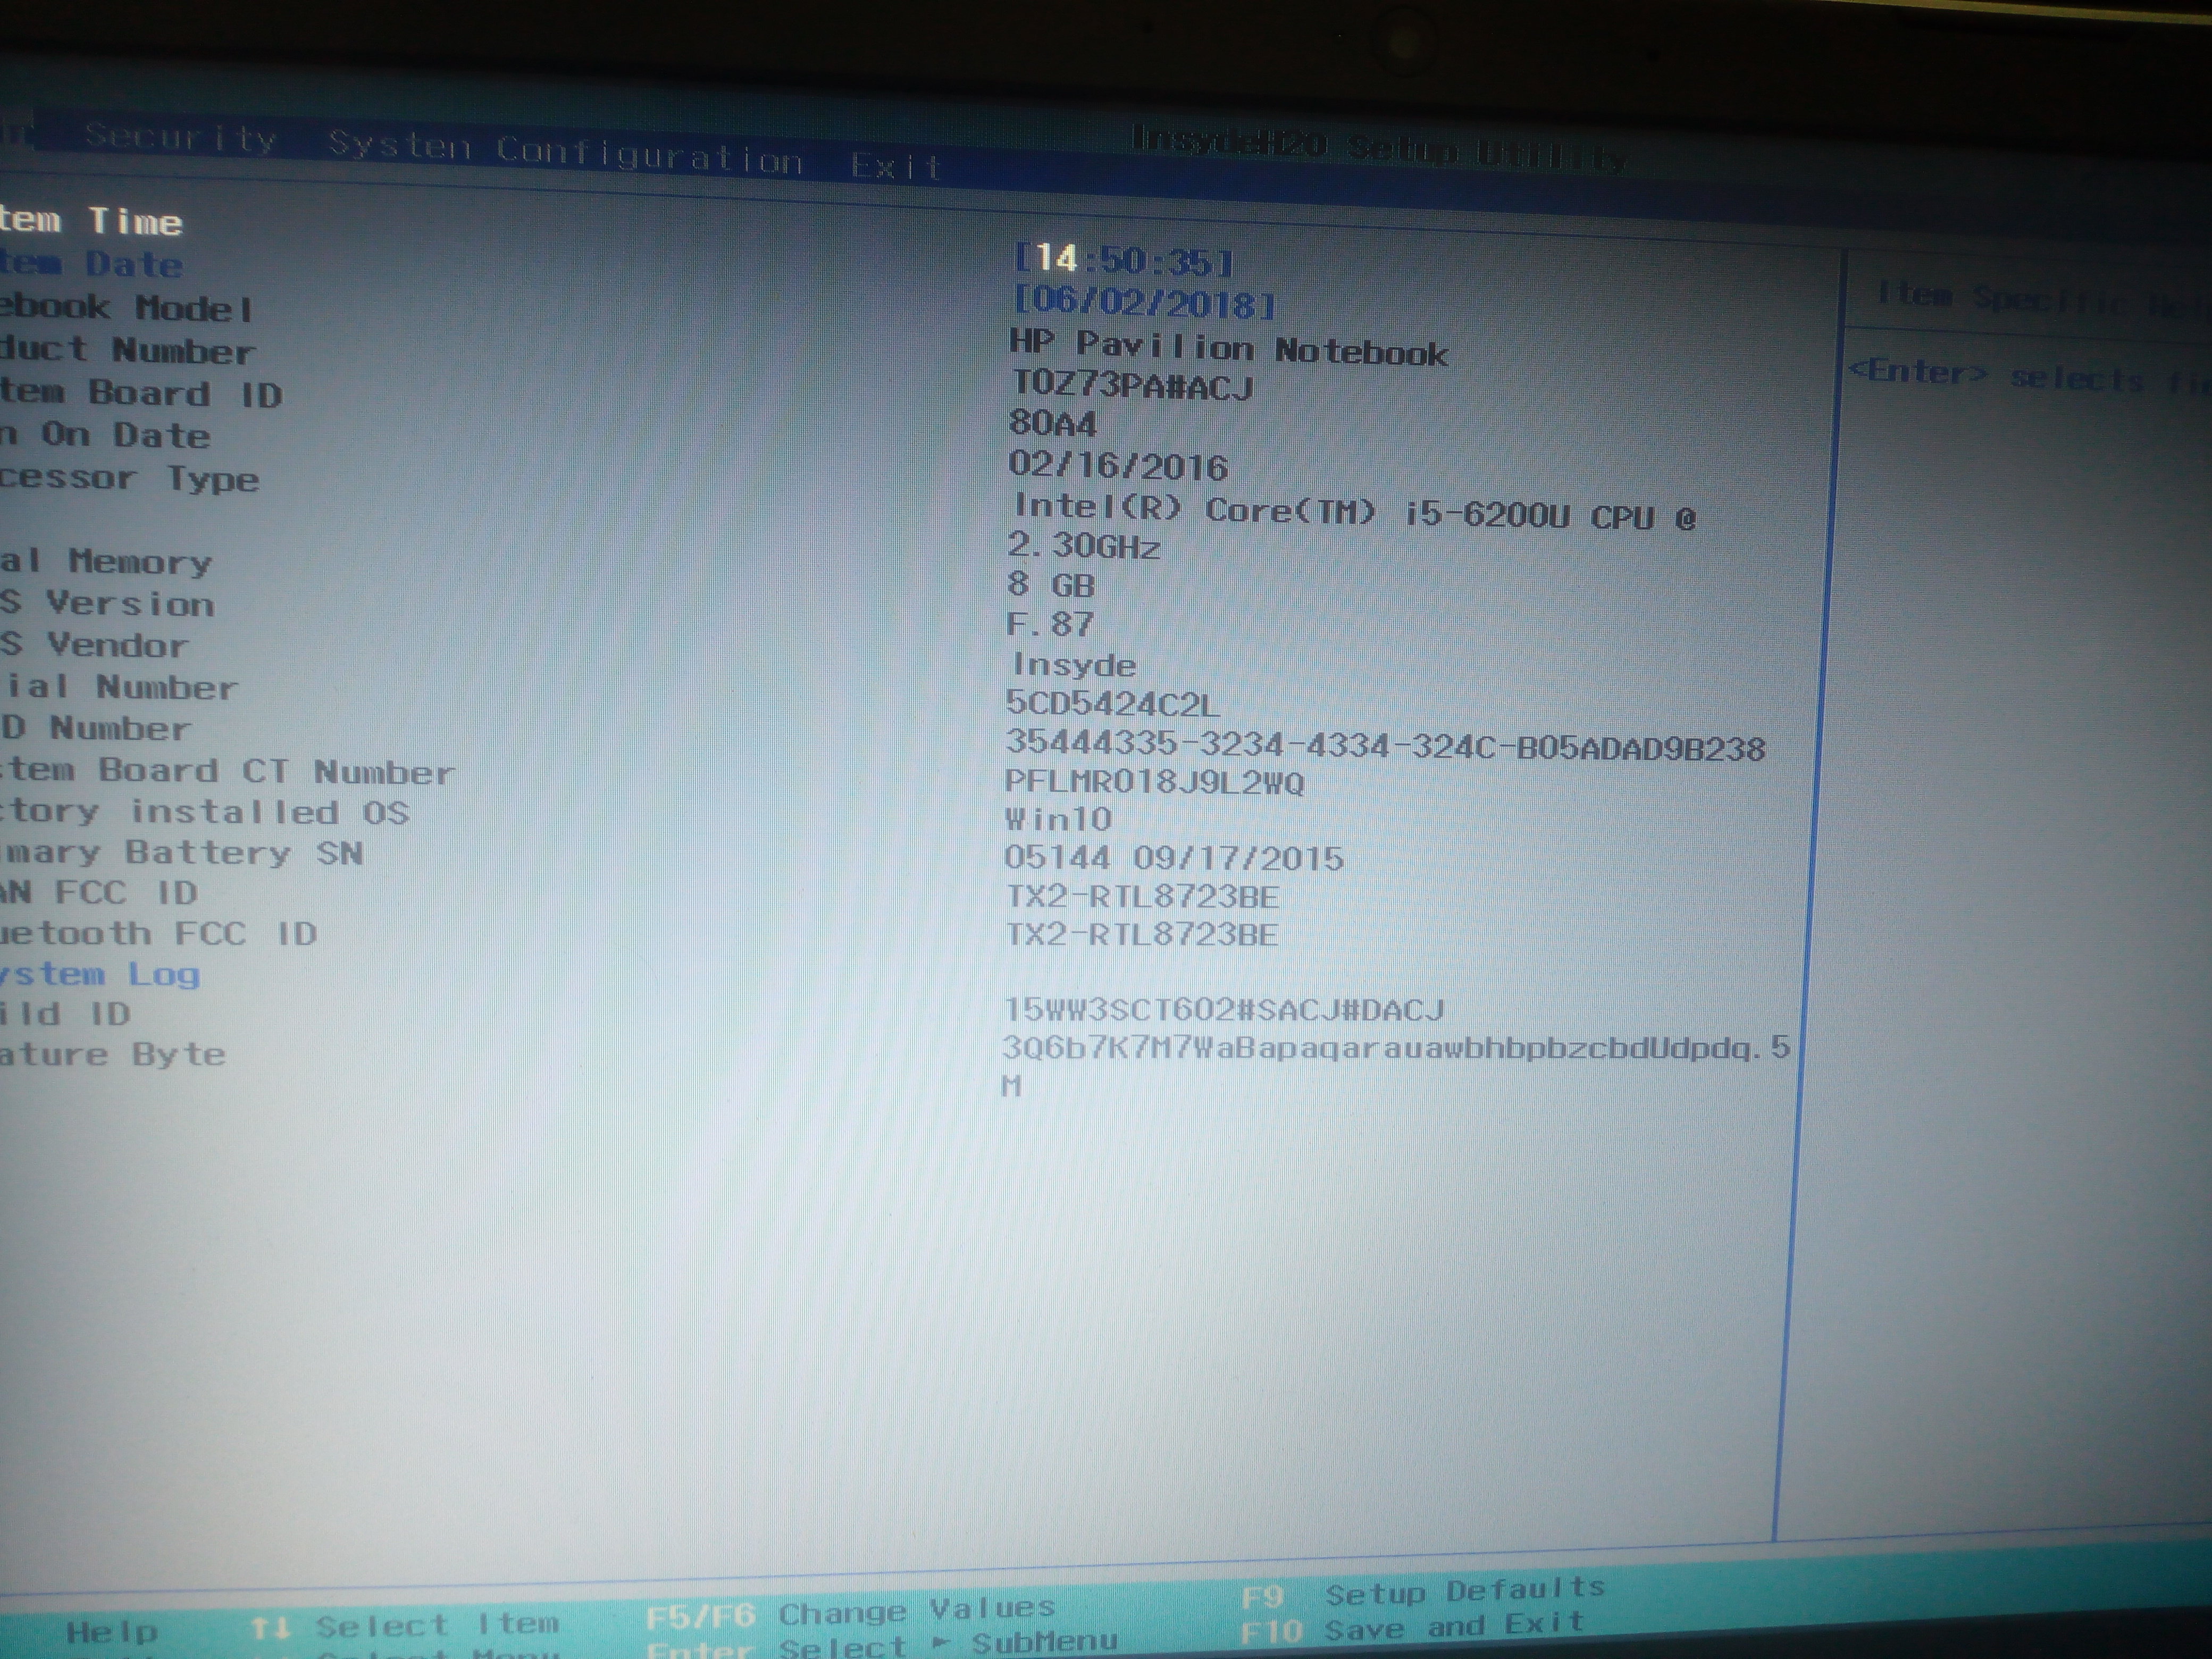
can you confirm me with attached picture?
-
I googled, I am a bit confused. Exactly how to know that I have BIOS Whitelist ?
My model is HP Notebook 15 ab522tx
-
https://wikidevi.com/wiki/Atheros_AR5BHB92
It says "As used by HP, this device amy have a PCI ID of 168c:002a (103c:3041)."
so this with work well with hp right?
-
so will it support bt?
i have already researched, but couldn't find a fully functional tutorial for 10.12.6
-
thank you for your instant response.
have few more questions
For supporting it does not have anything to do with the laptop model as long as it has the same card size, right?
This model also have bluetooth 3.0 is it working, as nothing is mentioned in the topic there?
Is it having sleeping and waking problem as some of the wifi pci does?
-
what does oob mean ?
-
Is it supported with sierra and high sierra?
i have hp ab522tx, i was think to buy an AzureWave AW-NB290.
-
is it possible to add this gesture for secondary click?


HP Notebook 15-ab522tx || Intel® Core™ i5-6200U || Sierra
in HP
Posted
Requirements
Installing Clover to USB
Get a USB 2.0 Pendrive (8GB and above)
Before you can partition the USB, you must determine what the disk identifier is. With the USB plugged in to the computer, use 'diskutil list':
In Terminal:
diskutil listIn my case, output:
/dev/disk0 (internal, physical):
   #:                       TYPE NAME                    SIZE       IDENTIFIER
   0:      GUID_partition_scheme                        *1.0 TB     disk0
   1:                        EFI EFI                     209.7 MB   disk0s1
   2:          Apple_CoreStorage MacOS                   500.4 GB   disk0s2
   3:                 Apple_Boot Recovery HD             650.0 MB   disk0s5
   4:       Microsoft Basic Data DATA                    498.8 GB   disk0s4

/dev/disk1 (external, physical):
   #:                       TYPE NAME                    SIZE       IDENTIFIER
   0:                            Pendrive               *8.0 GB     disk1
As you can see my pendrive is available at /dev/disk1 (check yours).
Now we are going to create partitions, In Terminal:
diskutil partitionDisk /dev/disk1 1 GPT HFS+J "install_macos" ROutput:
Started partitioning on disk1
Unmounting disk
Creating the partition map
Waiting for the disks to reappear
Formatting disk1s2 as Mac OS Extended (Journaled) with name install_osx
Initialized /dev/rdisk1s2 as a 7 GB case-insensitive HFS Plus volume with a 8192k journal
Mounting disk
Finished partitioning on disk1
/dev/disk1 (external, physical):
   #:                       TYPE NAME                    SIZE       IDENTIFIER
   0:      GUID_partition_scheme                        *8.0 GB     disk1
   1:                        EFI EFI                     209.7 MB   disk1s1
   2:                  Apple_HFS install_macos           7.7 GB     disk1s2
Now as you can see partitions are created and your pendrive is ready to install clover.
Download the Clover installer. Current builds are available on sourceforge: http://sourceforge.net/projects/cloverefiboot
After Downloading the Clover installer,
Finally, one more EFI driver is needed, HFSPlus.efi:
Kext Setup
Setting config.plist
Download it from the attachments, Unzip and replace EFI/CLOVER/config.plist
Building the MacOS Installer
In Terminal :
sudo "/Applications/Install macOS Sierra.app/Contents/Resources/createinstallmedia" --volume /Volumes/install_macos --applicationpath "/Applications/Install macOS Sierra.app" --nointeractionsudo diskutil rename "Install macOS Sierra" install_macosNow your Bootable USB is ready to install. Turn off your Laptop.
Installing
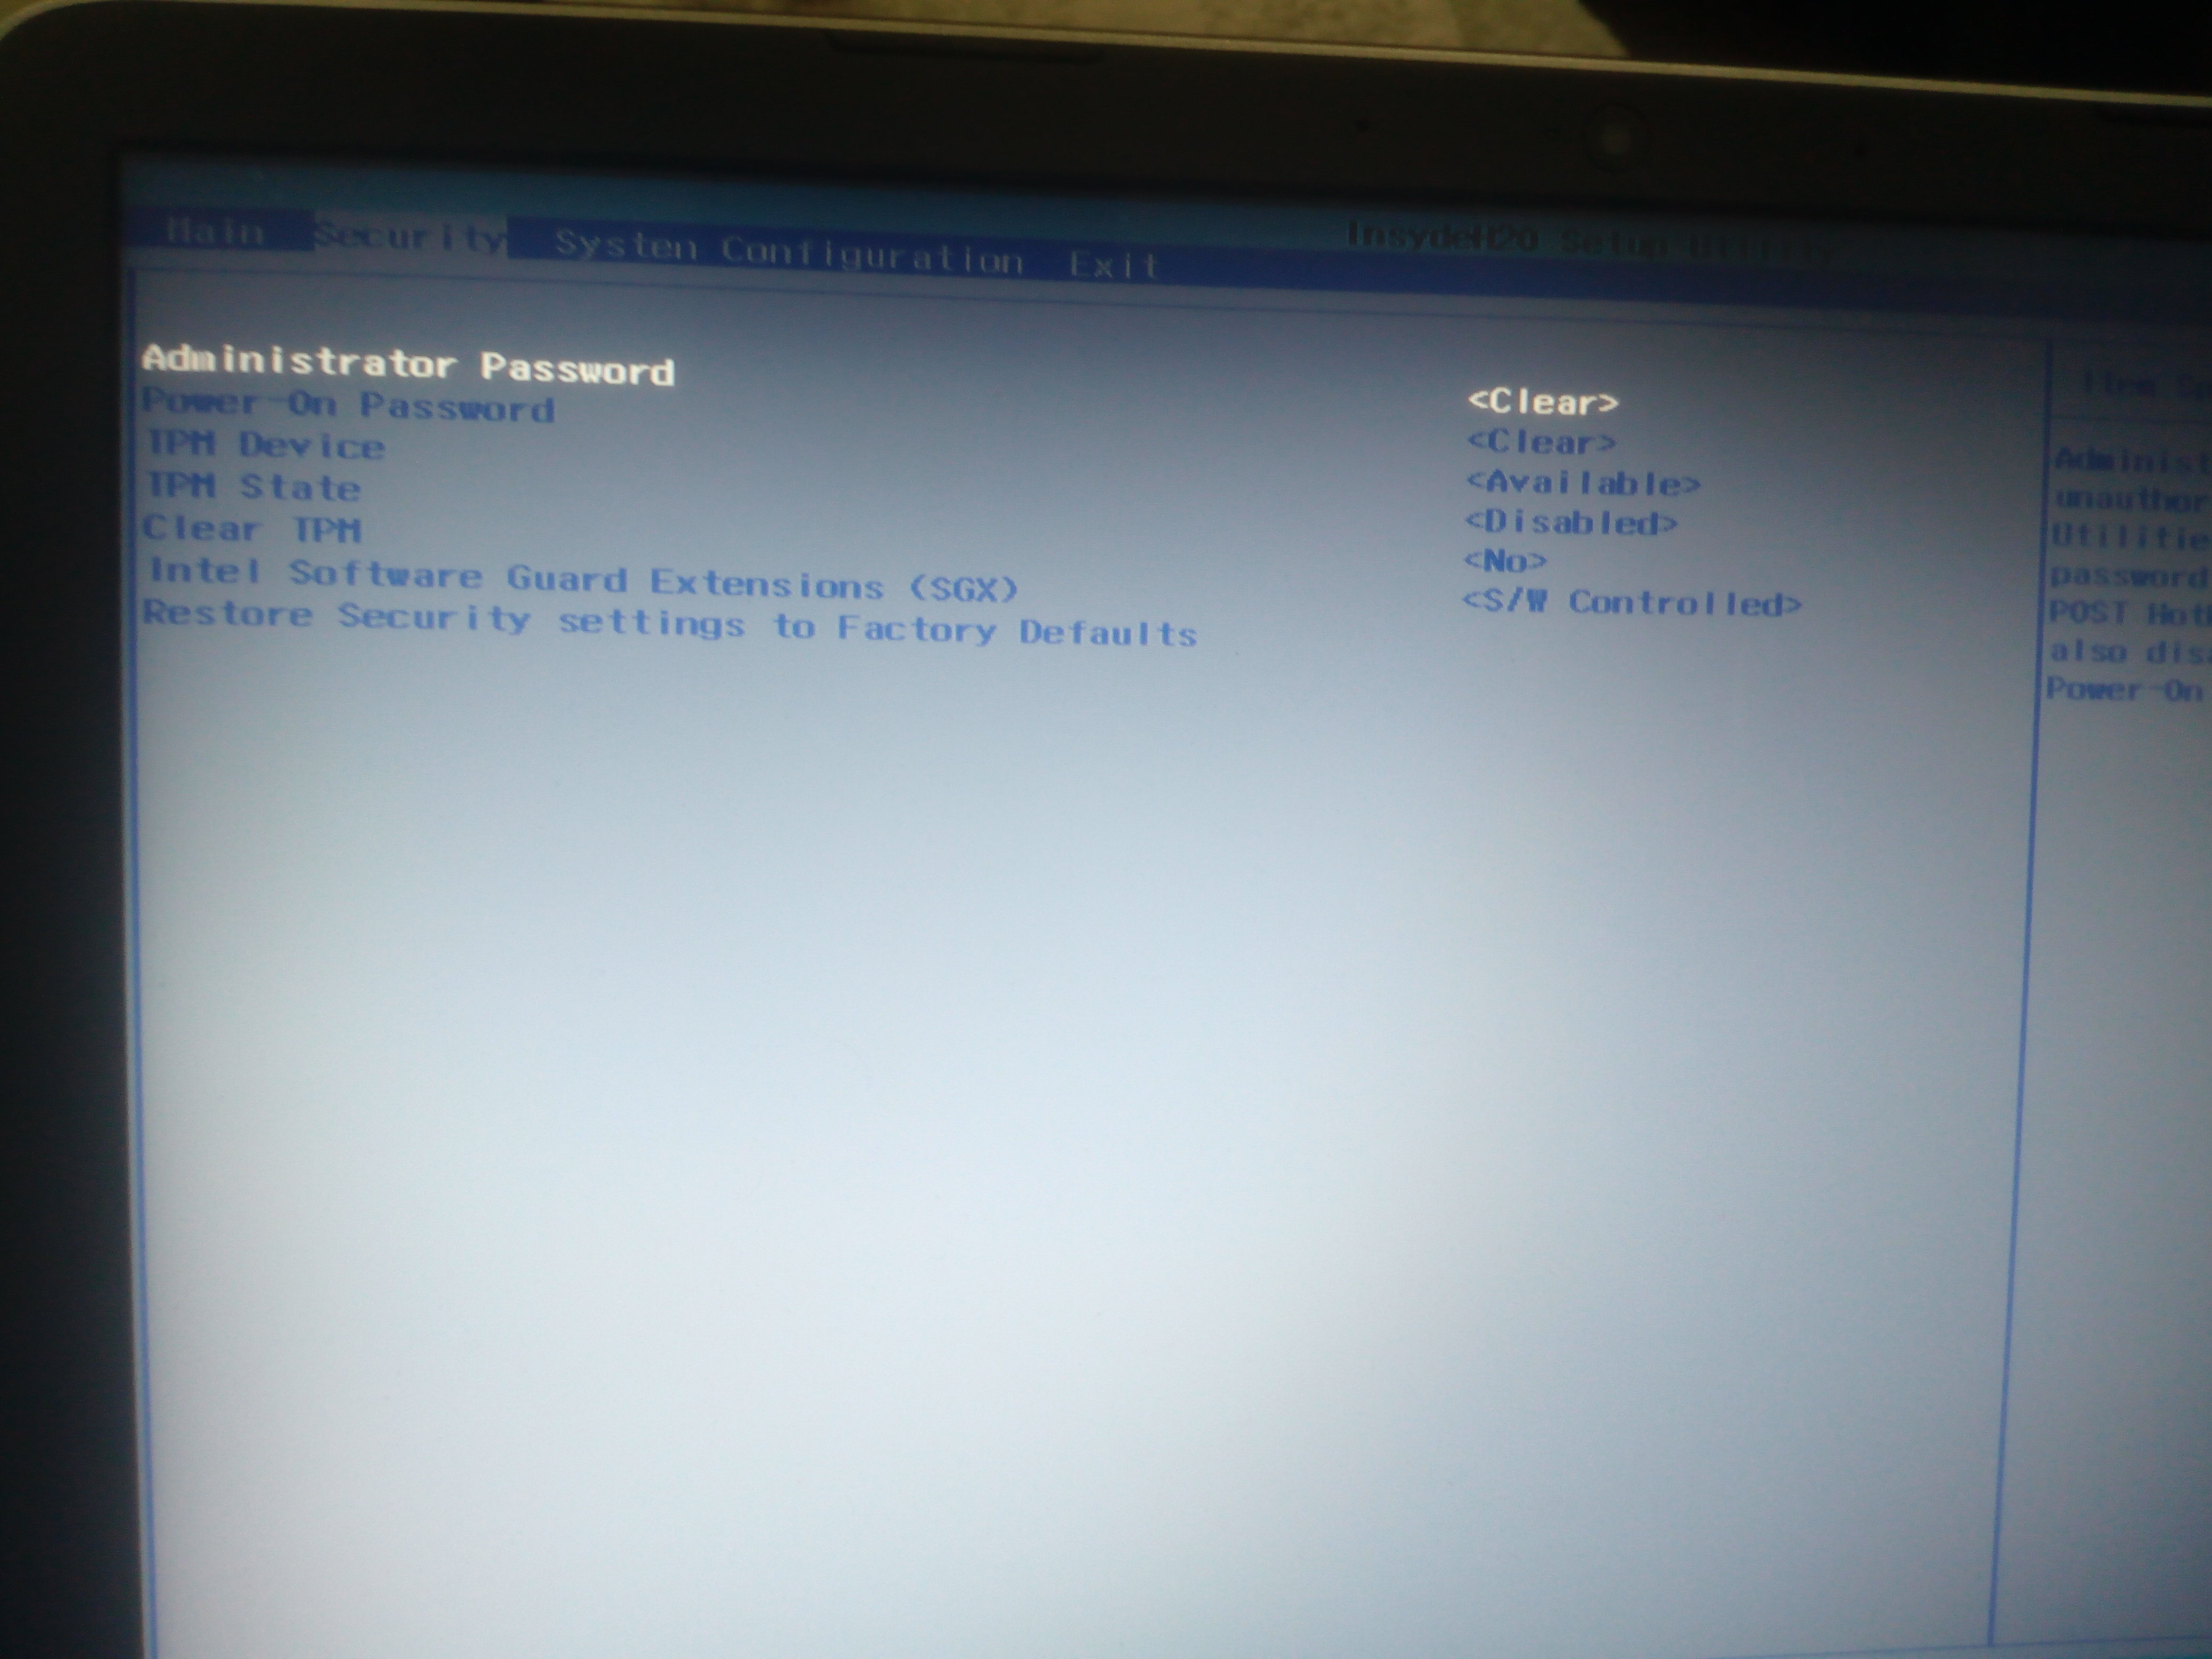
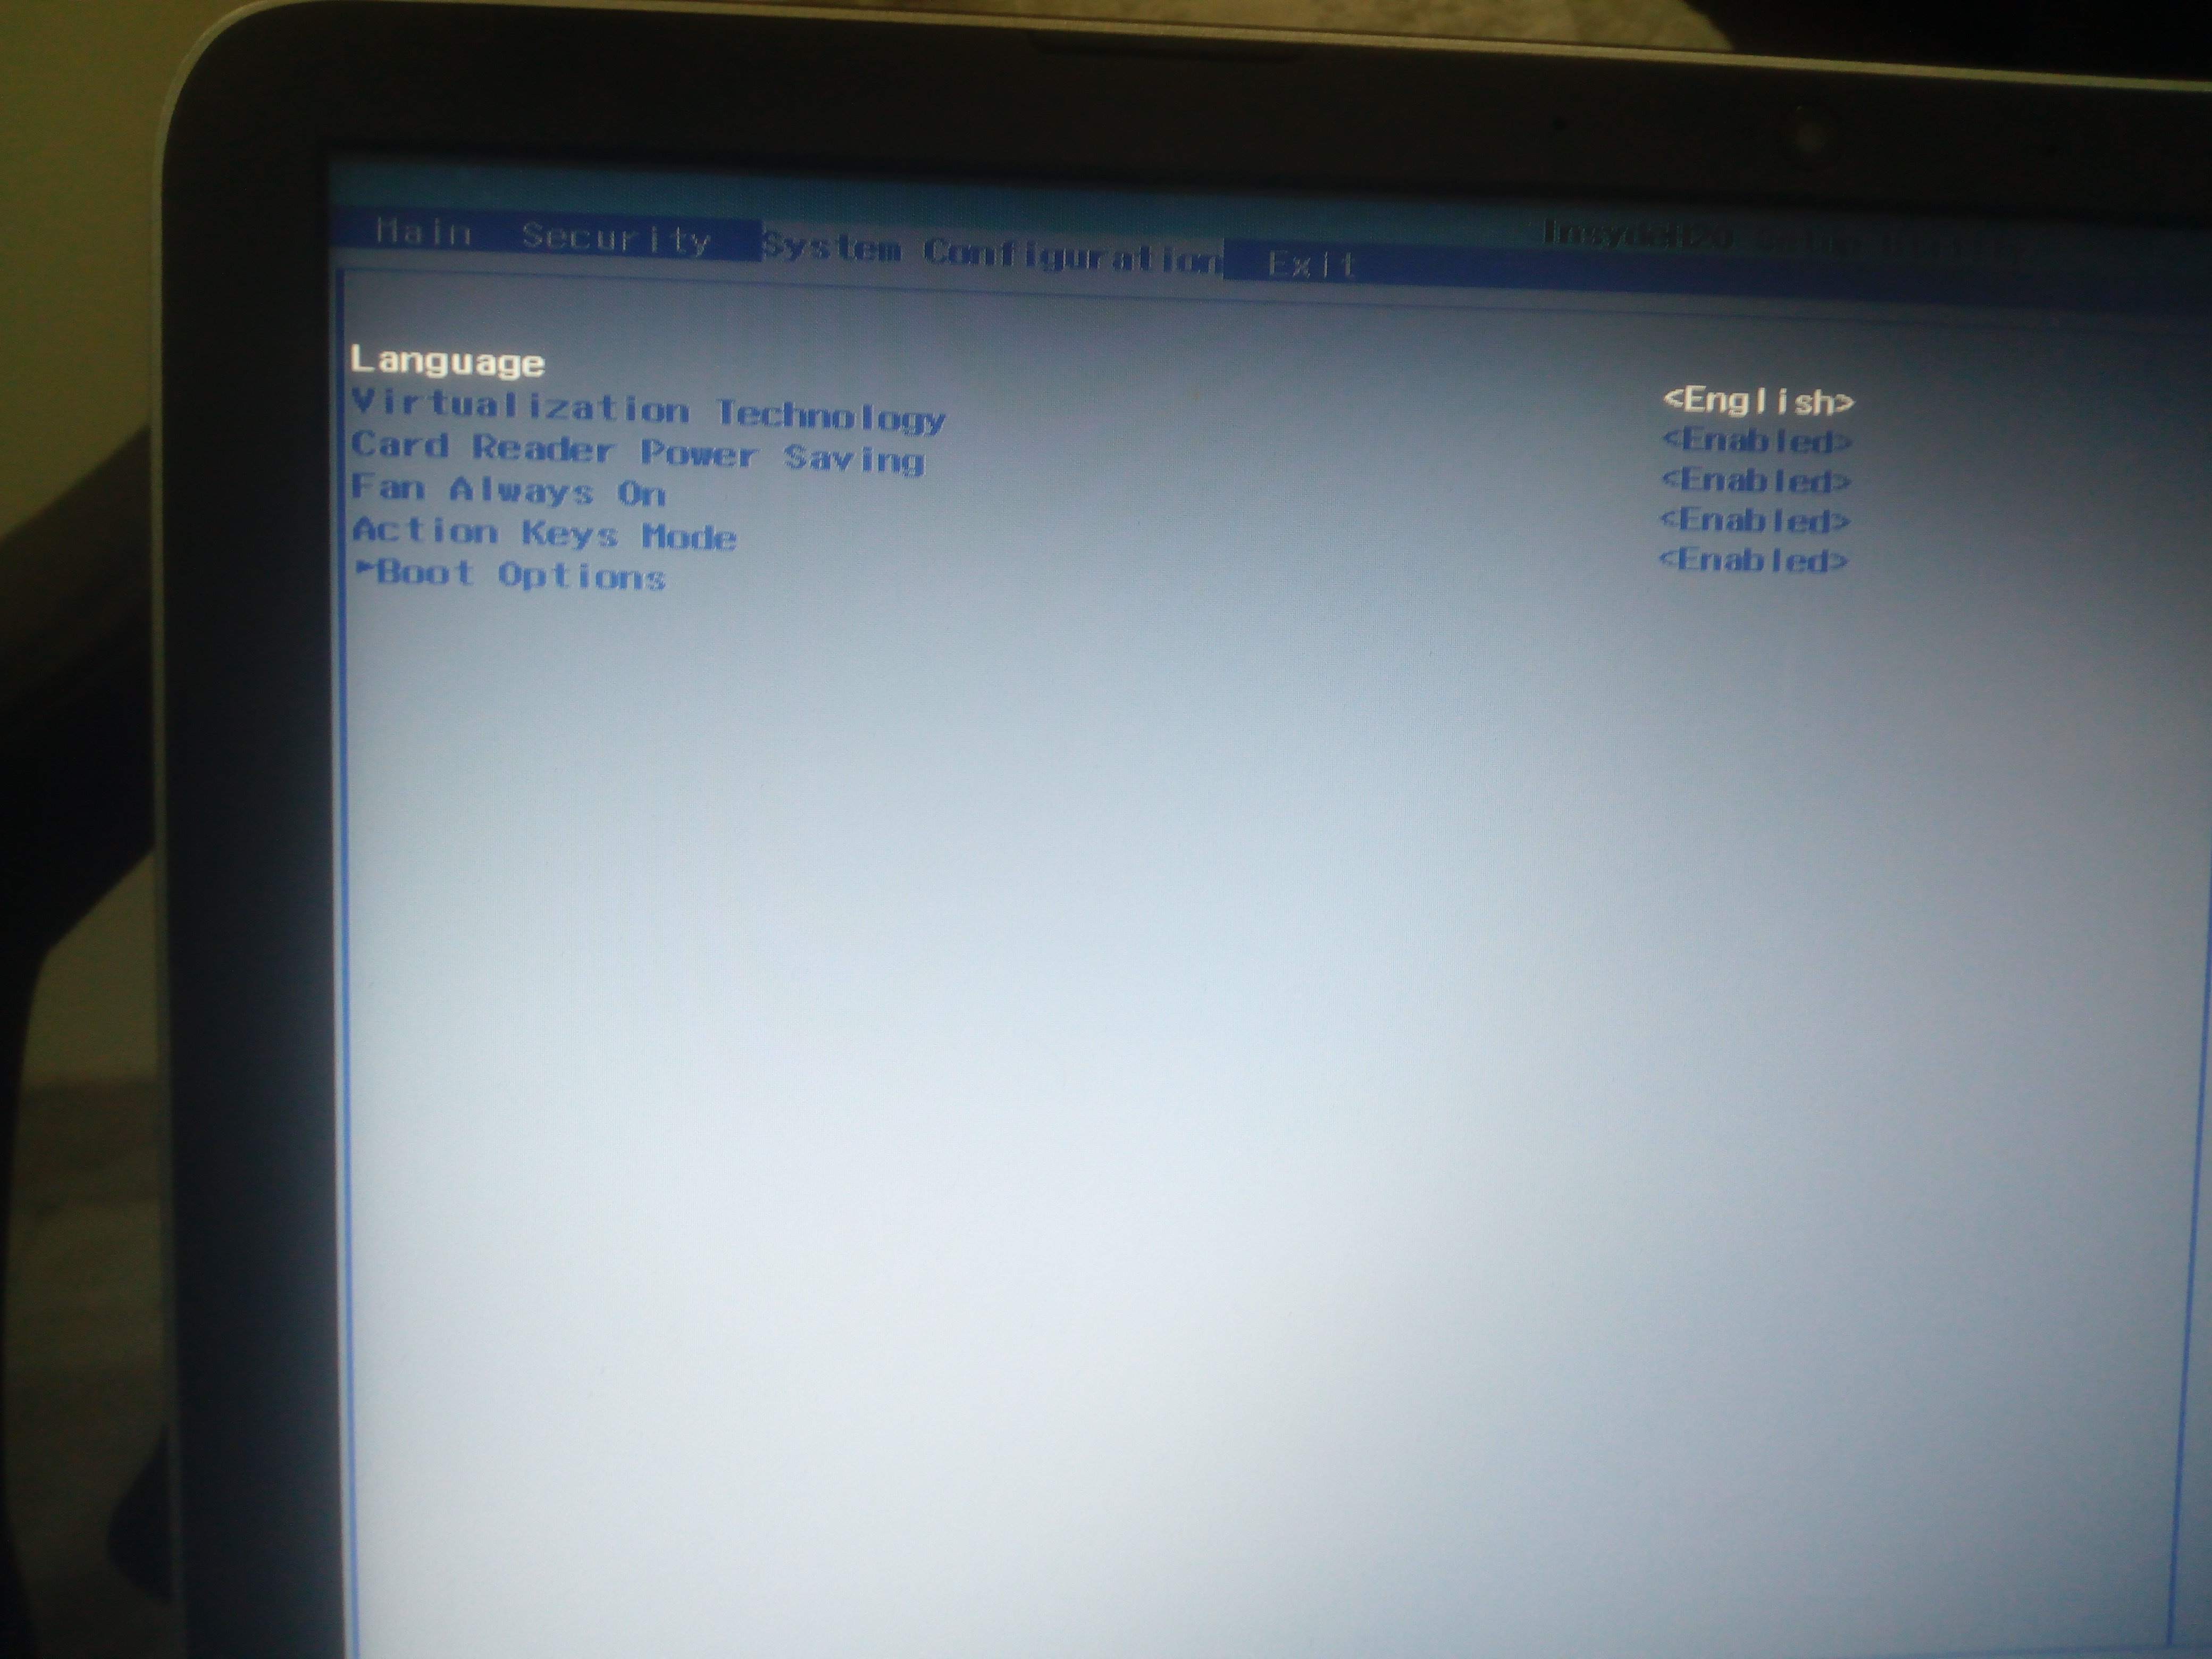
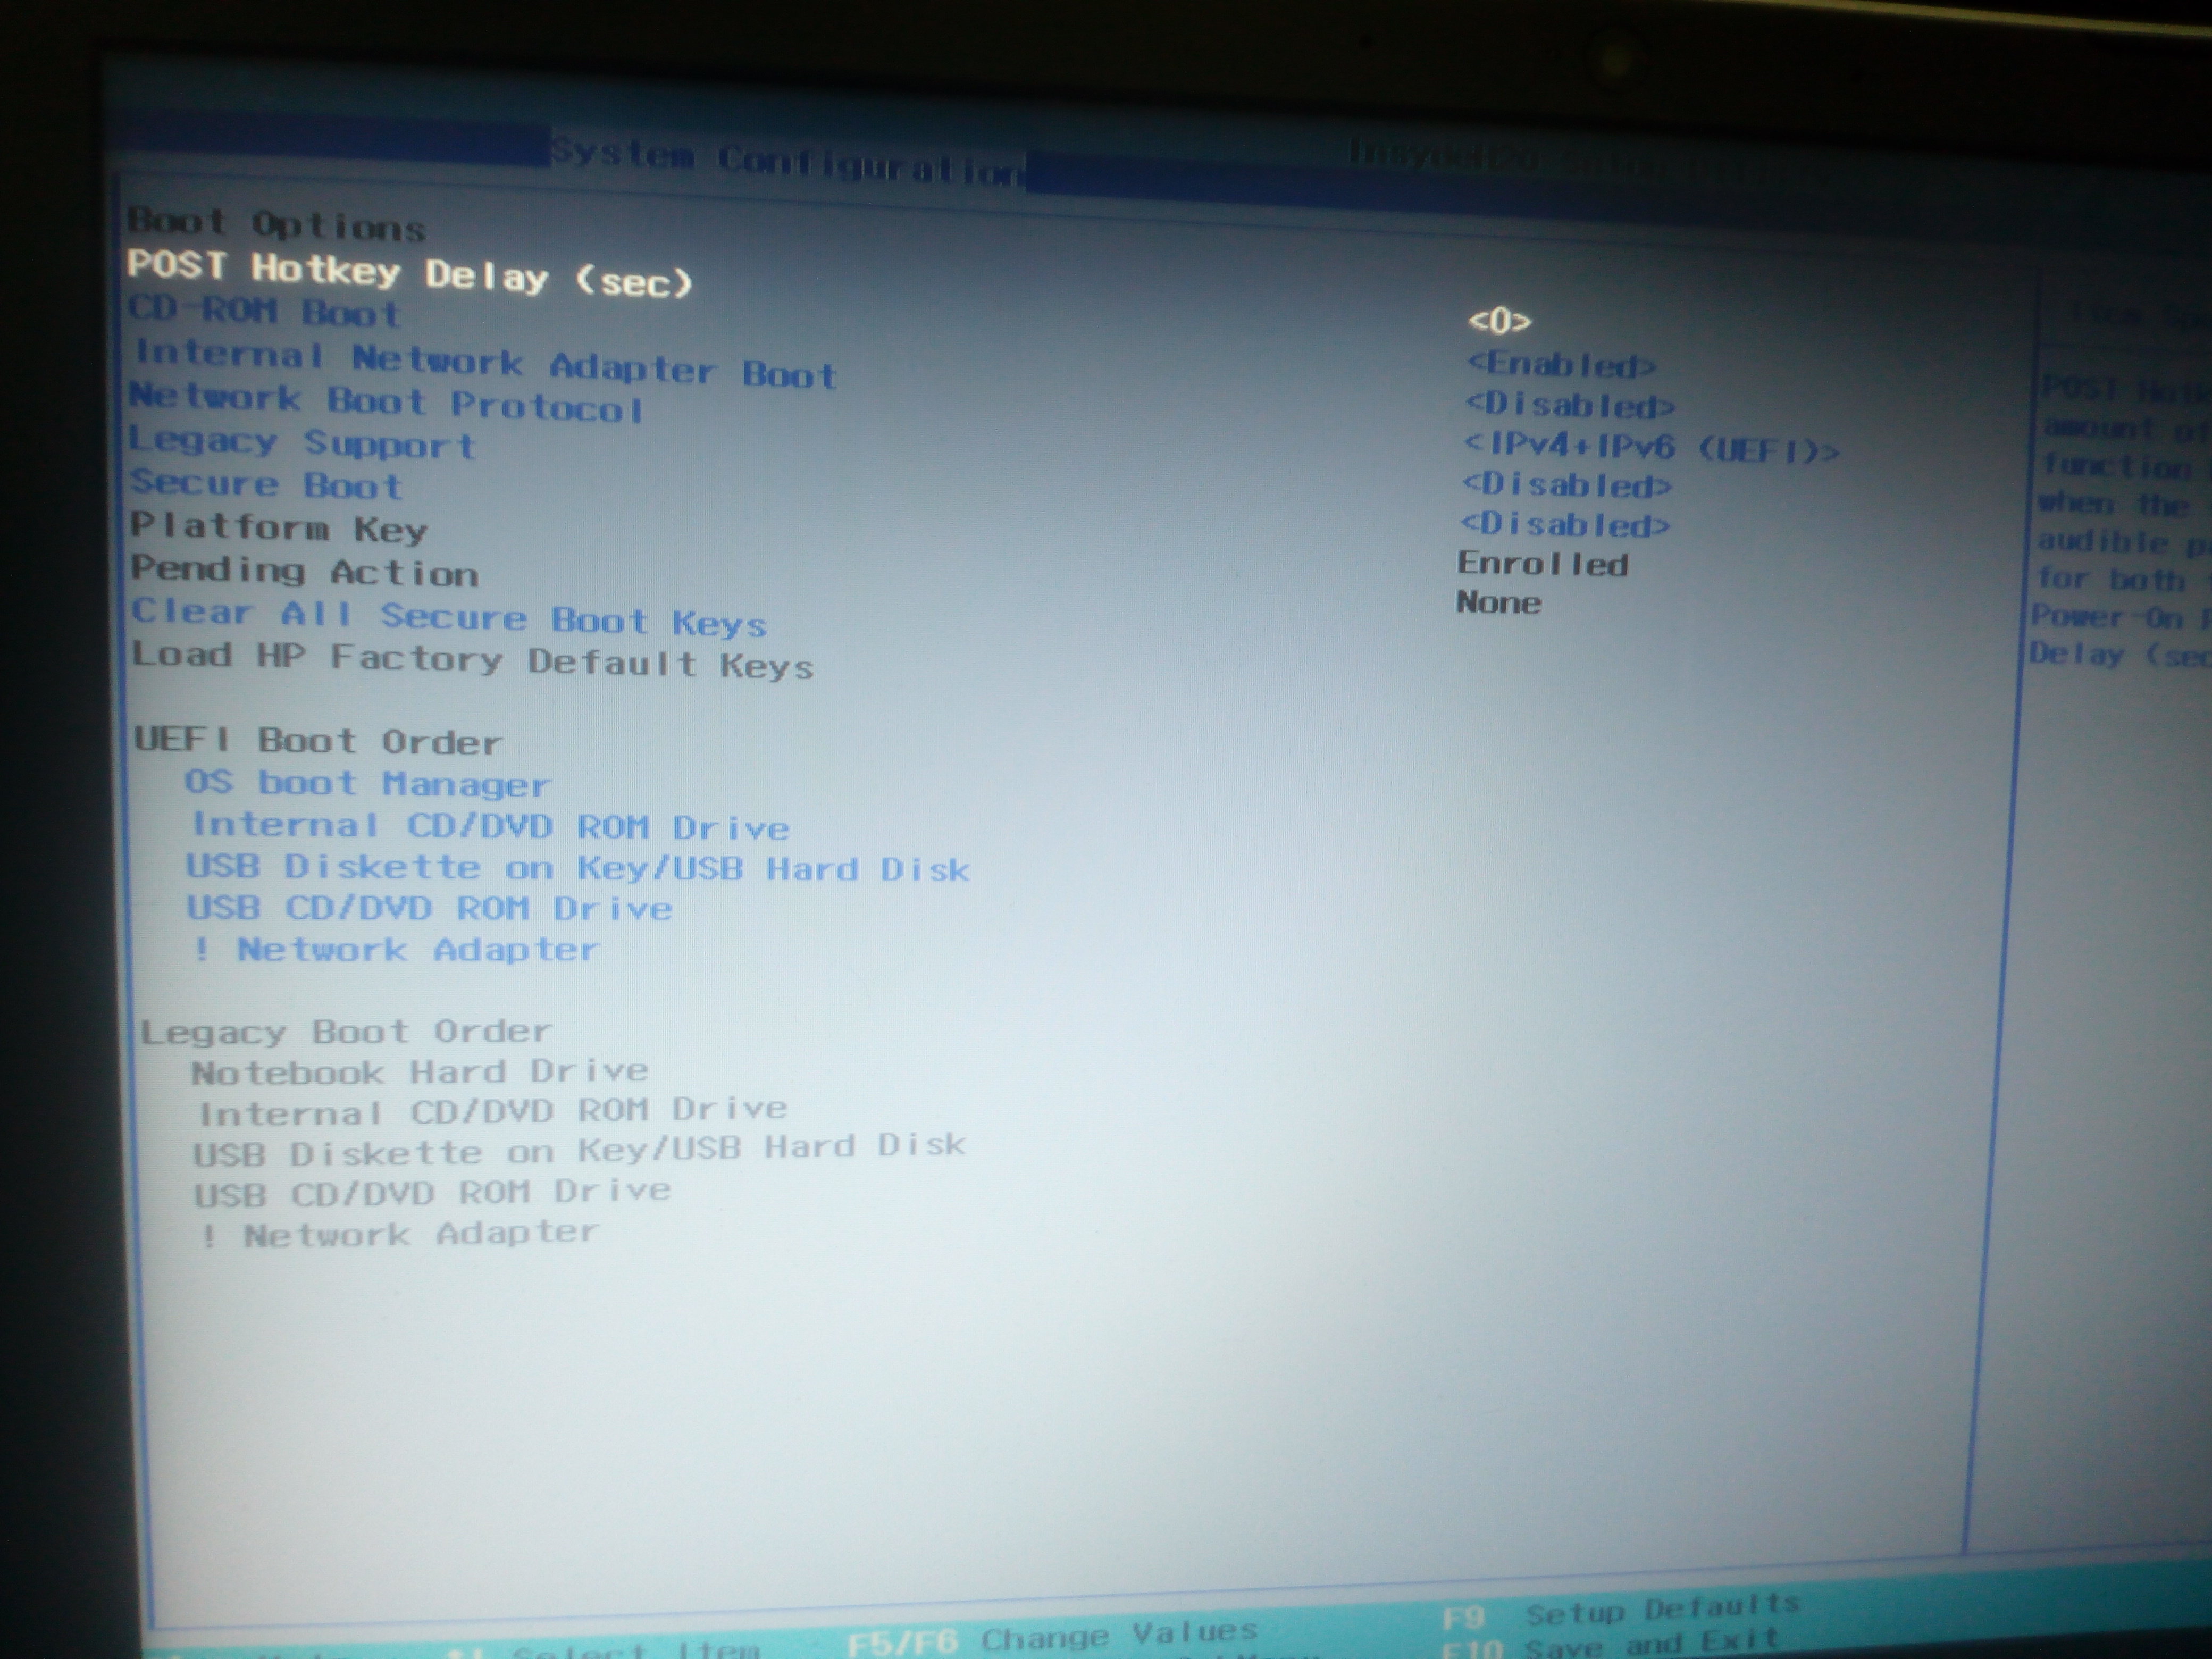
Make sure you have adequate bios settings
Then Follow:
Install clover to hdd.
Congratulations!! Your Installation is complete!!
Now you need to fix things one by one.
Will Provide fixes when I get time.