

Abhishek Pal
-
Posts
17 -
Joined
-
Last visited
Content Type
Profiles
Articles, News and Tips
Forums
Posts posted by Abhishek Pal
-
-
For brightness, This guide will simplify it by using three components that all work together to create the solution:
- a single pre-built AppleBacklightInjector.kext
- a patch for AppleBacklight in config.plist/KernelAndKextPatches/KextsToPatch
- SSDT-PNLF.aml to activate the AppleBacklight kext
Requirements:
This guide is only for Intel graphics laptops.
It will work with Arrandale, Sandy Bridge, Ivy Bridge, Haswell, Broadwell, Skylake and Kaby Lake.
SpoilerPreparation:
For brevity, we are going to use Terminal to acquire the files...
To start, make sure you have the Xcode command line tools. At a fresh install, you can just attempt to use 'git' in Terminal:
Code (Text):
git
The system will prompt you to download and install the tools.
After you have downloaded and installed the developer tools, we can use them to acquire the various github content we need for this guide.
Make the Projects directory if you haven't already:Code (Text):
mkdir ~/Projects
cd ~/Projects
Clone the probook repo (if you haven't already)
Code (Text):
cd ~/Projects
git clone https://github.com/RehabMan/HP-ProBook-4x30s-DSDT-Patch probook.git
Clone the guide/plist repo (if you haven't already)
Code (Text):
cd ~/Projects
git clone https://github.com/RehabMan/OS-X-Clover-Laptop-Config.git guide.git
You could download and install iasl with Terminal:Code (Text):
cd ~/Downloads
curl --remote-name --progress-bar --location https://bitbucket.org/RehabMan/acpica/downloads/iasl.zip
unzip iasl.zip
sudo cp iasl /usr/bin
Now we will build SSDT-PNLF.aml:
Code (Text):
cd ~/Projects/guide.git
make
You will find the resulting SSDT-PNLF.aml at ~/Projects/guide.git/build/SSDT-PNLF.aml.
AppleBacklightInjector.kext is at ~/Projects/probook.git/kexts/AppleBacklightInjector.kext.
And the patch required is in ~/Projects/guide/config_patches.plist.
Installation
To use this technique requires three components:
- SSDT-PNLF.aml in ACPI/patched
- AppleBacklight patch in config.plist/KernelAndKextPatches/KextsToPatch
- AppleBacklightInjector.kext installed to /L/E
Note: If you already have patched your DSDT (or SSDT) with a "Brightness" patch (PNLF), you must remove it! Same if you're using Clover's AddPNLF_1000000.
Also Note: The SSDT-PNLF.aml assumes that GFX0 (or VID on Thinkpads) is already renamed to IGPU. It will not work if your IGPU is not at _SB.PCI0.IGPU.
Copy the SSDT-PNLF.aml from ~/Projects/guide.git/build/SSDT-PNLF.aml to your EFI/Clover/ACPI/patched. If you're using SortedOrder in your config.plist, make sure you add SSDT-PNLF.aml to it. Also, it must be loaded *after* the OEM SSDTs. For many laptops, the IGPU (formerly GFX0) device is defined in an SSDT, not DSDT, and since SSDT-PNLF is dependent on this device already being defined, the SSDT-PNLF.aml must load after the OEM SSDT that defines it.
Add the patch marked with comment "change F%uT%04x to F%uTxxxx in AppleBacklightInjector.kext (credit RehabMan)" from ~/Projects/guide.git/config_patches.plist to your own config.plist at EFI/Clover/config.plist. Use a plist editor such as Xcode or PlistEdit Pro to copy/paste. DO NOT use Clover Configurator.
Install AppleBacklightInjector.kext to /L/E:Code (Text):
sudo cp -R ~/Projects/probook.git/kexts/AppleBacklightInjector.kext /Library/Extensions
And I feel like I shouldn't even need to mention this, as it is obvious... but you must remove IntelBacklight.kext (and/or ACPIBacklight.kext) from wherever you installed it.
And since after doing all these tasks it will be the first time you are loading AppleBacklight.kext, and this fix involves a Clover hotpatch, you will likely not have it working on first reboot. So right after booting with all components in place, rebuild cache:
Code (Text):
sudo kextcache -i /
Then reboot.
Clover can only patch kexts in kernel cache, and upon first reboot, it will not be in cache, which is why the rebuild cache and reboot is required. -
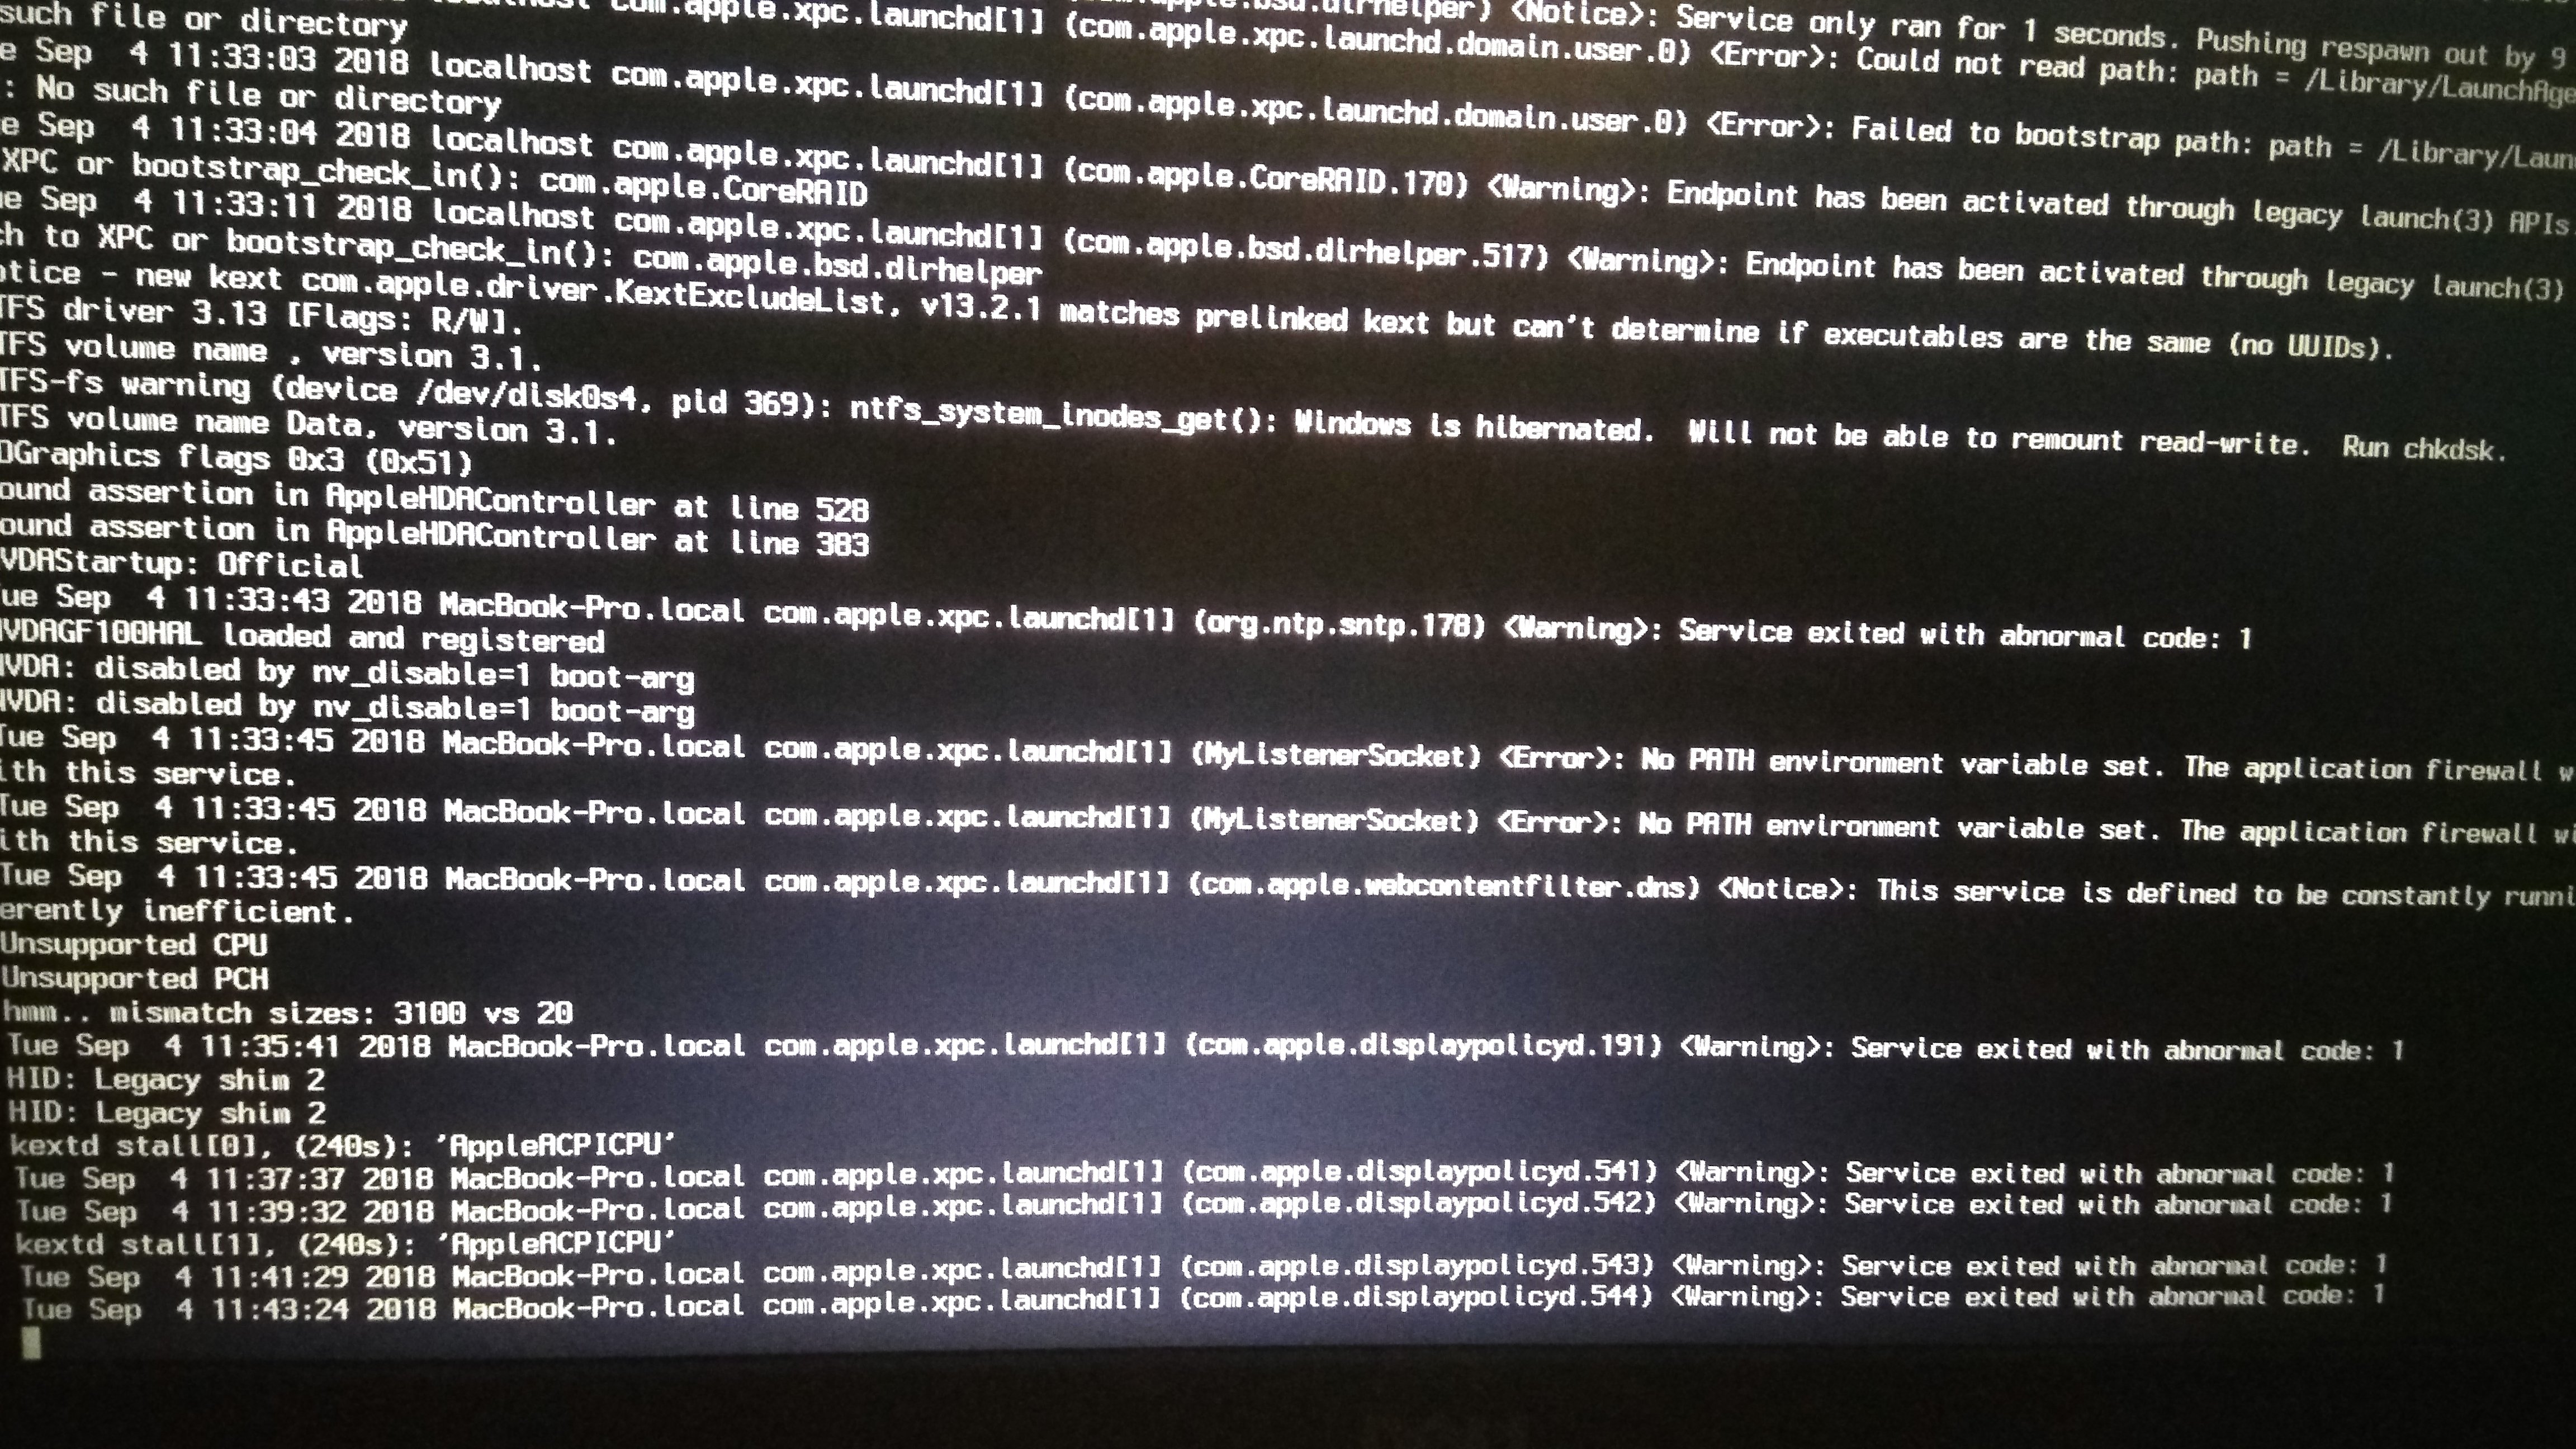
I booted with the drive and ran into these errors and got stuck on the same.
Not moving past.
The other Clover boots i was doing, the boot screen started with Apple logo and rest on the same. This time it starts with verbose and be on it.

-
Is there a way to see verbose of the process to understand where it stucks?
-
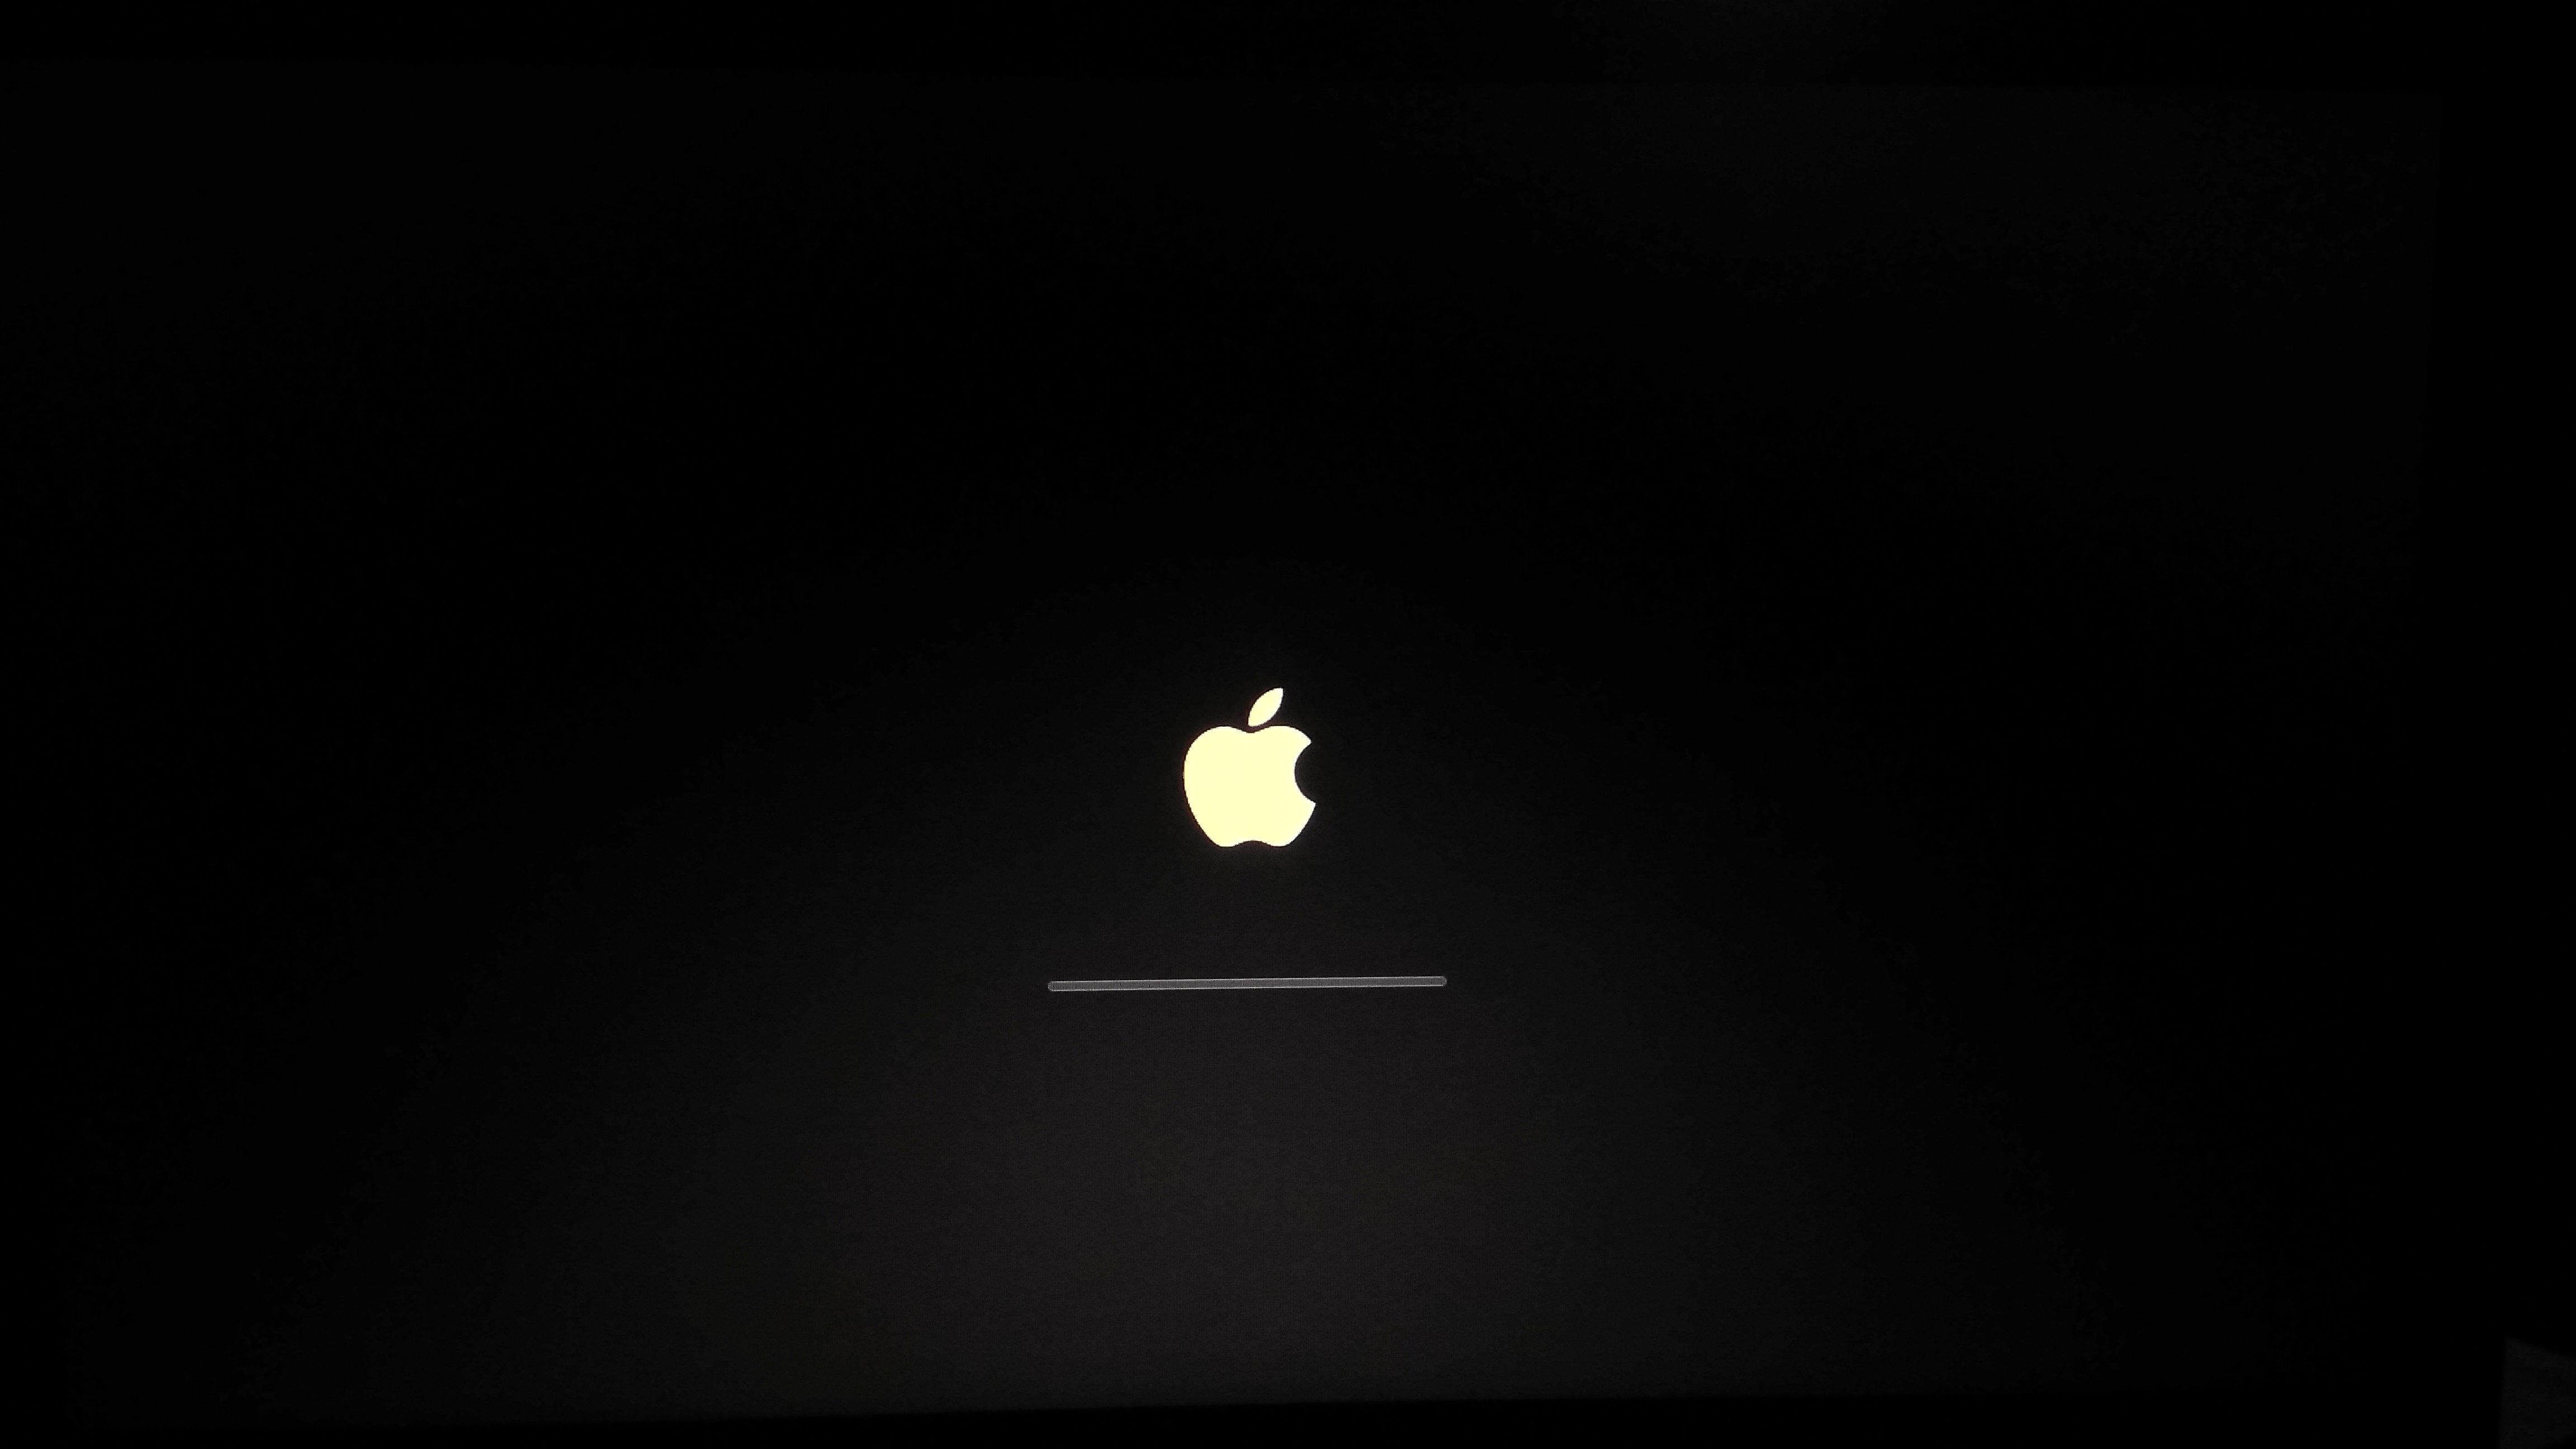
Tried with this too. No files in origin, gets stuck at about 80% of overall progress bar.
A little rainbow loading cursor does come as well after reaching about 78% And Finally all freezes after about 40 minutes.
-
It does make sense. However, I tried all possible combination of F4, it doesn't generate files in origin folder at all.
Thank you so much for putting an effort here Jake.
I so wish i would have not been this dumb in all of the hackintosh stuff.

-
Hello Jake,
several attempts, but not able to populate origin folder it is always blank for me. Am I doing something wrong? I followed every word of Clover installation method then replaced the files which you gave. Also I tried with the files which were mentioned in the other post from this forum who had the same laptop. No avail at all. Also the boot stucks right the place posted earlier.
I also tried the same with Sierra instead of high Sierra. The result is astonishingly same.
Can you help me out?
In the other post, he mentions that "Haswell Patch + Kernel support CPU + xcpm (without any one it will NOT boot)". Do you think this can be an issue.?
-
Just a while ago I realised that the BIOS version I have is A13 not A14.
If that helps anyhow.
-
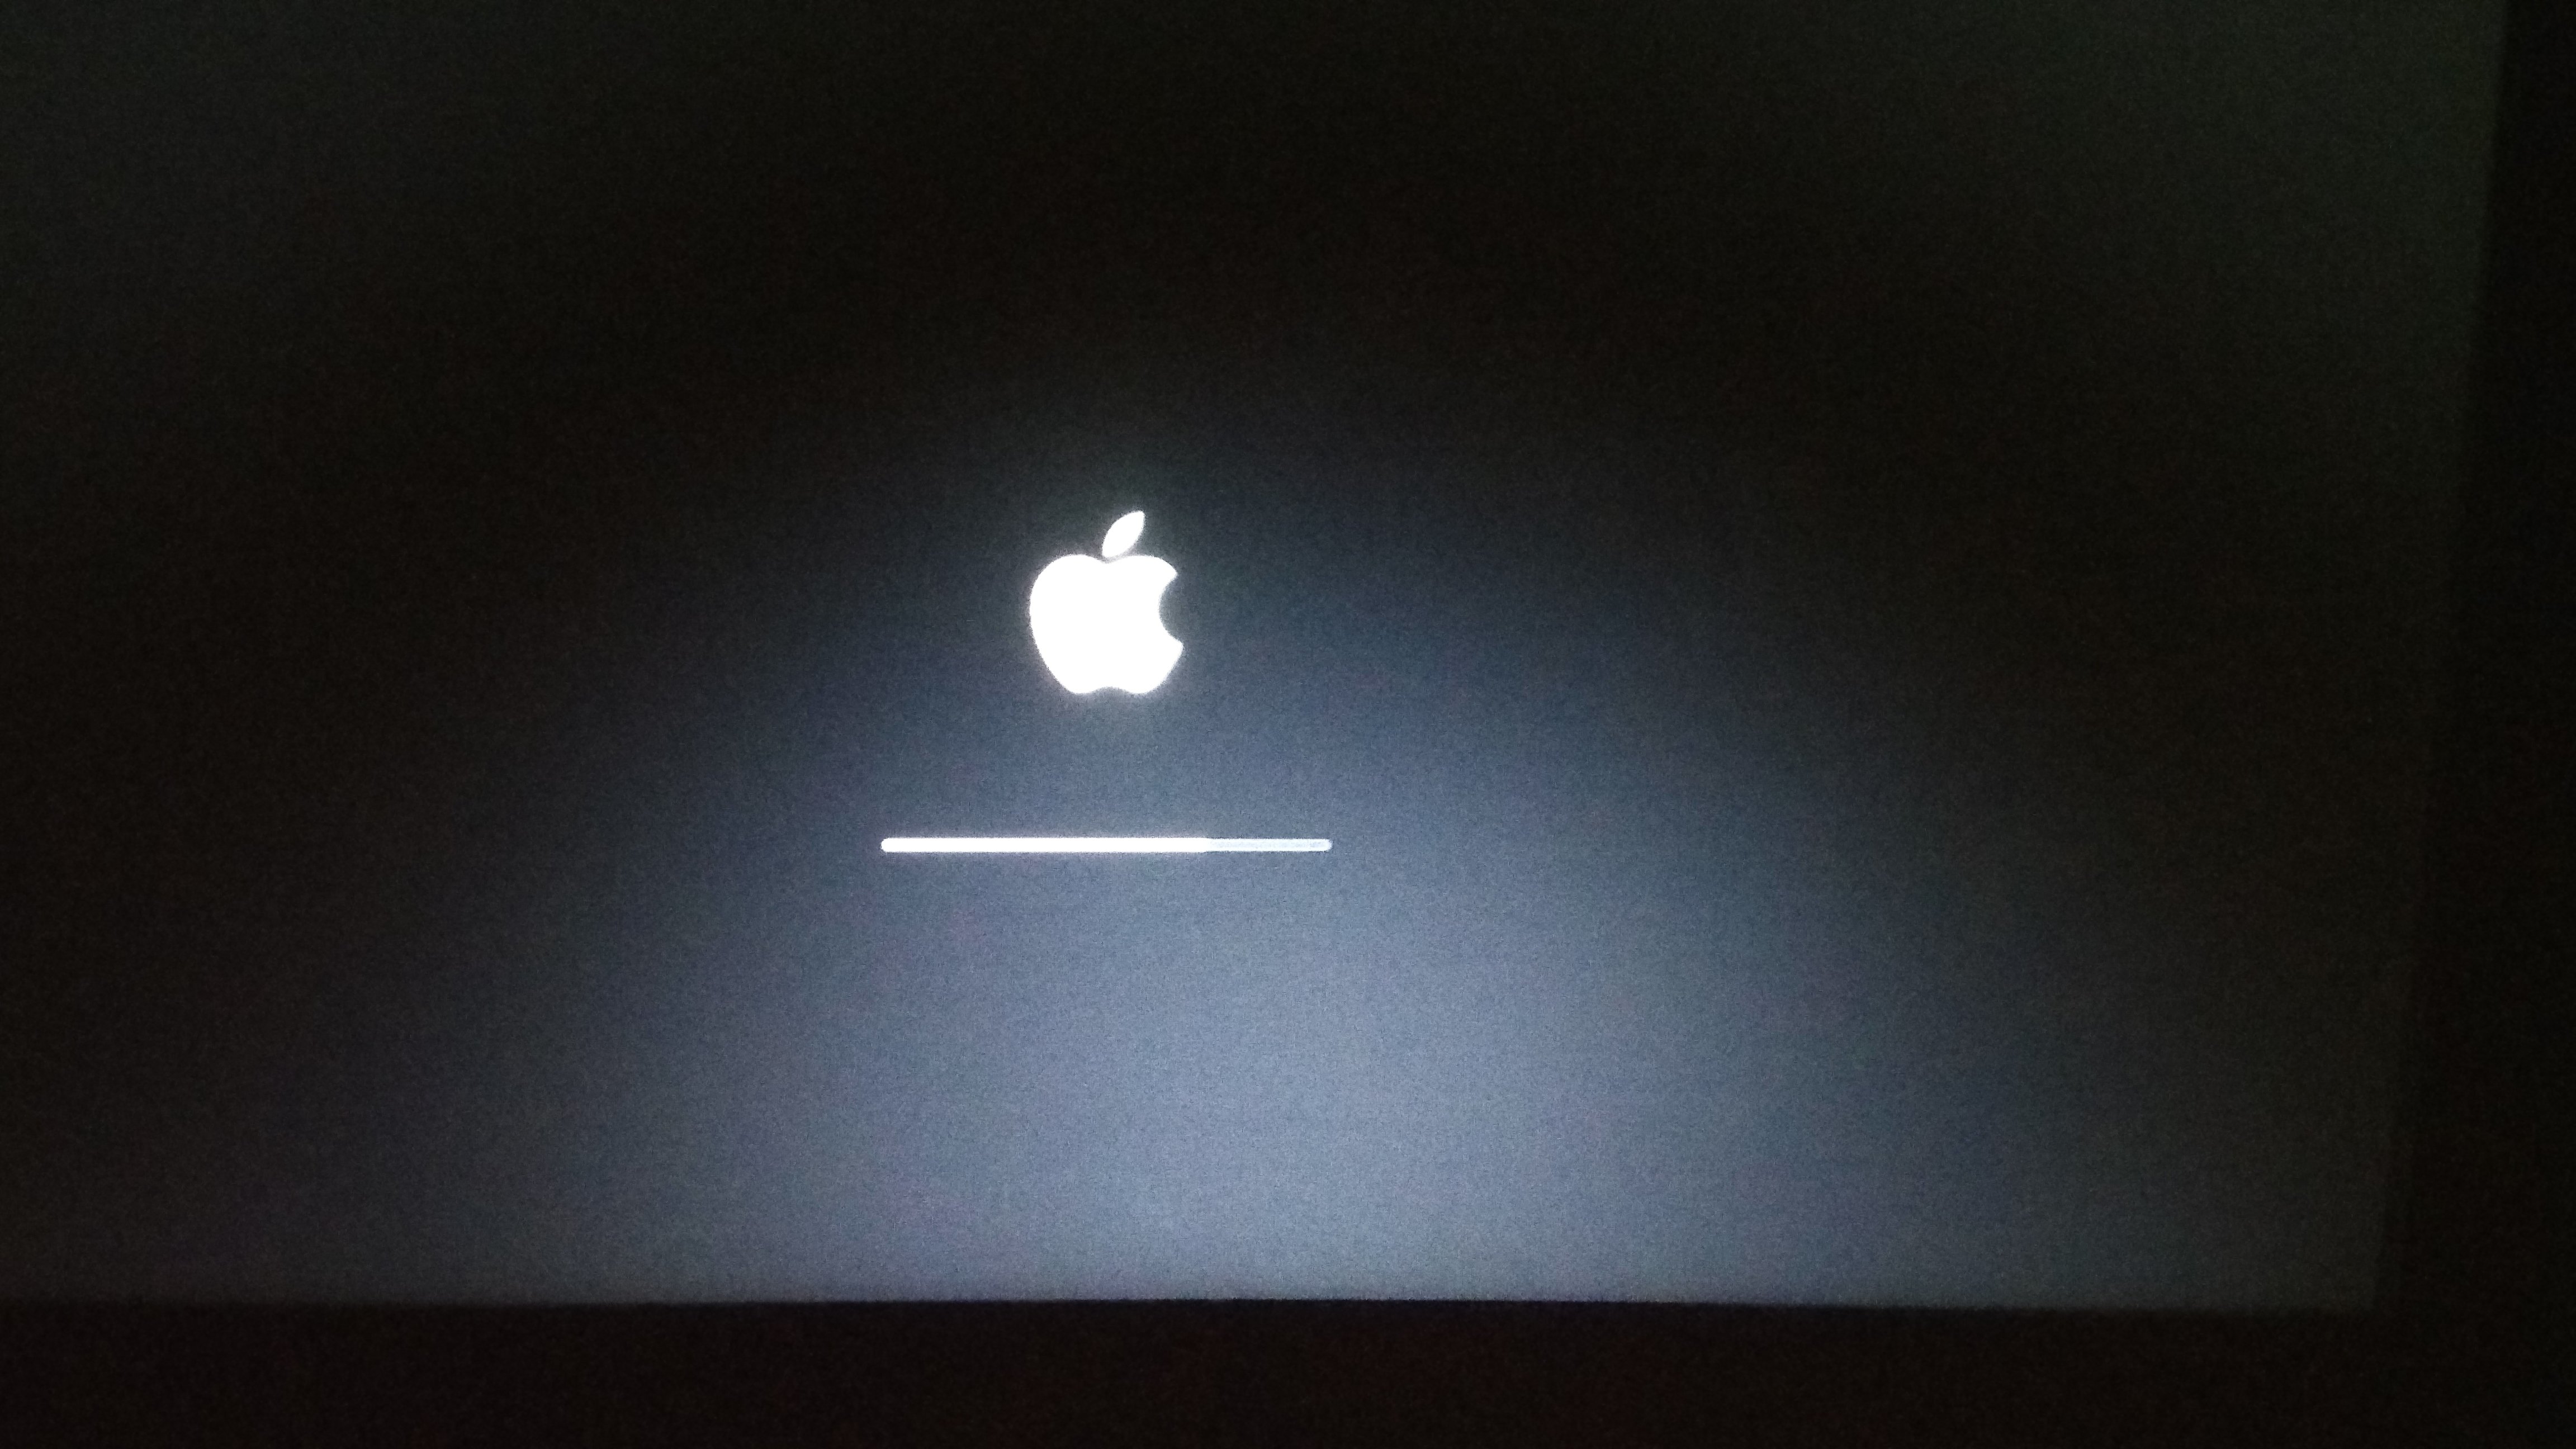
I replaced the contents and tried to boot. It stucks at this point. It's almost 80% loaded. Running from last 20 minutes.
-
Let me try and report back.
Also when I hit F4 nothing visual happens. What am I supposed to see on hitting F4? Any progress bar or something and how to see the /EFI/Clover contents on CLOVER GUI and take the compressed dump of it?
-
I let it load for almost half an hour and it is now stuck on this screen. P. S. The loading bar is empty and not loading at all.
-
I made the clover boot drive the fourth time and it booted.
Stuck on these messages for a long time.
Keeps on throwing these lines.
-
Here is the clover.zip.
In your clover guide, what i did not do was Bootpack incorporation, I could not understand and there was nothing specified for a laptop like me. And as I could understand that is a step later after the installation. -
Followed the cover guide, getting these options. Doesn't do anything on F4 and F2
-
Thank you so much for replying here Jake.
I have found a thread which says below I'm scared of as I do not have another PC and I have created the boot USB from VMWare MacOSX installation:
I used this fantastic guide that you'll have to create everything and put it together.
The 3452 zip was originally used. along with the newest EFI zip
BUT
Some small changes are needed
ADD to clover
Haswell Patch + Kernel support CPU + xcpm (without any one it will NOT boot)
I tried and Googled the stuff, I could not found the kernel as indicated.
Link to the thread:
https://osxlatitude.com/forums/topic/9741-dell-latitude-14-vostro-3446-sierra/?tab=comments#comment-69083 -
Hello All,
Greetings to everyone !!!
I have Dell Vostro 3446 with A14 BIOS version and 8GB aftermarket RAM(Kingston 8GB PC3L 1600MHz Laptop RAM (KVR16LS118) to be precise) and is my daily driver and only laptop.
Here is the link to the exact model, https://www.dell.com/support/home/in/en/inbsd1/product-support/servicetag/9ppp812/configuration
I am hoping to be able to run MacOSX for learning development. Although I am more than aware the risk and issues to carry this out but I am completely new to the world of hackintoshes and was not able to find any other threads on any of the hackintosh forums for my laptop.
I have already read what another post here in this forum to be able to make this laptop hackintosh but it seems very confusing and jargon to me.Also, I did not see anything related to NVIDIA GPU here too. If that is working on this laptop?
Could this be upgraded to Mojave(I know I am asking a lot already)?
I would be very happy to follow it all if anyone can help me understand the step by step process.
Thanks in advance!
Regards,
Abhishek
-
Hello All,
Greetings to everyone !!!
I have the same laptop specs as OP. I have Dell Vostro 3446 with A13 BIOS version and 8GB aftermarket RAM(Kingston 8GB PC3L 1600MHz Laptop RAM (KVR16LS118) to be precise) and is my daily driver and only laptop.
I am hoping to be able to run MacOSX for learning development. Although I am more than aware the risk and issues to carry this out but I am completely new to the world of hackintoshes and was not able to find any other threads on any of the hackintosh forums for my laptop.
I have already read what OP and others have posted here to be able to make his laptop hackintosh but it seems very confusing and jargon to me.Also, I did not see anything related to NVIDIA GPU here too. If that is working on this laptop?
Could this be upgraded to Mojave(I know I am asking a lot already)?
I would be very happy to follow it all if OP or anyone else can help me understand the step by step process.
Thanks in advance!
Regards,
Abhishek


Dell Vostro 3446 upgrade/clean install Mojave
in The Archive
Posted
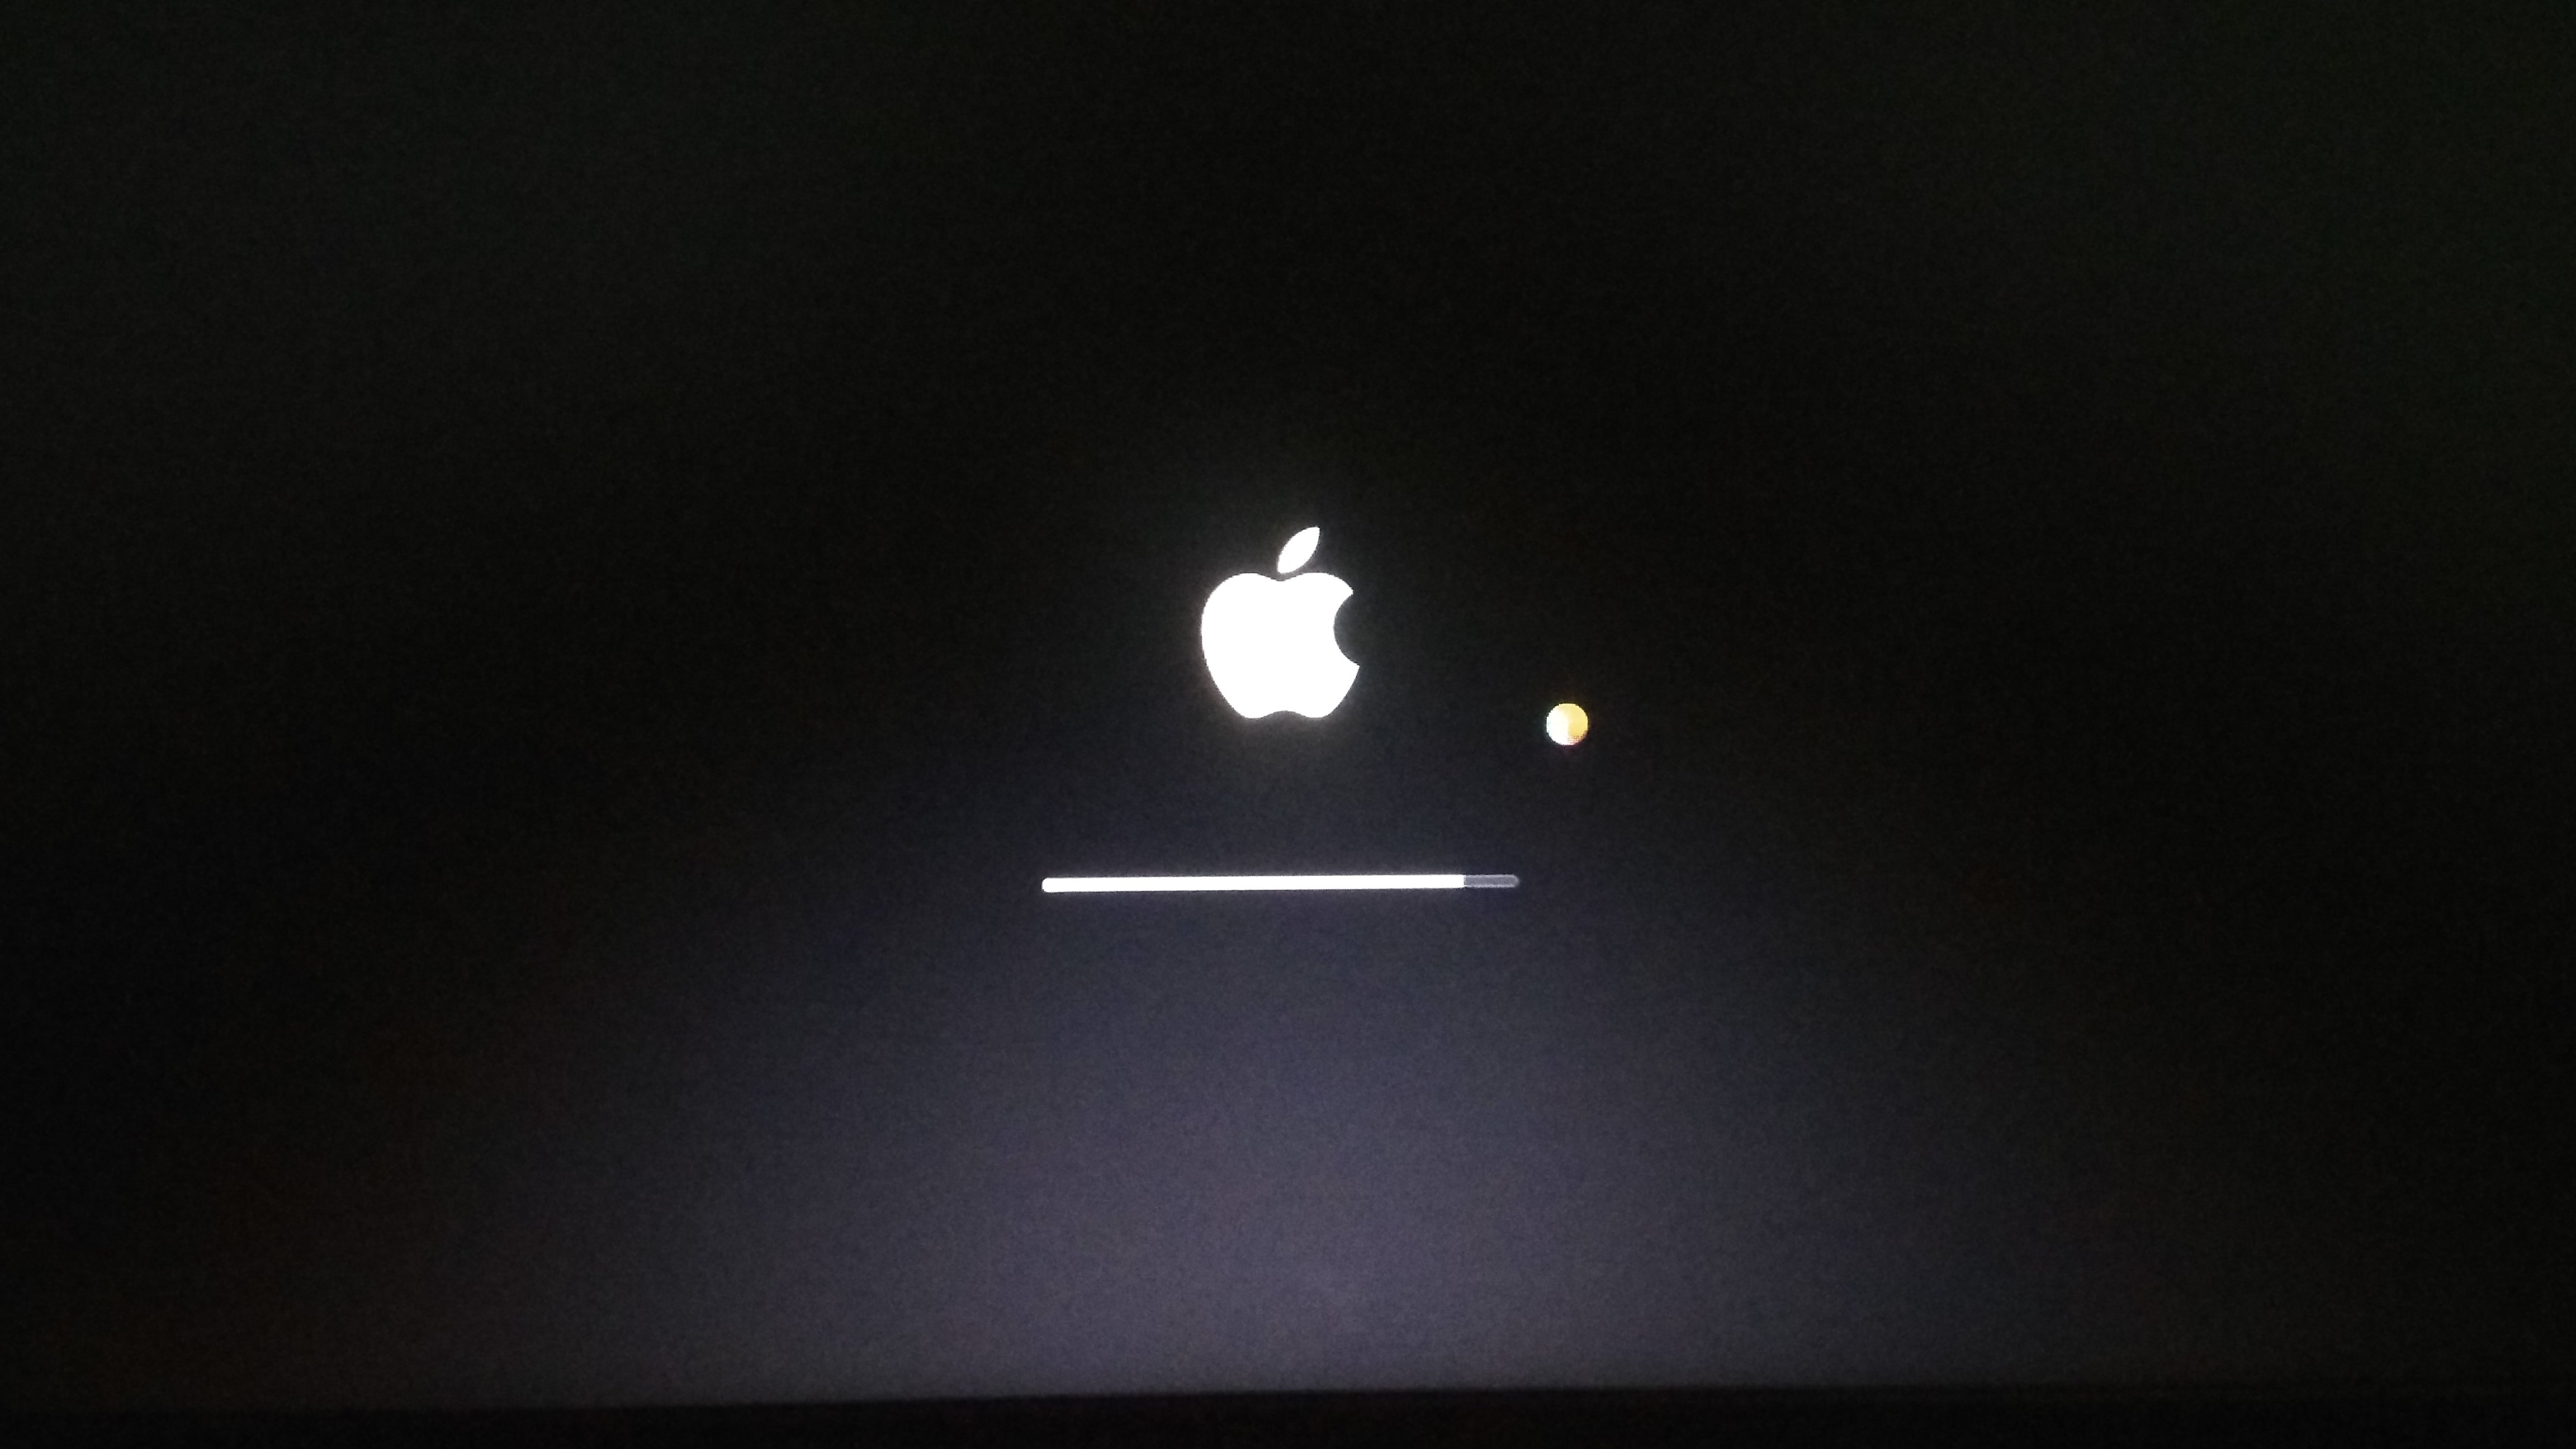
Apple released mojave and i wanted to give it a try on my this hackbook, So I tried the Mac App Store upgrade, it reboots via clover and then stuck on Apple logo and progress bar screen with nearly 10% progress.
I waited for 15 minutes on the screen and then force shutdown.
It had made an additional entry in clover, that's it.
then, I made a mojave Installer with the EFI files of my High Sierra boot HDD.
Installer boots in and presents the screen to install macOS mojave successfully, I select it to install on a new partition on the same SATA HDD, it says Installer will take 5 minutes, the process completes and then it reboots back into the second level of Apple logo and progress bar. There it stuck at almost 8.97632% of progress.
It took almost an hour and then it got through and got installed on the disk on a different partition than High sierra.
Now, when I try to boot with the mojave partition, it rests on the booting screen and terminates half way and reboots.
I could not got it working, the working audio on my existing high Sierra is borked now.
I am getting below Clover options.
Not sure where to head now. Are there any boot flag i would require or need to do anything else?
Please help.