


68x
-
Posts
34 -
Joined
-
Last visited
-
Days Won
4
Content Type
Profiles
Articles, News and Tips
Forums
Posts posted by 68x
-
-
I managed to get backlight for keyboard working on my Zenbook (on newer AppleACPI) by changing the SKBL DSDT method to:
Method (SKBL, 1, NotSerialized) { Store (Arg0, Local1) Store (DerefOf (Index (PWKB, Local1)), Local0) ^^PCI0.LPCB.EC0.WRAM (0x044B, Local0) Return (One) } -
The reason why I am recommending to use my Extra.zip is because it will get you passed the PCI begin/end error.
The newer builds of chameleon support the Zenbook, so you should be able to use more than 4GB of RAM.
-
I will upload all my changed kexts.
Please note that, I am using Clover instead of Chameleon.
-
-
I have created a guide on how to use MyHack, I have also attached my Extra folder.
-
How were u able to do this?
I bought third party antennas, specifically this, all I did was mount it to some spare screw holes. It is not the best solution, I am still looking for pigtails.
I've already spoken to Dinesh about getting my model onto EDP.
-
does wifi work for this laptop now?
The Intel wireless card will not work. Asus decided to use smaller connectors than the standard U. FL (I bought an Atheros AR9280 with external mounts).
-
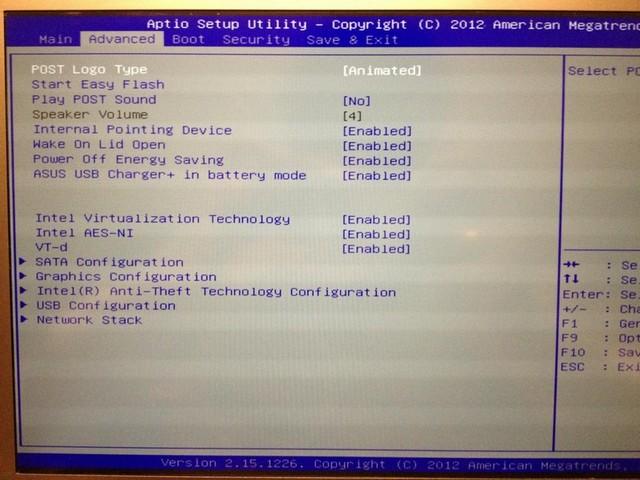
BIOS
To get into the BIOS, press F2 at the Asus logo screen.
Make sure you make the necessary edits. I have attached pictures with the necessary changes.

This is found under "SATA Configuration".
Make sure you set the "SATA Mode" to "AHC"I.
This is found under "Graphics Configuration".
Make sure that you set "DVMT Pre-Allocated" to "64M".
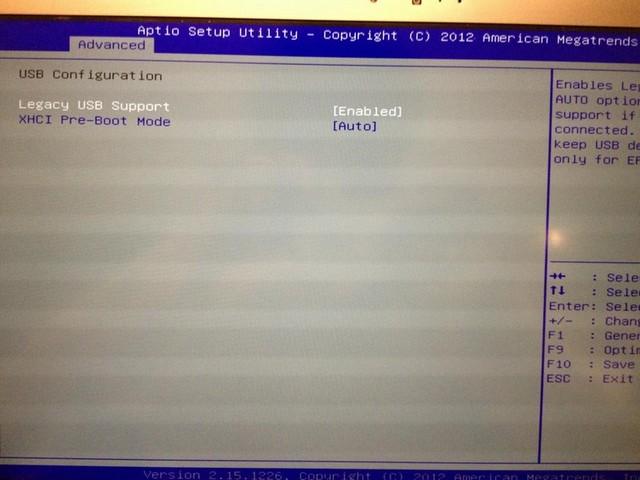
This is found under "USB Configuration".
"Legacy USB Support" should be enabled and "XHCI Pre-Boot" should be "Disable" (You have to do this to
Newer models of the UX32VD have a "Launch CSM" and "Secure Boot" option.
If you have one of these newer models, you will need to disable "Secure Boot" (it is found under "Boot" tab). You will then need to enable "Launch CSM" (under the "Advanced" tab).
USB Installer
To make the USB Installer you will need:
Access to OS X
8GB USB
Mountain Lion or Lion from the Mac App Store
First, you will need to make the USB installer. You will be using MyHack, there are very clear concise instructions here.
I also have attached pictures to make things easier for you.
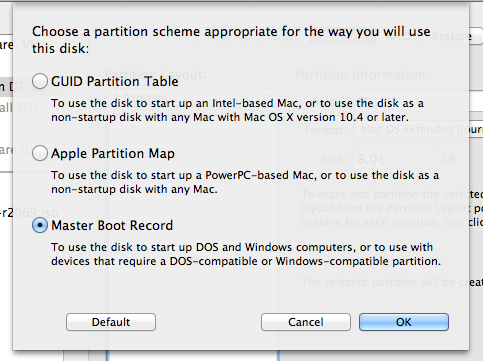
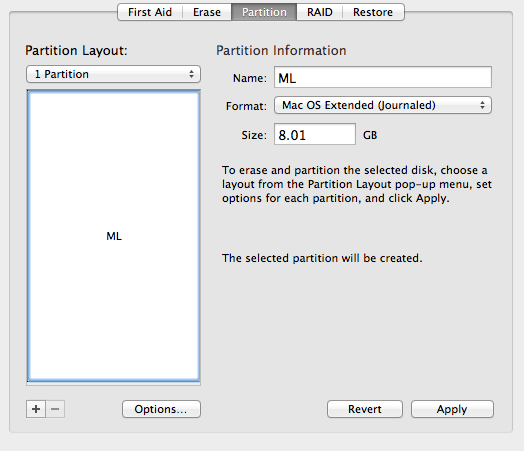
Open up Disk Utility and let's partition it so that it can be use MyHack. Note: *YOU WILL LOSE ALL DATA WHEN YOU PARTITION!*
Apply the settings like so:
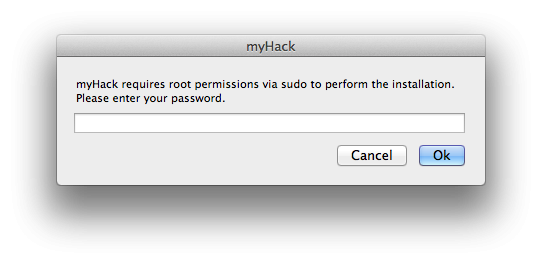
Next let's open up MyHack, when it launches you will be asked for the root password.
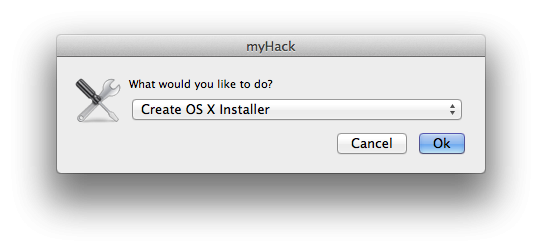
Type in the root password and a dialog similar to this will appear:
Choose "Create OSX Installer", then click OK.
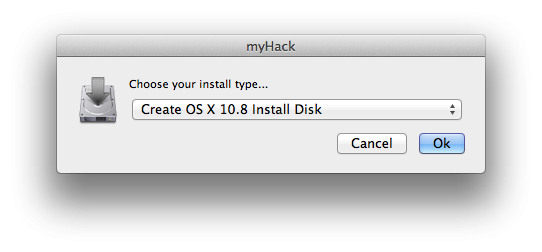
Then you will be asked to choose which version of OSX you want to use, choose:
- 10.9 for Mavericks
- 10.8 for Mountain Lion
- 10.7 for Lion
- 10.6 does not support Ivy Bridge (DO NOT USE SNOW LEOPARD)
Then you will be asked to choose where to create the installer. MyHack automatically lists all legible drives, just choose your USB from earlier.
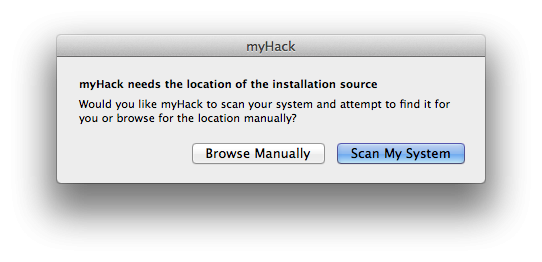
Next, it will ask you to choose the InstallESD.dmg or "Install OSX xxxx.app"
Click on "Scan My System", and MyHack will automatically list all the possible files.
Just choose the InstallESD.dmg found in "Install OSX xxx.app/Contents/SharedSupport/".
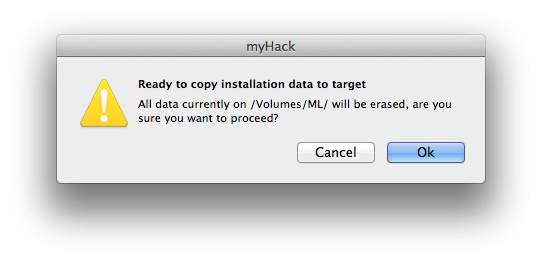
You are all set for the time being. In couple of minutes, MyHack will ask you to confirm that you want to create the installer on the USB.
Click on "Ok" and just wait for MyHack to be finished.
Once MyHack has created the USB, download the DSDT I have attached and move it to /Extra/ on the USB. This will enable you launch the USB with no problems.
Installation
Plug in your USB installer into your UX32VD.
Press ESC at the Asus logo screen. Choose the modded USB.
Note: Once bootloader loads up (you'll see an image of an apple on a USB), select your USB (use your arrow keys) then type "-x" then press enter.
Post-Installation
This guide is a work a progress.
-
 2
2


Fn HotKey and ALS sensor driver for Asus Notebooks
in Miscellaneous
Posted
Do you know which exact DSDT function effects Fn + F7? From the looks of it, it seems to be _Q10, but I am not sure.