WhiteDragon
-
Posts
31 -
Joined
-
Last visited
-
Days Won
1
Content Type
Profiles
Articles, News and Tips
Forums
Everything posted by WhiteDragon
-
My apologies, I had not checked this site in quite a while. Since my Matebook is a different model than yours (mine is an i7-8550), my DSDT and my SSDT patches may not work for you. Did you start with the files I pointed at in my initial post? If not, what did you start with? Note that my post was for exactly my model. Are you using the latest version of the following Voodoo kexts?: VoodooI2C.kext Voodoo I2CHID.kext For ACPI DSDT patches, these two are the relevant ones for the touchscreen on my system: SSDT-GPIO.aml SSDT-TPL1.aml I will try to give advice if you send me more info, but I cannot guarantee anything. - Mark
-
I've continued to update my Matebook as new versions of kexts become available. The most exciting update is that the native Intel WiFi is now working using a new itlwm kext and the new HeliPort app. They also work on the ASUS laptop I configured back in May. I have attached the versions I'm currently using. Here are the links to where I got them: https://github.com/OpenIntelWireless/HeliPort/releases https://github.com/OpenIntelWireless/itlwm/releases Cheers! - Mark HeliPort.dmg.zip itlwm_v1.0.0_stable.kext.zip
-

[SOLVED] DW1820A (#08PKF4) on Latitude E7270
WhiteDragon replied to WhiteDragon's topic in The Archive
You are correct that the second step is not necessary for the #08PKF4 version of the DW1820A. I removed them and it is still working. -
I got my DW1820A (#08PKF4) in yesterday and soon found out that the specific combo of a Latitude E7270 and the #08PKF4 variety of the DW1820A was not posted. After looking around a bit and making appropriate guesses, the following worked for me: Using the config.plist and CLOVER folder from Jake Lo's Latitude E7270 installation guide, do the following: (1) Uncomment the "PciRoot(0x0)/Pci(0x1c,0x0)/Pci(0x0,0x0)" line in the Devices Properties area using Clover Configurator. This will bring in the DW1820A device patches. (2) Add the following boot args: brcmfx-country=#a, brcmfx-driver=1. Cheers!
-
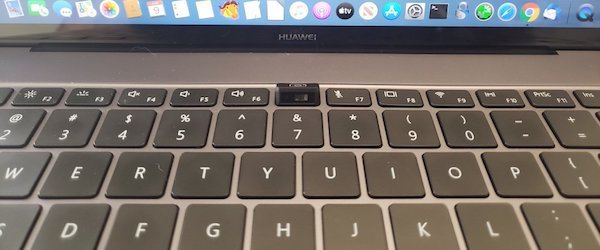
LOL! I tried it out the other day and yes, great view of my ugly chin unless I look a little bit down. Not too bad, with regard to my nostrils... (see the attached image)... If you do not look down a little, it mainly looks like you are staring up into the air. Still, I love the overall design!

-
Thanks about the view, arsradu! It's in Northern California in the SF Bay Area. I had been in the tech industry about 10 years when I bought the place about 20 years ago.
-
The kext I provided in my last post works with my Latitude E7270, too. I'm planning on replacing the internal WiFi card with a DW1820A card, but in the meantime, it is nice not needing the dongle.
-
The Matebook has an AC 8275 wireless card. I successfully got the Matebook to connect to WiFi using the attached kext. You need to modify the kext's Info.plist as follows (shown using PlistBuddy commands): /usr/libexec/PlistBuddy -c "Set :IOKitPersonalities:AppleIntelWiFi:IFConfig:NWID SSID" Info.plist /usr/libexec/PlistBuddy -c "Set :IOKitPersonalities:AppleIntelWiFi:IFConfig:WPAKEY PWD" Info.plist Where SSID is the SSID of the network you want to connect to and PWD is the WPA password of the network. Everything I have read about the kext warns to manually kextload it when you want to use it and to not put it in /S/L/E, /L/E, or Clover kexts/other because it can fail too easily and prevent the system from booting. Here is a convenient set of commands for manually loading the kext: sudo mv ./AppleIntelWiFi.kext /tmp sudo chown -R root:wheel /tmp/AppleIntelWiFi.kext sudo kextload /tmp/AppleIntelWiFi.kext The kext causes a KP if you try to kextunload it (I tried), so if you want to change to another network, you need to reboot, edit the kext, and load it. AppleIntelWiFi.kext.zip
-
When I updated my ASUS to the latest 10.15.5 update, it broke the touchscreen and touchpad. I then updated VoodooI2C.kext and VoodooI2CHID.kext to version 2.4.3 and the touchscreen worked perfectly (click, select, gestures, everything!), but the touchpad still didn’t work. I then backed out VoodooI2C.kext to version 2.3 and kept version 2.4.3 of VoodooI2CHID.kext and now both the touchscreen and touchpad work perfectly. I finally have everything on the touchscreen working along with a working touchpad!
-
I will look into the Intel Wi-Fi kexts and see if anything works out. I will post if anything is successful.
-
Thanks! I really like it -- about as close to an actual MacBook as you can get with a PC laptop. That is not the default touchpad. It is dbrand skin.
-
Unfortunately, soldered to the motherboard, so not replaceable.
-
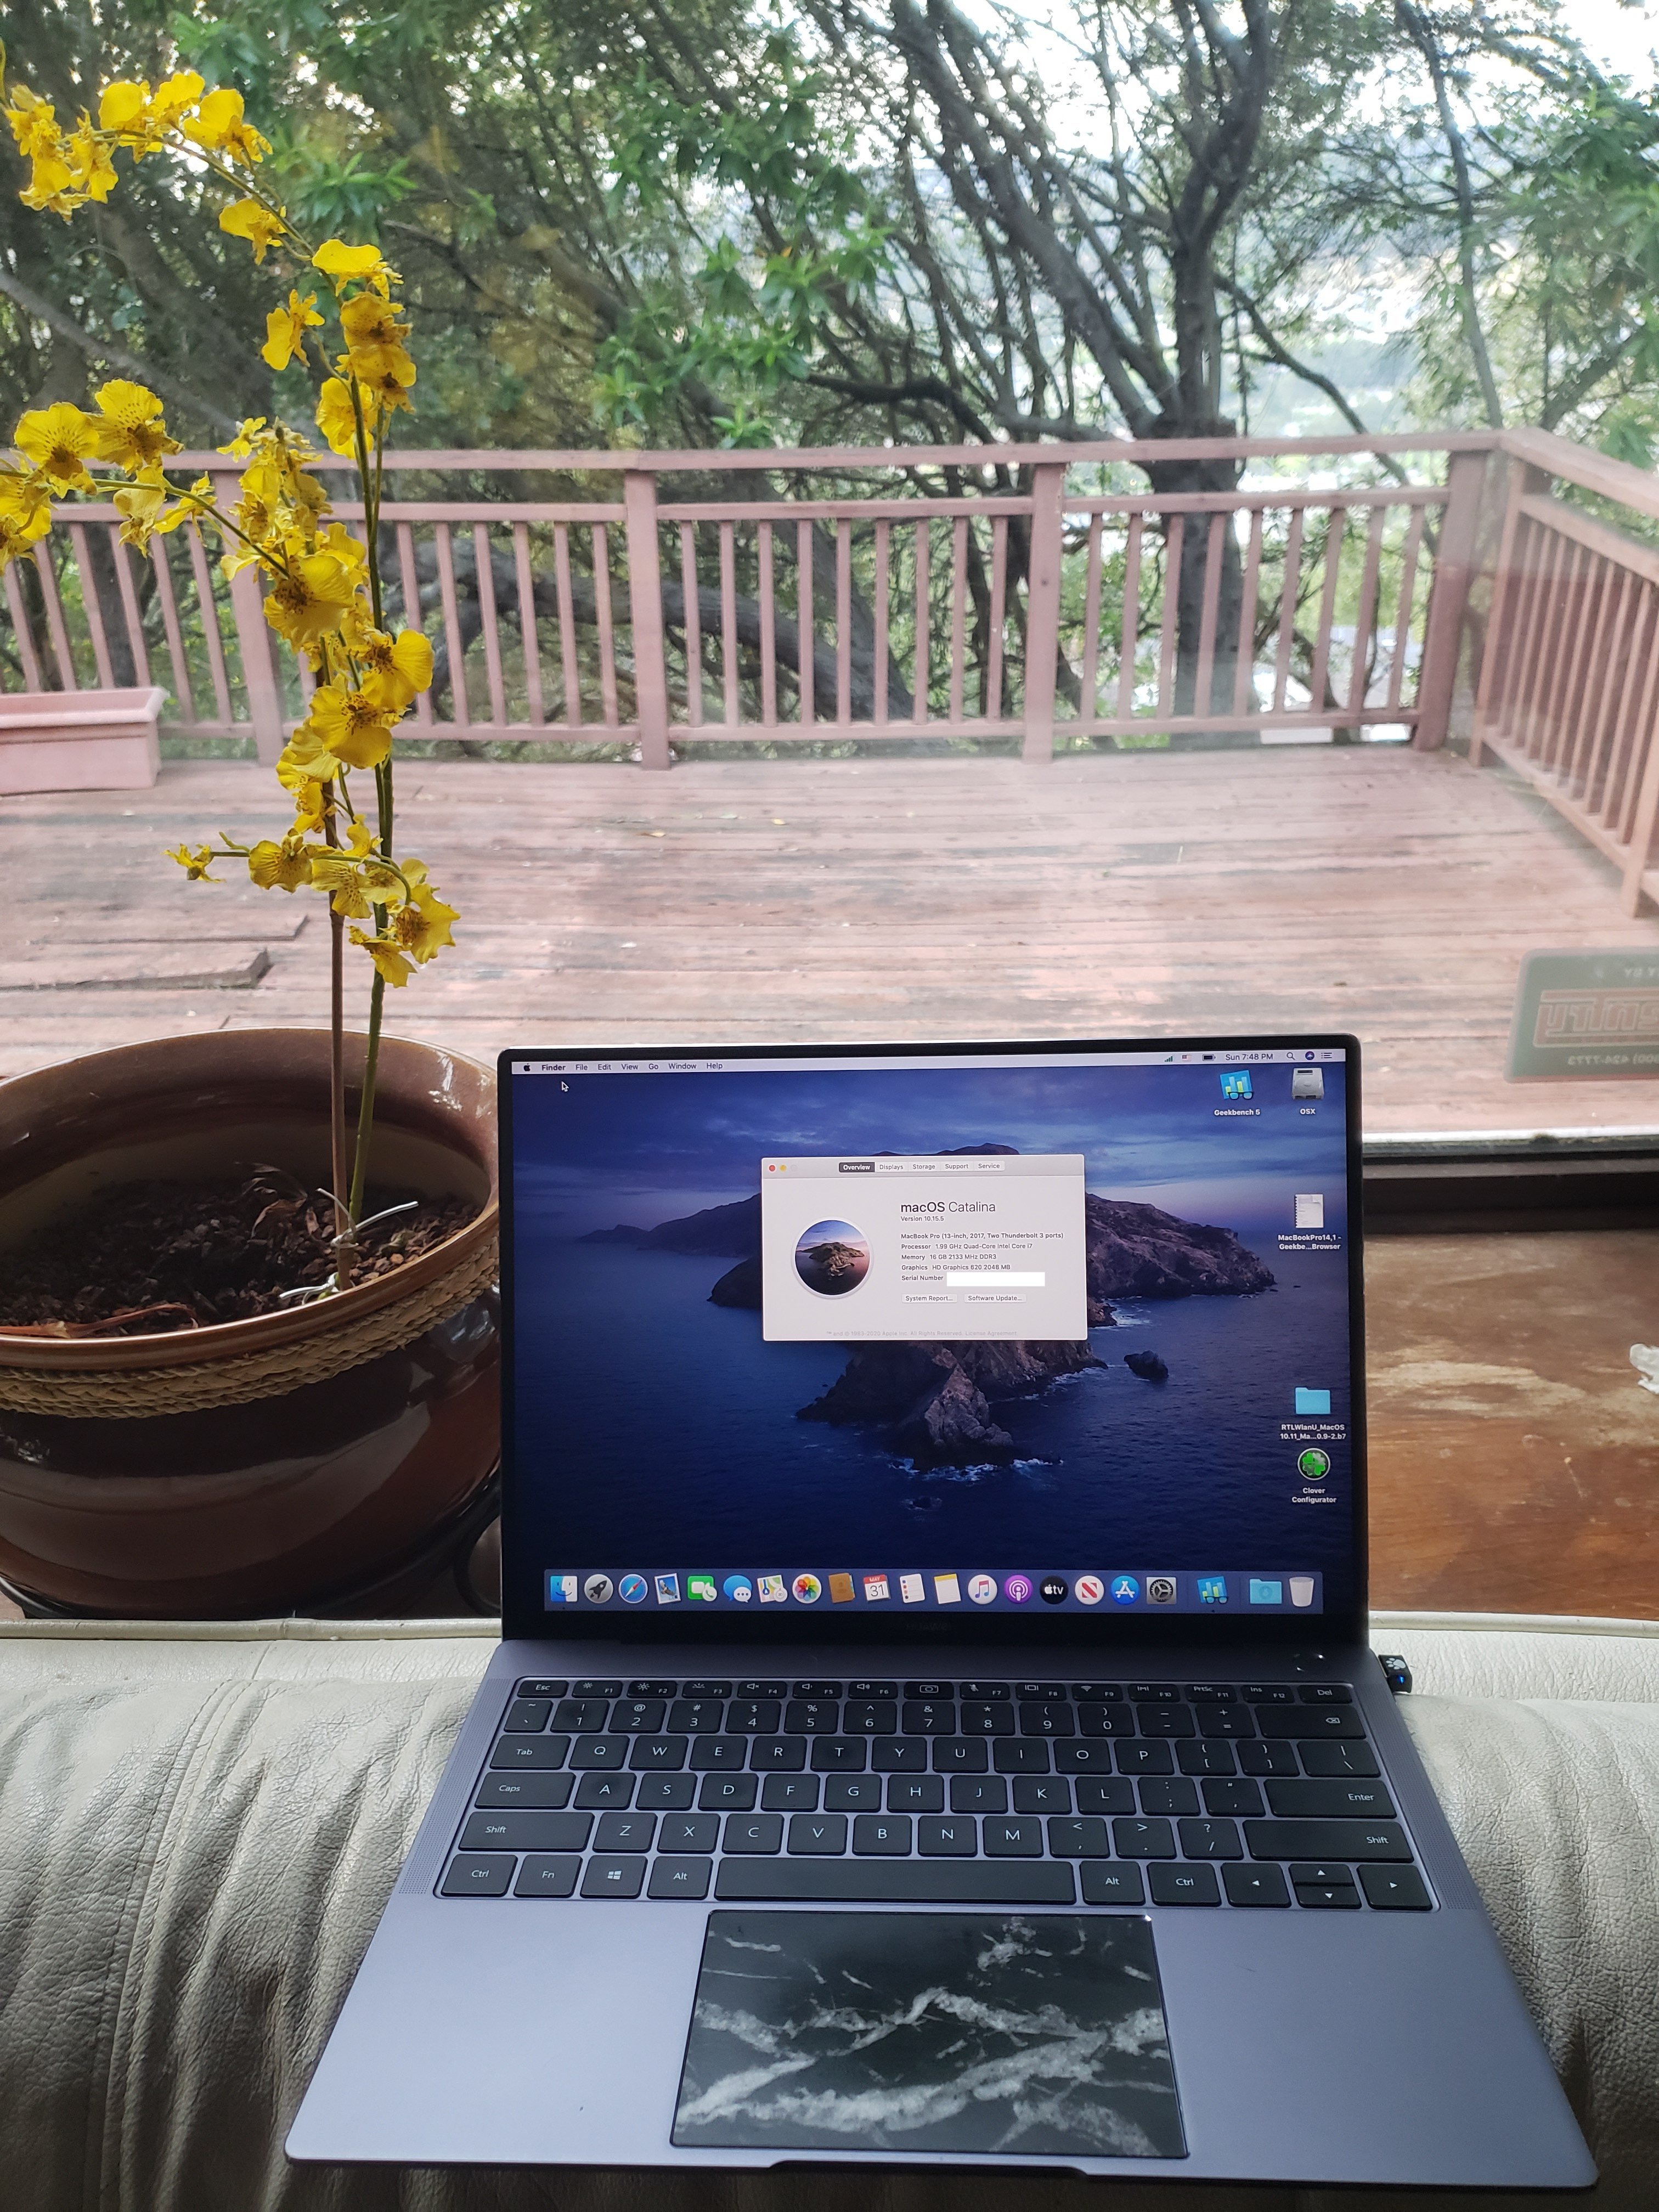
Successfully created a Huawei Matebook X Pro Hackintosh today starting with Catalina 10.15.3. 2018 stock model: i7-8550U GeForce MX150 16GB RAM 512GB SSD The CLOVER from gnodipac886's Github worked for the 10.15.3 install: https://github.com/gnodipac886/MatebookXPro-hackintosh Thank you gnodipac886! I created a UEFI-bootable USB with a Cover partition and a Catalina install partition. I used the direct CLOVER folder from Github and the config.plist provided, not the config-install.plist, and the install worked without issues. I then upgraded the laptop to Catalina 10.15.5 and it hung on loading the Intel graphics firmware, so I added -disablegfxfirmware to the Clover boot args and successfully upgraded to 10.15.5 through system preferences software update. All major features are working: Touchpad Touchscreen Battery Status Backlit Keyboard Sleep I'm using a dongle for the Wi-Fi. Cheers!
-
[Success] 10.15.4 on a Dell Latitude E7270 M.2 12.5" Touch
WhiteDragon replied to WhiteDragon's topic in The Archive
In response to the Elan statement from Jake Lo, on the ASUS laptop I hacked, I had an Elan 9008 touchscreen that I got partially working using VoodooI2C.kext and VoodooI2CHID.kext and GPIO pinning. Cursor follow and gestures wok, so I can move the cursor and scroll with the Elan touchscreen. I have not been able to get clicking/selecting to work, yet. -
[Success] 10.15.4 on a Dell Latitude E7270 M.2 12.5" Touch
WhiteDragon replied to WhiteDragon's topic in The Archive
In response to Jake Lo: Yes, my E7270 touchscreen is an Atmel. The vendor ID x03EB is the Atmel vendor ID. -
[Success] 10.15.4 on a Dell Latitude E7270 M.2 12.5" Touch
WhiteDragon replied to WhiteDragon's topic in The Archive
Quick Touch-Base touchscreen driver "primer": (1) Research the vendor ID and product ID and interface type (USB versus I2C) of your touchscreen. Touch-Base will NOT work with I2C devices. For my E7270, the vendor ID is x03EB and the product ID is x8A83 -- I found them using the Windows Device Manager. (2) Go to https://touch-base.com/download and download and run the Mac version of the UPDD utility (upddui.dmg). (3) If the UPDD utility automatically detects and determines what your device is, you are golden. If it does not, provide the vendor ID and model ID of the touchscreen and all other system information requested. (4) Submit a driver request. Touch-Base sent me a driver within minutes, so they already had a good matching driver for my E7270. You can try it out for 30 days before purchasing it. Unfortunately, it is pricey. It will cost you $123.50 for the driver plus lifetime warranty/maintenance. $114 for the driver plus 5 years of warranty/maintenance and $104.50 for the driver plus one year of warranty/maintenance. The driver with no warranty or maintenance is $95. Cheers! -
[Success] 10.15.4 on a Dell Latitude E7270 M.2 12.5" Touch
WhiteDragon replied to WhiteDragon's topic in The Archive
Based on the conversation I have been having with Jake Lo, it is clear that there are a number of different configurations of the E7270. It would be a safe bet to use Jake Lo's boot pack in his E7X70 guide, than to use my EFI, because Jake's is more generic. You could can certainly try my EFI and it might work for the install, but I used Jake Lo's EFI for the install, so I cannot be certain. No matter what you decide to do, please note the following: (1) I did my initial install using Jake Lo's EFI with 10.15.3. (2) I recommend that you use the latest Clover (I believe it is currently 5112). (3) If you run into a kernel panic with 10.15.4 due to graphics firmware load retries, I fixed it with the "-disablegfxfirmware" Clover boot arg. (4) You should consider updating whatever EFI you use with the latest kexts. (5) If you install with Jake Lo's EFI, then it is definitely worth trying my EFI for the post-install boot. By the way, I used the Windows Disk Manager to split my 256GB drive into 53GB (Windows) and 203GB (OSX) partitions and made mine a dual-boot system. Good luck! -
[Success] 10.15.4 on a Dell Latitude E7270 M.2 12.5" Touch
WhiteDragon replied to WhiteDragon's topic in The Archive
The touchpad was working fine before I installed the UPDD driver. I deleted the ApplePS2Controller.kext before installing the UPDD driver and the trackpad continued to work well. Installing the UPDD driver got the touchscreen working. I generated the debug files and attached them. My kexts are in the debug files. I can boot up in windows and get the touchpad hardware ID from the device manager. Let me know if that would be helpful to you. debug_17857.zip -
[Success] 10.15.4 on a Dell Latitude E7270 M.2 12.5" Touch
WhiteDragon replied to WhiteDragon's topic in The Archive
I will download, unzip, and run the install tools script for you later tonight. I have attached my IORegistryExplorer save to this reply, in case it will be useful. Mark’s HackBook Air IOReg.zip -
[Success] 10.15.4 on a Dell Latitude E7270 M.2 12.5" Touch
WhiteDragon replied to WhiteDragon's topic in The Archive
Yes it is. It is a little pricey, so I have not decided if I will buy it yet or not, but it works very well. -
[Success] 10.15.4 on a Dell Latitude E7270 M.2 12.5" Touch
WhiteDragon replied to WhiteDragon's topic in The Archive
I installed a custom Touch-Base driver and the touchscreen works perfectly! Follow, click, select, two-finger scroll -- everything I want from it! Thanks again, Jake Lo! -
[Success] 10.15.4 on a Dell Latitude E7270 M.2 12.5" Touch
WhiteDragon replied to WhiteDragon's topic in The Archive
The trackpad and keyboard work nicely with the latest Acidanthra VoodooPS2Controller.kext. I'm very happy with how the trackpad is working -- smooth cursor movement and good two-finger scroll control. The touchscreen is definitely USB-based. The device is seen by both the system report and IORegistryExplorer. The touchscreen is an Atmel chip touchscreen and I know what USB port it is on. I do not see an Ink preference. I will definitely look into Touch-Base and experiment more. I eliminated the ApplePS2Controller.kext and my SSDT-UIAC.aml (and kept my USBPorts.kext) and no noticeable difference. Less is always better. Does your E7270 have 3 external USB ports? Mine has one on the right side and two on the back. The two on the back didn't work with your initial bootpack. that is why I reconfigured the USB ports. Thanks for the guidance! -
[Success] 10.15.4 on a Dell Latitude E7270 M.2 12.5" Touch
WhiteDragon posted a topic in The Archive
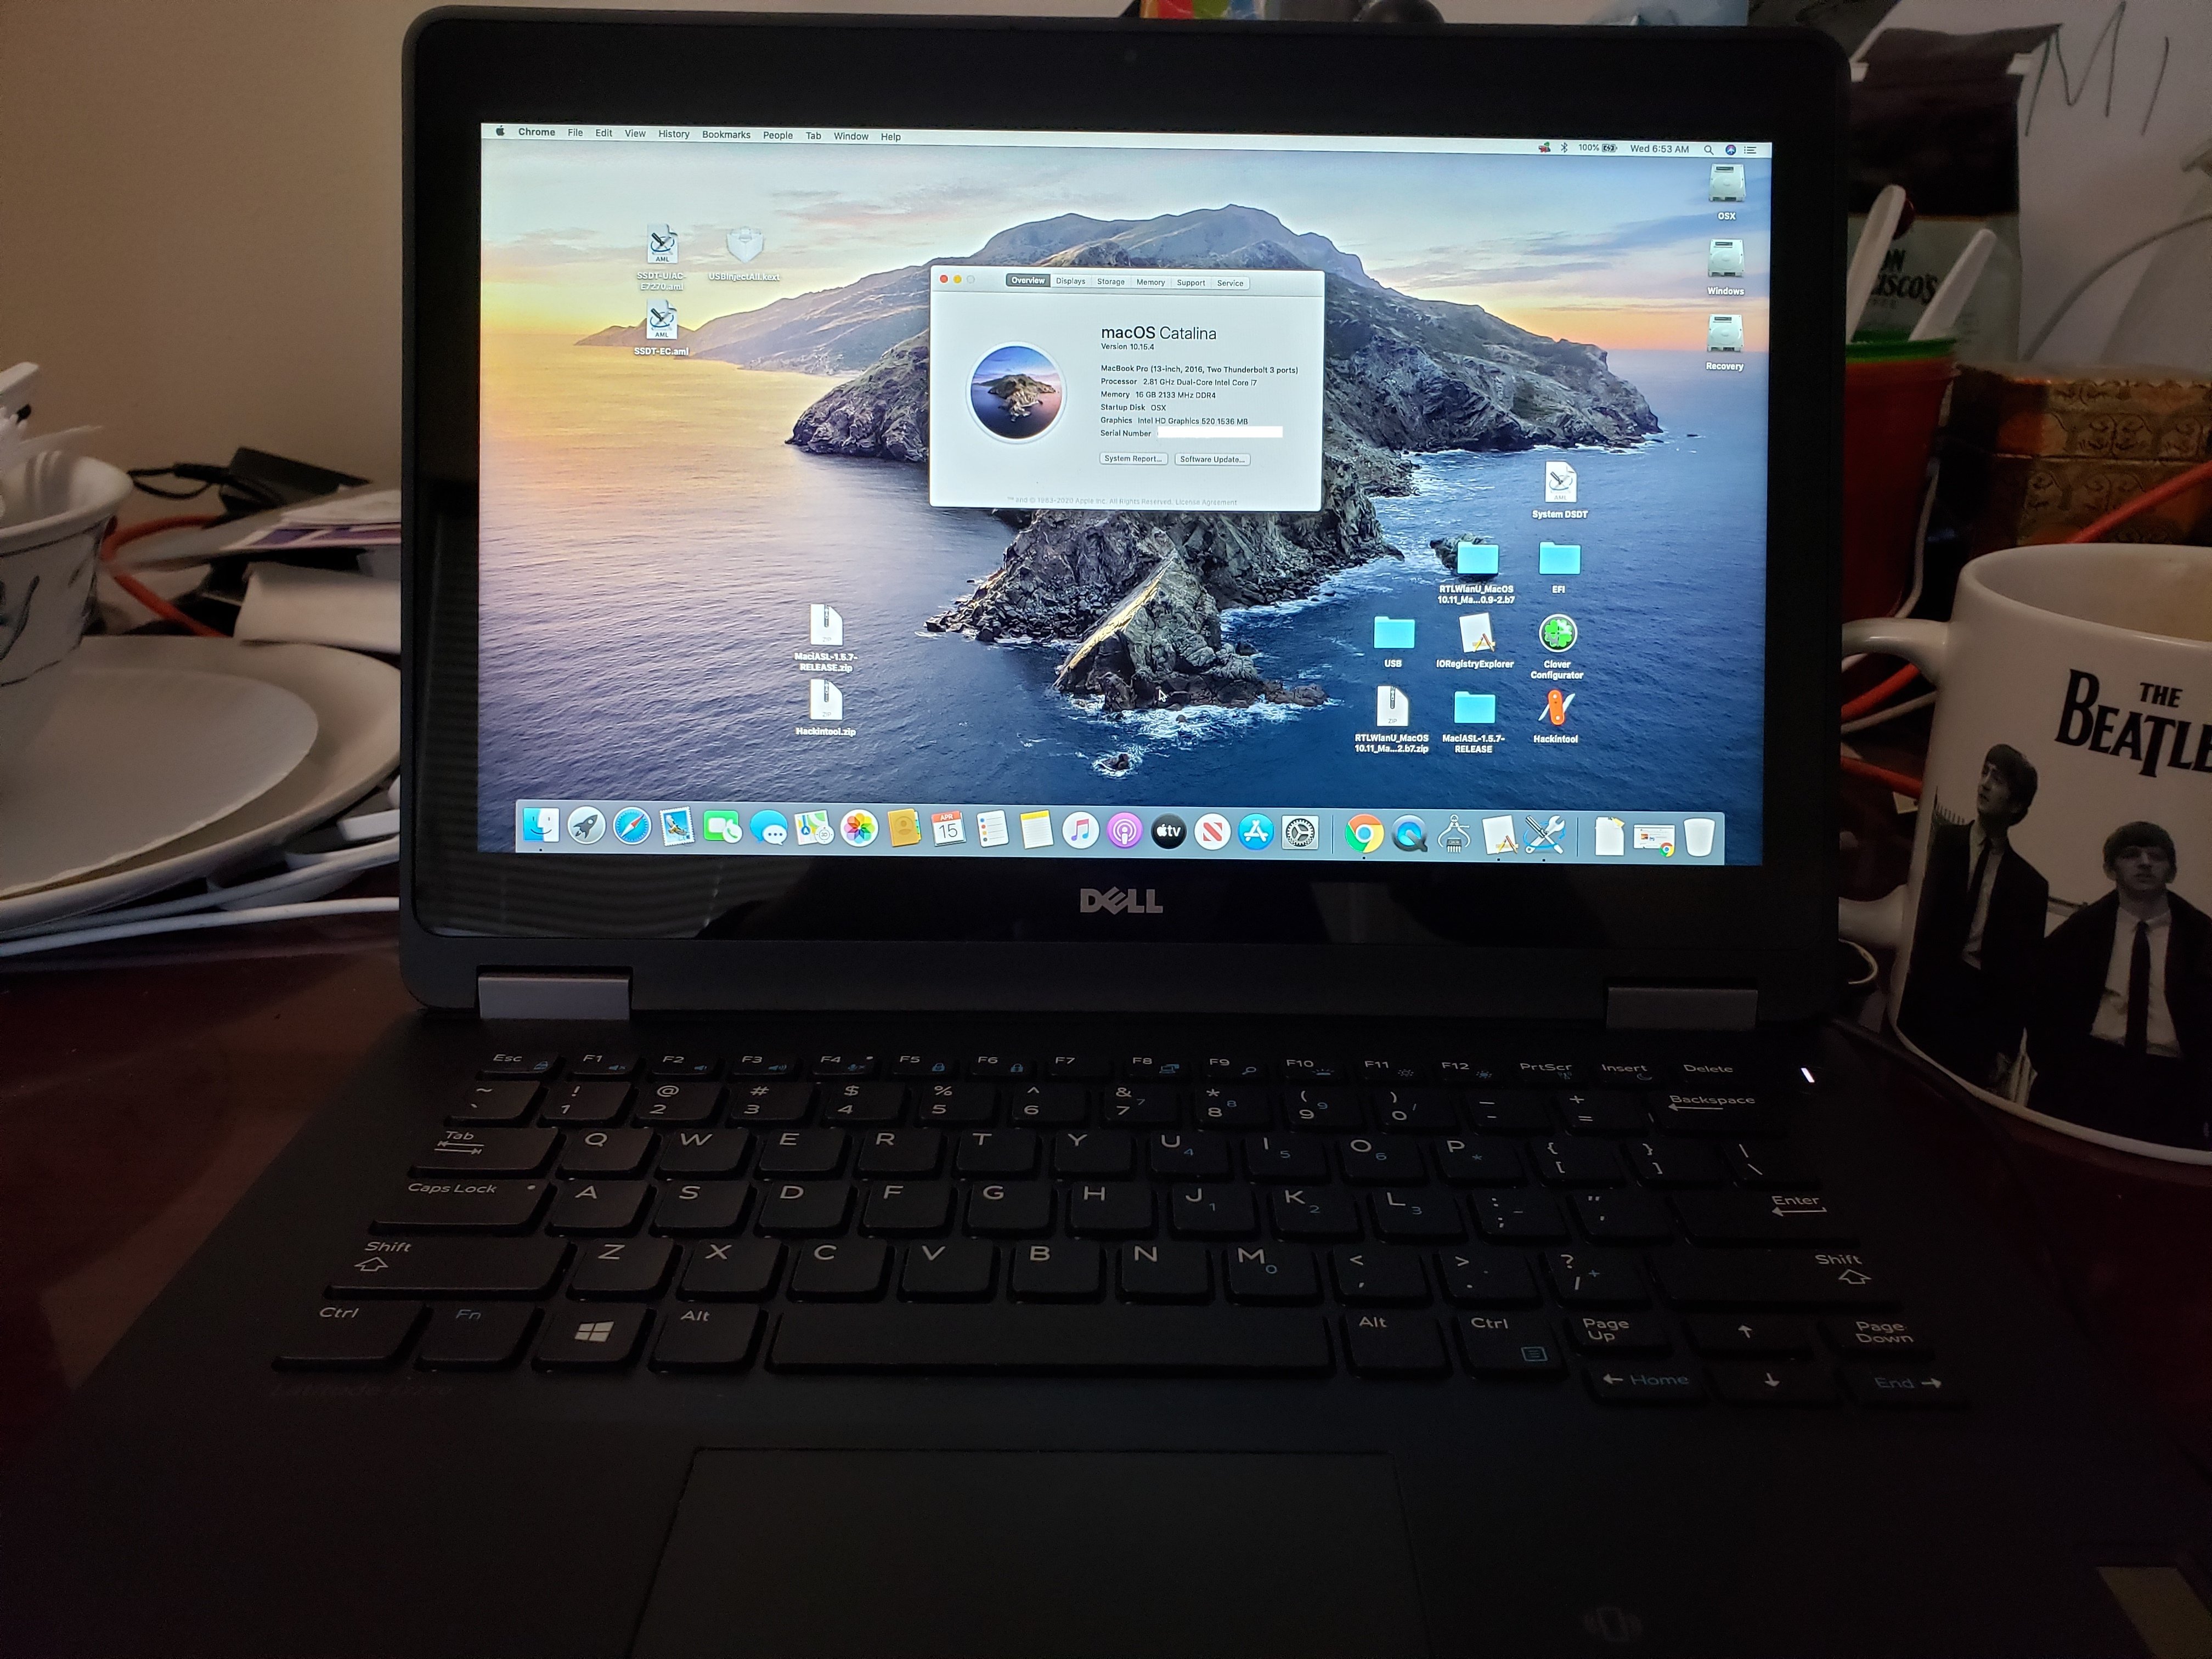
A shout out to Jake Lo -- great guide for Dell Latitude 7X70 laptops! It took me about an hour or so to get it up and running with 10.15.3 (with minor issues): CPU: i7-6600U 2.6GHz GPU: HD 520 RAM: 16GB SSD: 256GB I set it up as dual boot with Windows 10, by copying my Clover EFI to the Windows System EFI and adding the following boot option via the BIOS: \EFI\CLOVER\CLOVERX64.efi The USB flash drive I used with my Catalina install media was using HFS+J, so I added the HFSPlus.efi driver to the initial bootpack. When I upgraded the laptop to 10.15.4, it hit a graphics firmware loading problem (50 retries and a kernel panic) during the 10.15.4 boot. I used the Clover arg "-disablegfxfirmware" to solve the problem. I also ran into an issue (hang at the Apple logo) with the 10.15.4 update with Clover 5102 (I was being lazy). Upgrading Clover to 5112 solved the problem. After reading related posts, I recommend using at least Clover 5107+. The laptop has 3 external USB ports. Only one was working after the initial install. I had to use Hackintool to inject all possible ports and then tested each port with a device. I ended up with 9 live ports (including the internal ports) and after generating and adding USBPorts.kext and the accompanying SSDTs, all of the external ports worked. It also fixed the Bluetooth function. I'm now trying to see if I can get the touchscreen to work, but that would be icing on the cake. The laptop is working well! I've provided my Clover files in case anyone might want to use them. Thanks for a great guide, Jake Lo! CLOVER.zip
-
I tried the _PRW patch with properly labeled USB ports and ran into various issues. I ended going back to labeling the ports "internal" for now and everything is working well. I may explore this more in the future.
-
Thanks for replying, Herve! I was trying to be humble on the "not knowing what I'm doing" part. I will modify my post to address. The specs of this laptop are very well defined and easy to look up, so I thought the exact model was adequate, but I will definitely oblige. Since I am not going to attempt the Kernel LAPIC patch on this particular laptop, I will not change the "cpus=1" boot arg at this time. Clarification: I was not going to change the "cpus=1" boot arg in my original post because it is already a working system and I already eliminated that arg later in the install and in the post install. Is there a reason to use this patch on my working system? I will definitely take advantage of Jake Lo's guide when I start on the Latitude E7270. Cheers!