
Leaderboard

Popular Content
Showing content with the highest reputation on 05/03/22 in all areas
-
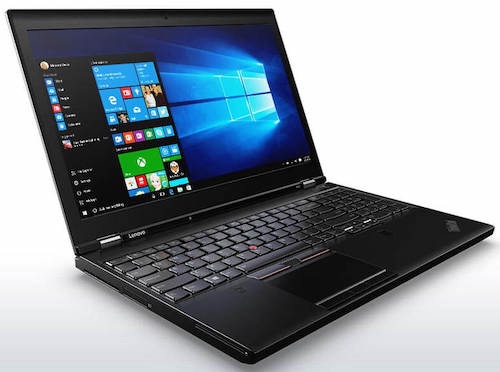
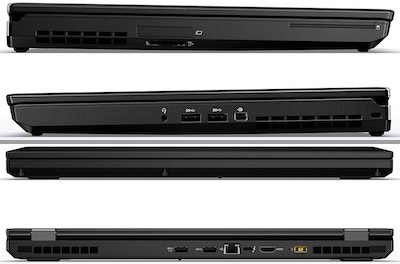
Hello all fellow Hackintoshers, In this guide, I'll be hackintoshing a Lenovo ThinkPad P50 Mobile-Workstation. From its time period, it's one of the better built systems that has an inner magnesium-alloy inside. I think that this particular workstation is a step above some of its competitors from 2016 and also, for me, was a better choice for a few reasons: Intel Core i7-6700hq or up to an Intel Xeon E3-1505m CPU with ECC memory. Up to 120hz (optional) 1920x1080p display IPS or a 4k UHD 3840x2160 IPS display Up 64gb DDR4 2133MHz RAM Up to 2 SATA SSD's or 2 NVME SSD's and 1 SATA SSD (HDD OR SSD) Fully supported trackpad (mac-like trackpad) Intel 8260ngw WIFI and Bluetooth supported (Airdrop, etc..) Hot swappable battery (6 cell, 90wh) So, the current specs of my machine are as follows: 1. Intel Quad-Core Intel Core i7-6700HQ 2.6GHz-3.5GHz with a TDP of 45 watts with 6MB of L3 cache 2. 32GB 2133MHz of DDR4 RAM 3. 512GB NVME Samsung OEM from Lenovo (OEM Lenovo Windows 10 Install) 4. 1TB 5400RPM WD Mechanical Drive (Currently macOS Catalina 10.15.7) 5. Intel WIFI/Bluetooth 7260NGW combo card 6. 1920x1080P IPS 60Hz display As you can see, this Hackintosh from 2016 is still capable up to 10.15.7 macOS Catalina. My machine is running 10.4.6 macOS Mojave. I will note that with the Clover EFI being posted, I'm not sure if it'll have everything working under Catalina, but mostly everything works under macOS Mojave. Now, with the specs out of the way, let's dig into this Hackintosh guide: 1/ BIOS Configuration: In order to have a working and bootable macOS USB, we need to change some setting in the Lenovo BIOS. To do that, press the F1 key to enter the BIOS setup. The settings that need to are UEFI support and CSM support to no. To access those settings, go under the boot section, set the boot mode to UEFI only boot and change the CSM support to no. Also, make the Mac drive (HDD/SSD) as the main boot drive. I did change other settings but ended up causing a kernel panick. Now, with the setting out of the way, time to install macOS. 2/ Creating the macOS Mojave USB: For me this was the easiest step as I already had the USB premade on a drive but I will paste the command that I used into this guide. In order to make this Hackintosh 99%, you will either need a Mac. In order to make the bootable USB disk, open up Terminal and copy + paste this command: sudo /Applications/Install\ macOS\ Mojave.app/Contents/Resources/createinstallmedia --volume /Volumes/MyVolume Once the USB command is then copied into Terminal, you'll want to wait 10-15 minutes, or however long it'll take depending on the USB drive. Once that is done, let's move onto the next step. 3/ Putting the EFI folder into the EFI partition of the USB: Now, this step is quite simple. All you want to do is mount the EFI partition using a program called ESP Mounter Pro. Once mounted, then simply copy and paste the Clover EFI folder into the EFI partition of the USB drive. Once that is done, now it's time to boot, change some settings in the BIOS and install macOS Mojave. 4/ Installing macOS Mojave: For me, to get a fully bootable Clover setup took me a long time to get working with all of the stuff that I wanted to have working. To boot the macOS USB drive, press F12 to have access to the boot menu. Once done, use the arrow key to select the USB drive (mine was a SanDisk 128gb Ultra drive), and boot to the Clover menu then into the installer. From here, go to disk utility, erase your HDD or SSD, then install Mojave. Once that's done, the actual time to install macOS will take anything from 16-30 minutes, depending on your HDD or SSD drive. After the install, setup the OS like a real Mac and then, we'll make the HDD/SSD bootable. 5/ Making the HDD/SSD bootable: Making this bootable is pretty much the same as making the USB bootable. Use ESP Mounter Pro to mount the EFI partition of the HDD/SSD. Once EFI is mounted, reboot and enjoy a fully working "BlackBook Pro!" In conclusion, I really like this laptop as it has a fantastic keyboard and great storage options. For me, running macOS Mojave on a WD Black HDD is not the worst of experience. I find it quite fast and stable but only time will tell. I will try to have this guide kept open if there's any issues that occur. Other than that, happy Hackintoshing your Lenovo ThinkPad P50 Mobile-Workstation! I want to give credits to Jake Lo for helping me create a working EFI folder and making my system bootable. Latest Lenovo P50 BP.zip You want to the Intel Bluetooth and WIFI kexts into EFI/Clover/KextsOther. I wouldn't modify the actual kext files that are installed with macOS unless you've got experience. IO80211Family.kext.zip Intel Bluetooth.zip
 1 point
This leaderboard is set to London/GMT+01:00