Andy
-
Posts
89 -
Joined
-
Last visited
-
Days Won
2
Content Type
Profiles
Articles, News and Tips
Forums
Everything posted by Andy
-
D620 Lost Wireless and Video problem after update from 10.6.2 to 10.6.8
Andy replied to tak0209's topic in The Archive
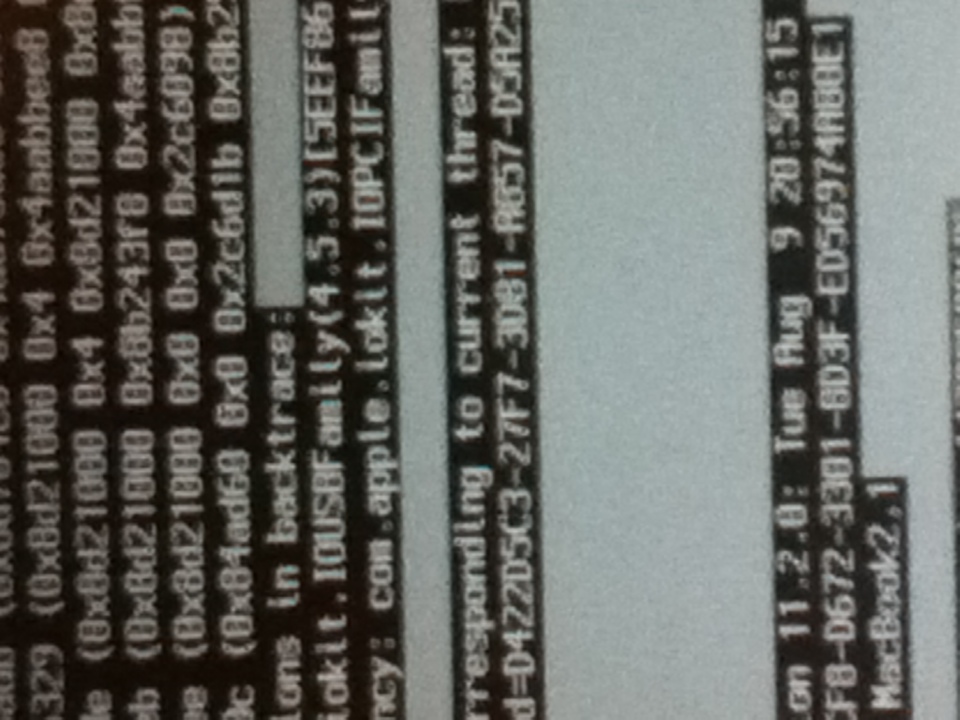
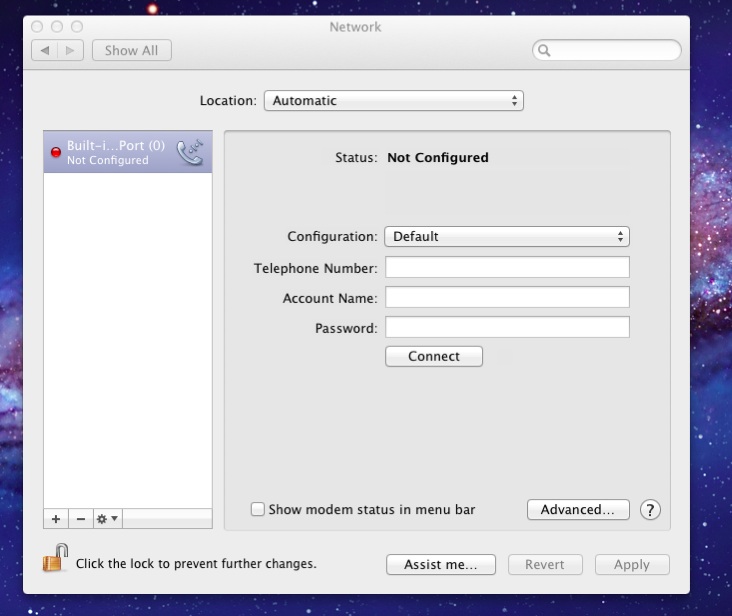
Make sure wireless is enabled in the BIOS, and the switch on the left side is on, Then go to Sys pref-- Network and see if the wireless card is recognized. In my laptop the Dell 1390 is even recognized by OSX installer. Here is how my Network looks : NK.tiff -
D620 Lost Wireless and Video problem after update from 10.6.2 to 10.6.8
Andy replied to tak0209's topic in The Archive
Run EDP 1.9.2 , should help. -
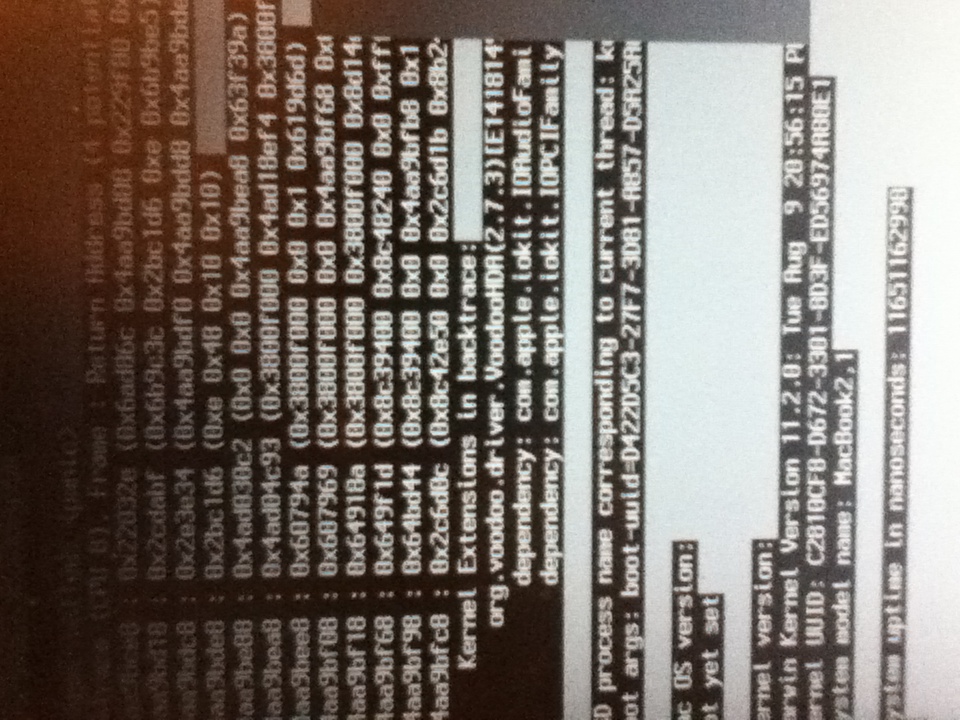
I upgraded to EDP2.2 on 10.7.2 . It was looking good for not KPing, but eventually on the 7-8 reboots, it KPed twice in row voodooHDA (2.7.3) . On the reboot that was followed by KP, I had many windows open . Without closing any windows I restated which KPed twice.
-
It is my understanding that the Extra folder from the boot pack is placed in the USB pen and only used during the install process. When OSX install is finished and EDP is run, then the specific Extra folder is now installed on the OSX partition. So let EDP install the Extra Folder on the hard drive.
-
After repairing permissions, it did KP on voodooHDA once out of 4 tries.
-
I will try the repairing permissions first. I was hesistant to run the new EDP2.2 on top of beta one in case it caused more trouble. Also, for learning purposes I wanted to ask if I can get the EDP2.2 as folder rather than a pkg file. Thanks.
-
Running OS Lion with the laptop in signature, EDP2.2B I get occasional KP'S, sometimes 1 , sometimes 2 in row before she boots ok into OSX. Can some one tell me how this can happen when it boots so many times successfully, and if there is fix for it with details. Thank you in advance.

-
Probably a video cable being stressed as it exit the LCD thru the hinges. Download the service manual from Dell, it shows how to remove the button/LED plastic cover, then wiggle the LCD cable and see what happens. While there, press the end connector to the mother board.
-
wiki=Homepage=osxlatitude.com I believe there is no upgrade, you have to do a new build. You can also try the unifail from tonycrap site. I have used both and they do about the same. As far as using VM to do your USB, I can not tell you. I do not have that much experience myself.
-
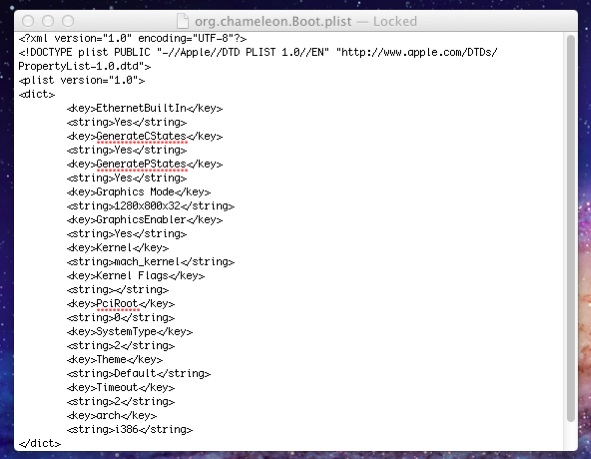
Even in my D620 Lion, I get a KP out of 7-8 boots, and when I boot with -v, it will not KP. So far now, I am not messing with it. Looks to me that OSX is not as resilient as at least Win7, but I never owned real MAC. I can not help you much, my knowledge is pretty limited. Maybe one of the core crew will help you, or someone with the same model can post their org.....Boot.plist .
-
I noticed that when moving a hard drive from D620 with Intel Graphics into a D620 with Nvidia, it worked nicely even at 1140x900 res. So you may want to try this; run the edptool from /Extra and choose Intel Graphic model. You are correct about the people running this site , and making these packages. It does simplify this process. Without it, will take for ever to bring up one of these laptops. I am trying to bring up a MSI netbook with no luck so far.
-
When I made my USB Lion drive, I selected MAC OS Extended Journaled . Also make sure you select the Laptop support in Myhack. I noticed that whatever you name the USB drive, Myhack will rename it to myHAck OS install or something like that. After my hack is finished, you can add the EDP , boot pack , and even the 10.7.2 update to USB drive. Hope this helps.
-
You can try the 10.6.8 combo update from Apple site. Also try the item 2 in EDP, run EDP from the root /Extra as described : http://www.osxlatitude.com/edp-do-a-new-build/
-
I used the new EDP2.2 on a Lion install, and it worked well on D620 with Nvidia video/1440x900 LCD. For some reason on this machine/build, I do not have the Brightness adjust in SYS Pref/Displays. Thanks to all the OXL crew for the new EDP.
-
Awesome, thanks.
-
Would someone please show me a link to EDP2.2beta? I used it a week ago, now can not find it anymore! Thanks.
-
I have the same sound card in my D620, and it worked fine in SL and Lion. Try deleting the Extra folder from the root, and replace it with the Extra folder from the EDP2.2b , then run the edptool.command from within the folder by double clicking on it. Do items 1, and 2. It may help. Good luck.
-
An alternate way is to use an iboot (chameleon, stolen and rebranded) CD, ( google it and download, burn CD). DO your first install, get into OSX, then make your USB pen drive. That's what I did about three weeks ago as I had no mac or 8GB usb drive. Once you are in OSX, you can install the EDP. Good luck.
-
theunoticeable, Look at the post I had on Dual boot success. Much easier and straight forward. After win7 is installed, its boot loader takes over. Just reboot with USB pen or iboot (chameleon, stolen and rebranded) CD, then you should see three icons. From there, boot into OSX, download chimera (chameleon, stolen and rebranded) stand alone, and install on the OSX partition. Remove USB pen, and reboot. Hit any key when you see the boot loader, then you will see two icons, OSX and Windows NTFS. If you run chameleon after win7 is installed, it will corrupt the win7 and you have to reinstall win7. Good luck, and post back.
-
Hello, I would like to make an update in wiki to the Dual Boot procedure. I have repeated these steps two seperate times on two Latitude D620's. The current scheme in wiki did not work for me, plus requires terminal work. 1. Follow the procedures in wiki to install OS X in your machine. For new install, choose 2 partitions for volume scheme. For existing install that has only one partition, boot into OSX install, then Diskutil. Resize the disk by grabbing the bottom right corner of the partition, move up to allocate at least 25GB for win7. Then click on bottom section, and click on the + sign below it. Name this partition Windows, MS-DOS (FAT). Apply. 2. Install win7 to the windows partition. After win7 is set up, it will act as a single OS. 3. Using USB OSX pen drive or iboot (chameleon, stolen and rebranded) CD, boot your system. When you see the chameleon boot loader , hit any key within 2 seconds. Now you will see three icons to choose from, USB pen/iboot (chameleon, stolen and rebranded) , OSX , Windows. Boot into OSX. Download and install the chimera (chameleon, stolen and rebranded) standalone to the OSX partition. 4. Shut down, remove USB pen/iboot (chameleon, stolen and rebranded) CD. Power on, when you see the bootloader, hit any key. Now you see two icons: OSX , and Windows. You are done.
-
Bronxtech, I did as you said, and I got the LAN working. Thanks again.
-
I see there is EDP2.2 beta, I downloaded and extracted the Extra folder, Placed the Extra Folder in Documents. I really do not know what to do with it now. When running edptool from my document, it says it should be run from Extra folder. So, I copied the EDP2.2 Extra folder to the /Extra. Ran edptool, did items 1 to select model, item 2 to do the fixes. After reboot, brightness is good, but still no LAN. Please help.
-
I am newbie too, started here two weeks ago. Do lots of reading. This is by far the best site for Latitude model. All your questions are answered in wiki=home page=osxlatitude.com . You might as well start with Lion, I found the install/post install really easy. Even sleep worked right away in Lion, but not SL. I have D620 model, worked well with SL and Lion.
-
I have to thank the guys that wrote the Lion Installation procedures as I followed the instructions from wiki, and it went amazingly well, without any KP. The only item not working is Ethernet. I would appreciate if you can show me what to do to get the LAN working. Also, can I update this hackintosh to 10.7.2? Thank you. PS. For newbies like myself, you have to do a chameleon from EDP after you install all kexts. UPDATE: Downloaded via another PC, and applied 10.7.2 update without any issue. Still no LAN. Also I noticed LCD is dim before and after update. Is there a fix for this.
-
Finally got it up and running. I will write a detail guide shortly. But here is the quick and dirty. 1. It is much easier that you can imagine. Using a hybrid of what I learned from here and tonycrapx86, the following does not require any typing in the terminal. 2. Install OSX SL as wiki states. If this is a new install, in diskutil choose 2 partitions for volume scheme. Format 1st as mac os Extended Journaled , name it Snow Leopard. If this is an existing install, in diskutil , simply grab the bottom right corner and move it up. Choose 2 partitions, and name the bottom partition Windows, MS-DOS ( FAT). 3. Insert win7 DVD and install on windows partition. Now win7 will act as if it was the only OS. 4. Next, boot by usb pen or iboot (chameleon, stolen and rebranded), here you should see three icons to choose from, USB_Pen/iboot (chameleon, stolen and rebranded), Snow Leopard, Windows NTFS. Boot into OSX. Download the latest standalone chimera (chameleon, stolen and rebranded), and install it on Snow Leopard. 5. Shut down, remove USB pen, or iboot (chameleon, stolen and rebranded) CD. Turn on, as soon as you see the Snow Leopard , hit any key. Now you should have two icons, Snow Leopard and Windows to choose from. Go ahead and try it, remember to back up your data first. I would suggest to try it on a spare hard drive first before using your main drive. Good luck.