


Hervé
-
Posts
10093 -
Joined
-
Last visited
-
Days Won
569
Content Type
Profiles
Articles, News and Tips
Forums
Posts posted by Hervé
-
-
My E7270 guide is in the usual and expected forum section.
-
The contents of the Clover bootpack in my E7270 guide not any good???

-
Same issue as encountered with Sonoma; I've just updated all the guides and added the iGPU DVMT-related patches that were missing in the Clover config of the Sonoma/Sequoia/Tahoe bootpacks. A note was also added for those who do have patched their BIOS to increase DVMT from 32MB to 64MB or above.
Once you add this, you'll be Ok:
framebuffer-stolenmem 00003001 DATA framebuffer-fbmem 00009000 DATA -
No, but you must have had the iGPU patch in your Monterey bootloader config.
-
Did you patch your BIOS to increase DVMT as explained in the guide's opening post?
If you didn't, your E7270's default DVMT is set to 32MB and, indeed, you'll experience KP and resets at startup as the video memory patches are not present in the IGPU's device property settings in the Cover config.
You would either need to patch your BIOS or add the patches listed below to your IGPU settings here:

framebuffer-stolenmem     00003001     DATA
framebuffer-fbmem         00009000     DATA
Detailed explanations are available here and don't forget the WEG's user manual.
-
Of course you can, that's what I've posted in today's revised bootpack of the Sonoma guide (and that's what's posted in the subsequent Sequoia & Tahoe guides). These 3 items are only useful for legacy Broadcom wireless cards once you've applied the OCLP legacy wireless patch so if you're not using that but, say, an Intel wireless card, that's totally Ok. Just delete the kexts + disable the binary patch in your config file and you'll be good on all subsequent reboots.
-
With a fresh installation, make sure to boot without these 3 elements:
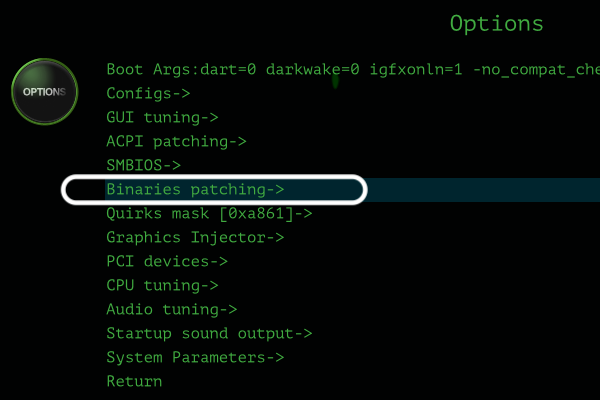
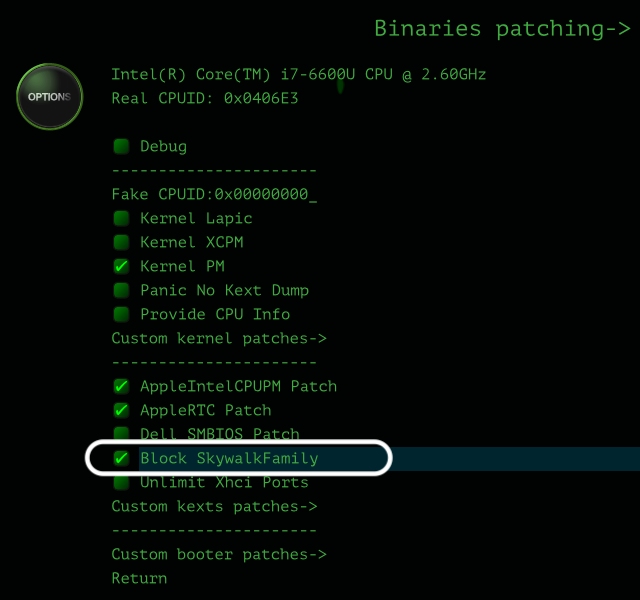
- BlockSkywalk under Kernel & Kext patch: unselect at Clover boot menu->Options->Binary patching->...
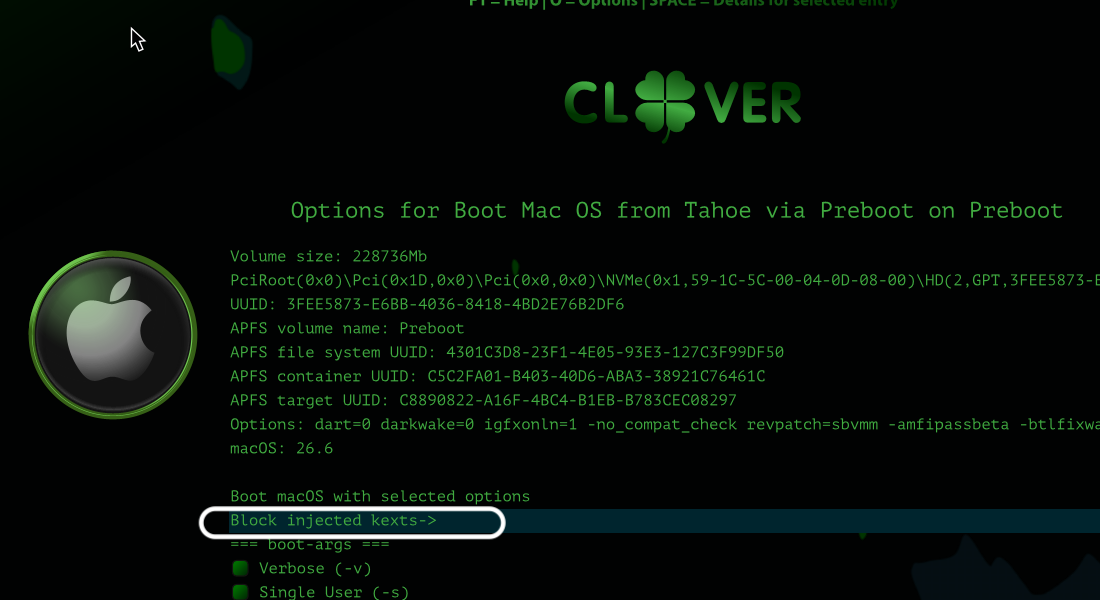
- IO802FamilyLegacy kext: Clover boot menu->Sonoma->[SPACE]->Block injected kexts->Other->...
- IOSkywalkFamily kext: Clover boot menu->Sonoma->[SPACE]->Block injected kexts->Other->...
Only allow these once Sonoma initial installation is complete and you've applied the OCLP Patcher legacy wireless patch; and only if you have a legacy Broadcom card of course!
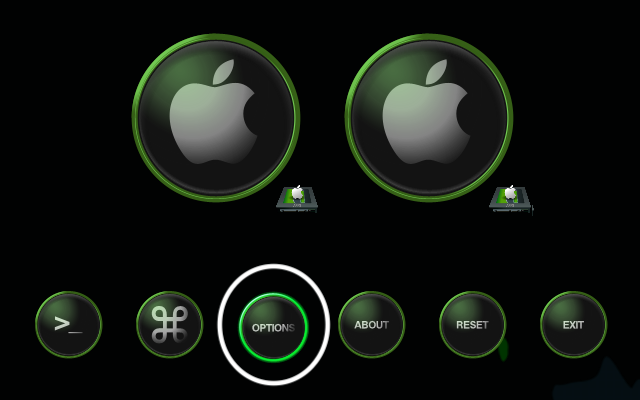
Below are illustrations re: actions to take from the Clover boot menu:
1) to unselect/uncheck BlockSkywalk binary patch:
2) to block kexts at startup and prevent their injection:
I've updated my Sonoma guide to avoid the issue you've encountered and make it similar to what I had posted in my subsequent guides for Sequoia and Tahoe.
-
Hi @tryit, I fear it's going to be much difficult to provide assistance without knowing if Bluetooth stopped working all of a sudden without you making any changes (in which case you could suspect a hardware failure) or after changes you made. In the latter case, only you can provide the necessary info.
No EFI, no bootloader config file, ... I've not crystal ball you know...
If you see the device in IOReg, it can only be your setup.
-
Released July 27th, 2026.
Build 25G72.
Bug fixes and security update. Safe to install on our Hackintosh platforms.
Also released at the same time:
- macOS Sequoia Security Update 15.7.8 (Build 24G824)
- macOS Sonoma Security Update 14.8.8 (Build 23J620)
-
I would recommend a few things to begin with:
- startup with a minimum set of kexts as in the Github repo; you may add more once macOS boots up and you need more services/hardware supported.
- the Github repo does stipulates that the posted EFI only works with Ventura. Did you try to install Ventura with it?
- your set of quirks differs a lot from those enabled in the Github repo. I've not looked at your hardware in details but I would suspect that your current quirks settings is at fault here.
-
hello, will have a look tonight.
-
For the who would experiment Bluetooth issues/crashes after wake, Mirone's BluetoolFixup kext v2.7.3 appears to fix the problem. Inject the kext and add -btlfixwakecrash boot parameter to your bootloader config.
-
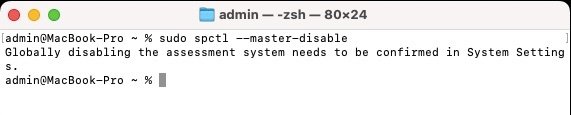
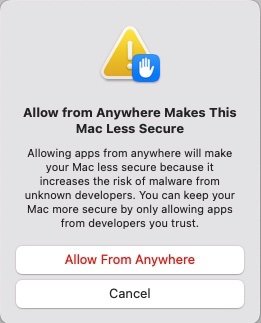
Following a recent query on the matter, I want to confirm that, whilst there was a time during which it was no longer possible to easily disable Gatekeeper in early versions of macOS Sequoia, the facility described above later returned and still applies to Sequoia and Tahoe.
Example in Sequoia 15.7.7:
-
Hello @darnocs.
As per our posted forum rules, distros never were supported at OSXLatitude so we're not going to start now... Look elsewhere if that's what you're after.
The old and obsolete D620, whether with GM950 or nVidia NVS110M graphics, can natively run 2009 Snow Leopard and 2011 Lion, both in 32bit kernel mode. With the MLPF hack, they can run 2012 Mountain Lion in 32bit kernel mode. Today, all of these old OS X versions are totally obsolete and, unless you only use old software, you won't be able to do much with them; even basic Internet browsing will hardly be working due to compatibility issues with today's Web technology. All subsequent OS X versions up to El Capitan are 64bit only and therefore have no support for GMA950 or NVS110M graphics. macOS versions cannot be run since they require Penryn CPUs at minimum and the D620 is Merom only. See here and here for further details about compatibility.
This being said, if you have a Mac or a Hackintosh at hand, you may create a myHack installer with a retail version of SL or Lion. Failing that, provided you have a retail copy of SL 10.6, 10.6.3 or 10.6.8 (DVD or USB key), you can use Nawcom's old ModCD tool to boot your D620 and install Snow Leopard. From there on, you may create a myHack installer for Lion or Mountain Lion.
- Full bootpacks for D620 are available here.
- Nawcom's ModCD is available here. A step-by-step installation method on a D430 is detailed here (just forget the old and defunct EDP part).
- myHack is available here.
- Lion and Mountain Lion can be downloaded directly from Apple's web site as posted here.
- Guides for MLPF'ed Mountain Lion installations are available here and here.
We've got tons of old threads related to installing and running Snow Leopard/Lion/Mountain Lion on these old D Series laptops, just browse the forum and use the available Search facility.
-
Target macOS release:
- Tahoe 26.x
This is a Clover-based installation using the well-known/well documented vanilla method detailed below
Working:
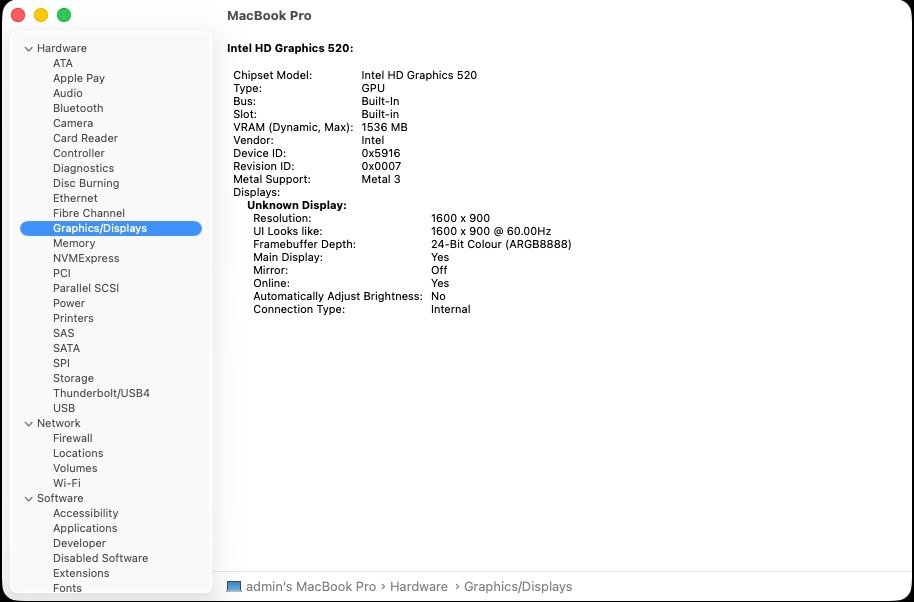
- full QE/CI with HD520 graphics (with KBL layout 0x59160000, KBL faked id 0x5916, MBP16,2 SMBIOS and Lilu kext v1.7.2 + Whatevergreen kext v1.7.0 or later)
- HDMI output OOB but built-in LCD goes off on 1st cable connection. With WEG boot arg igfxonln=1, LCD picture is recovered after closing then re-opening the LID and HDMI is on at 1st boot & after wake
- mDP output OOB
- touchscreen with USB HID fix (patch of IOHIDFamily to fake single-user mode) due to Apple dropping support for old USB hardware
- full audio, including jack microphone input and headset output (with AppleALC kext & layout-id 11 after OCLP-Plus patching)
- HDMI audio (with KBL con1 connector-type patch)
- built-in Gigabit Ethernet (with IntelMausiEthernet kext)
- full CPU power management, including Turbo boost to 3.4GHz (with PlugIn type settings)
- sleep: Ok through Apple menu->Sleep, lid closure, power button, Fn-Insert and energy savings settings with hibernation mode set to 0 (sleep to RAM) and /var/vm/sleepimage file deleted.
- wake: Ok through lid opening and power button
-
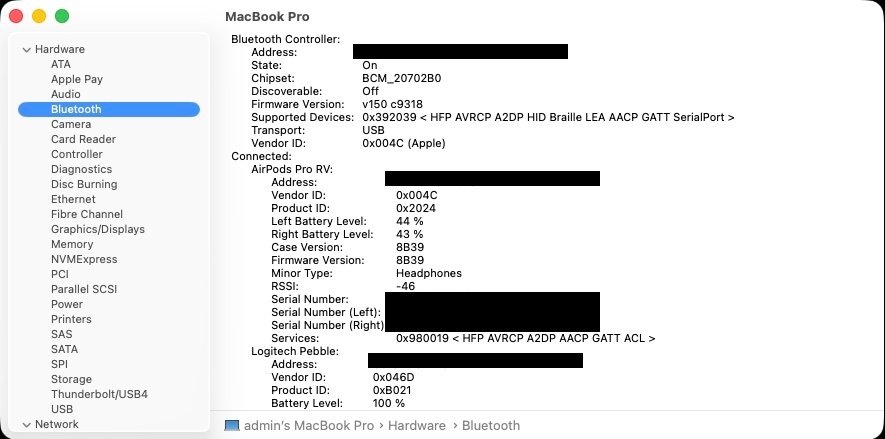
 Wifi and bluetooth with any compatible card/USB dongle (see point #4 below re: support for Broadcom cards)
- battery management and monitoring (with ACPIBatteryManager kext)
- SD card reader (with 1Revenger1's RealtekCardReader kext)
- integrated webcam OOB
- keyboard backlight control OOB (for backlit models)
- audio volume control through Fn-F1/Fn-F2/Fn-F3
- brightness control through Fn-F11/Fn-F12
- touchpad basic features, incl. buttons (with Rehabman's modified VoodooPS2Controller kext; it has a Tahoe-specific VoodooInput Plugin)
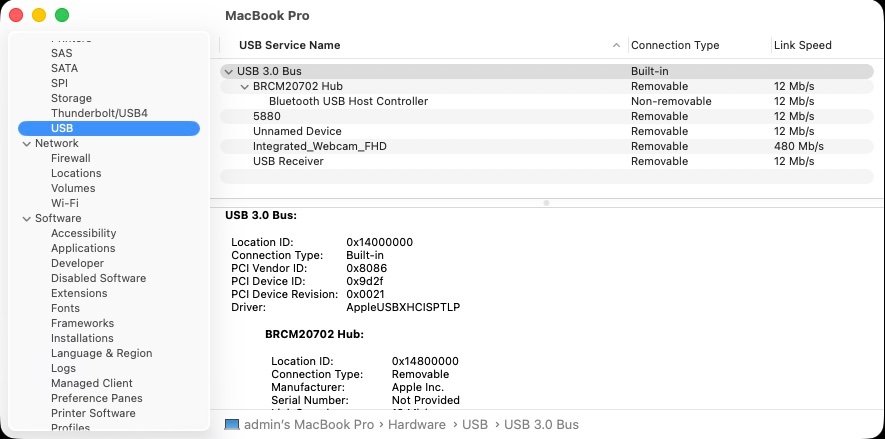
- USB3.0 ports (with Hackintool's generated SSDT_USBX & SSDT_UIAC patched tables or USBPorts kext)
Not Working:
- N/A
Not tested:
- SmartCard reader
With regards to Skylake/HD 520 graphics, same principles apply as for macOS Sonoma and Sequoia but make sure to update Lilu & PlugIns to latest versions:
- use of Kaby Lake framebuffer 0x59160000 (0x591B0000 may also be used but requires further graphics connectors patching)
- fake Kaby Lake HD620 iGPU id 0x5916
- use Lilu v1.7.2 and Whatevergreen v1.7.0 minimum
1) 26.x USB installer creation
- Using a USB key of 16GB minimum, create a Tahoe USB installer through the following Terminal command:
sudo <path>/Install\ macOS\ Tahoe.app/Contents/Resources/createinstallmedia --volume /Volumes/<USB key>
where:
- <path> = location of Tahoe installation package (eg: /Applications if freshly downloaded)
- <USB key> = name of formatted USB volume (eg: USB_16GB)
The process will take several minutes. Once completed:
-
install Clover bootloader on the USB installer with the following customised settings:
- Clover for UEFI booting only
- Install Clover in the ESP
-
UEFI Drivers
-
Recommended drivers
- FSInject
- SMCHelper
-
Human Interface Devices (optional)
- Ps2MouseDxe
- UsbMouseDxe
-
FileSystem Drivers
- ApfsDriverLoader
-
Memory fix drivers
- OpenRuntime
-
Additional Drivers (optional)
- NvmExpressDxe
- PartitionDxe
-
Recommended drivers
- Themes (optional)
- BootLoaderChooser (optional)
- CloverConfigPlistValidator (optional)
- Install Clover Preference Pane (optional)
- you may use Clover version r5167 as attached below (at time of writing, stick to this version max.)
- once Clover is installed, launch Clover Configurator app and mount the freshly created EFI partition of the USB installer (attached version supports BlockSkywalk kext patch)
- add the (unzipped) HFSPlus driver attached below to the EFI/CLOVER/drivers/UEFI folder
- open this EFI partition and transfer/copy the files & folders from the Latitude E7270 Tahoe Clover pack below to the EFI/CLOVER folder
- download the latest OCLP-nightly or OCLP-Plus app from their respective repos and save the package at the root of the USB installer. It'll be required to recover audio and support for legacy Broadcom wifi.
2) 26.x installation
- boot the Tahoe USB installer
- at the Clover main menu, select the "Install macOS Tahoe" partition (but don't press [ENTER])
- press [SPACE], select -v verbose option in the menu, then choose to boot with the selected options
- proceed with installation, creating & formatting the target Tahoe installation through Disk Utility as/if required
- on 1st reboot, boot off the USB installer and select the freshly created "macOS install from <target Tahoe partition>"
- repeat this until this partition is no longer offered and only the target Tahoe partition is left to boot
- Reboot the target Tahoe partition via your USB installer
3) Post-installation tuning
- once the target Tahoe partition has booted, complete the 1st boot configuration tuning
- once at the desktop, install Clover bootloader on the Tahoe partition/disk with the customised settings listed above
- once Clover is installed, launch Clover Configurator app and mount the freshly created EFI partition of the Tahoe partition/disk
- open this EFI partition and transfer the files & folders from the above Latitude E7270 Tahoe Clover pack to the EFI/Clover folder
- you may then reboot and verify that Tahoe boots off your disk through Clover
- at that stage, the E7270 will be running Tahoe without support for audio and legacy Broadcom wifi
4) Adding support for audio and legacy Broadcom wifi
- launch Clover Configurator app and mount the EFI partition of the Tahoe partition/disk
- add the kexts from the Legacy Broadcom Wifi pack below to the EFI/Clover/kexts/Other folder alongside the existing kexts
-
open up the Clover config in Clover Configurator and
- check/enable the BlockSkywalk kernel & kext patch
- add -amfipassbeta boot arg
- add -revpatch=sbvmm boot arg (to obtain OTA updates)
- save the configuration
- you may download and install the latest KDK (Kernel Debug Kit) for your Tahoe version though OCLP-Plus should do it
- reboot then install the OCLP-nightly or OCLP-Plus app from the package previously downloaded and launch it
- proceed with root patching which should automatically detect that wireless networking and audio requires patching
- after another reboot, audio and wifi off the legacy Broadcom cards will be fully functional again
- if in doubt, check this thread for detailed guidance.
Please note:
-
If you've patched your BIOS to increase DVMT to 64MB (or more), you may remove the following iGPU patches from the Clover config (Devices section):
framebuffer-stolenmem     00003001     DATA
framebuffer-fbmem         00009000     DATA
-
Tools such as OCLP-nightly v3.0.0, OCLP-Plus version v3.1.x/v3.2.x or OCLP-Mod v3.1.x now provide patches that bring back support for legacy Wireless services (and AppleHDA) in Tahoe 26.x.
Such patching requires that the KDK (Kernel Debug Kit) for the target Tahoe version is installed. The tools do take care of this but it can be installed separately of course.
At time of writing, it is also necessary to boot with boot arg -amfipassbeta to avoid KP and reset/reboot.
Lots of details, known issues and troubleshooting tips are available in this InsanelyMac thread.
-
I've noticed that Clover versions past r5167 available through Clover Configurator app or through HackyCloverColor's Github repo no longer include the BlockSkywalk binary patch. As such, avoid them if you want to retain Broadcom wireless services in Sonoma and beyond. It's probably just a mistake and I've contacted the Dev on the matter.
For the moment, do not update Clover beyond r5167 which is the latest version to retain that patch.
-
It's pretty straightforward:
- update Clover to r5157 minimum; you may go up to r5167 but not beyond as I've noticed that r5169 to r5172 (obtained through Clover Configurator or CloverHackyColor Github repo) no longer include the BlockSkywalk patch anymore
- update your bootpack to the version I posted for Sonoma
- install Sonoma, either through Software update or through the AppStore (i.e. OTA update)
Bear in mind that Sonoma dropped all legacy Broadcom wireless cards so, if you have one of those, you'll have to use OCLP to bring back support. If this is the case, install latest OCLP before you upgrade to Sonoma so that it's readily available afterwards. See here for details:
-
My mistake, OC does indeed support CPUPM for Sandy and Ivy Bridge platforms of course (post above corrected to that effect). However, OC does not provide P States and C States generation and, as such, cannot properly support CPU power management for C2D and 1st gen. CORE platforms, only for LFM and HFM speeds. It's Ventura that dropped CPU PM for older CPUs up to Ivy Bridge by removing AICPUPM kexts.
I think you're looking at this a wee bit wrongly; you want to use "modern" kexts and OpenCore on an ancient platform and with an ancient OS X version; it's contradictory and makes little sense to me. And no, absolutely not, Clover is not "just an OC fork". It's better suited to older platform such as yours. It's still subject to development and I still use its latest versions on my E7270 with Sequoia and Tahoe with everything working perfectly...
-
Try and use kexts from the era of El Capitan; you may refer to guides/threads posted for similar C2D models.
As stated in a previous E6400 thread, OpenCore should be avoided on C2D systems because it does not support power management for old Intel CPUs up to 1st gen CORE models. I would recommend you stick to Clover which does; Clover is perfectly fine and best suited to this type of ancient Penryn laptops. You should also use the FakeSMC kext I had tuned for improved CPU power management and GPU throttling.
https://osxlatitude.com/forums/topic/2673-performance-tuning-with-fakesmc
https://osxlatitude.com/forums/topic/7807-nvidia-gpu-performance-tuning-with-agpm
I was able to get my old D630 nVidia up to Catalina (see my old D630 guide) so no reason why your E6400 could not do the same. Big Sur and beyond will be challenging especially as Apple dropped AICPUPM from macOS Ventura though it can be injected (see my E6230 old guide) and you'll need OCLP patcher, of course, to obtain support for Tesla graphics (last natively supported in High Sierra).
-
-
Hi, it's all a little long in the tooth after so many years now but the Latitude D630 and D830 with nVidia dGPU were very close cousins of these Inspiron 1520 laptops. You may want to compare the DSDT/ACPI tables of both models with those of your Inspiron 1520 on the basis that there were no shutdown/reboot issues on the D630/D830 under Mac OS X/OS X/macOS..
-
Updated following the release of macOS Tahoe.
-
Moved to the support section.
Again, this thread is not a guide, please post in the relevant section!
Yes, you need to update your usual add-on kexts: Lilu & PlugIns, RestrictEvents, AMFIPass, etc. See this thread about early findings with 1st Beta version and/or this one. If you need more, you know the drill...

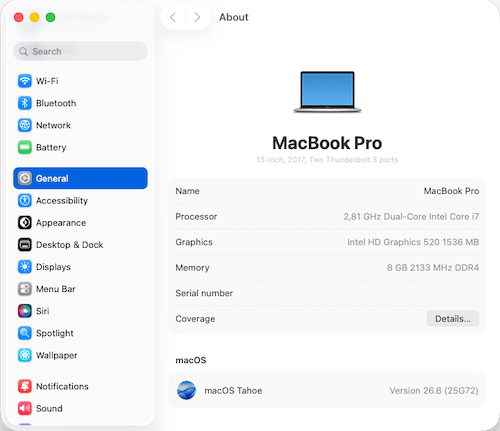
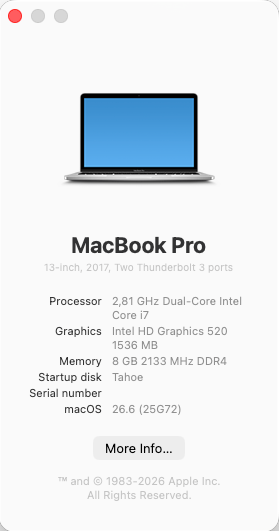


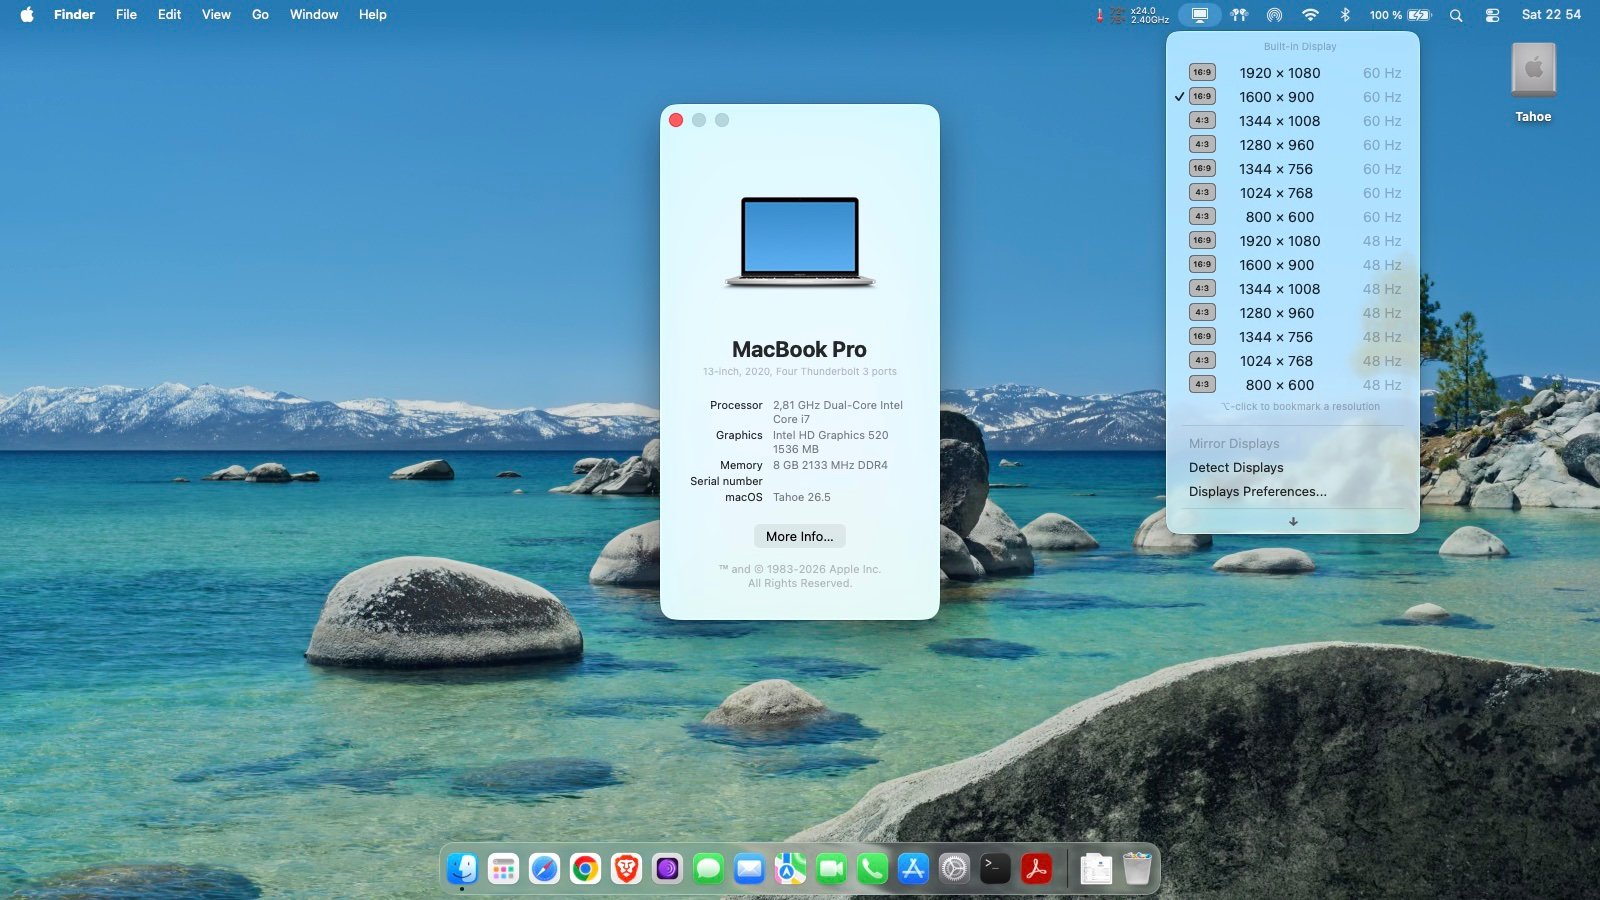
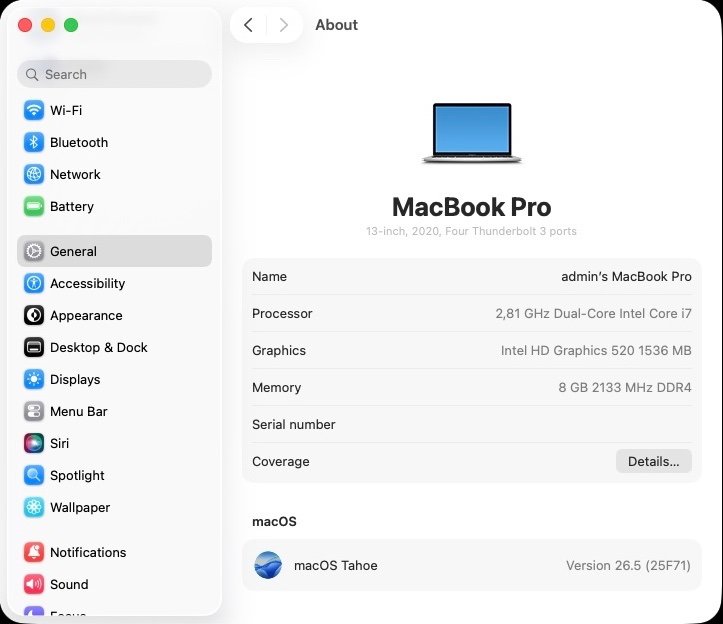
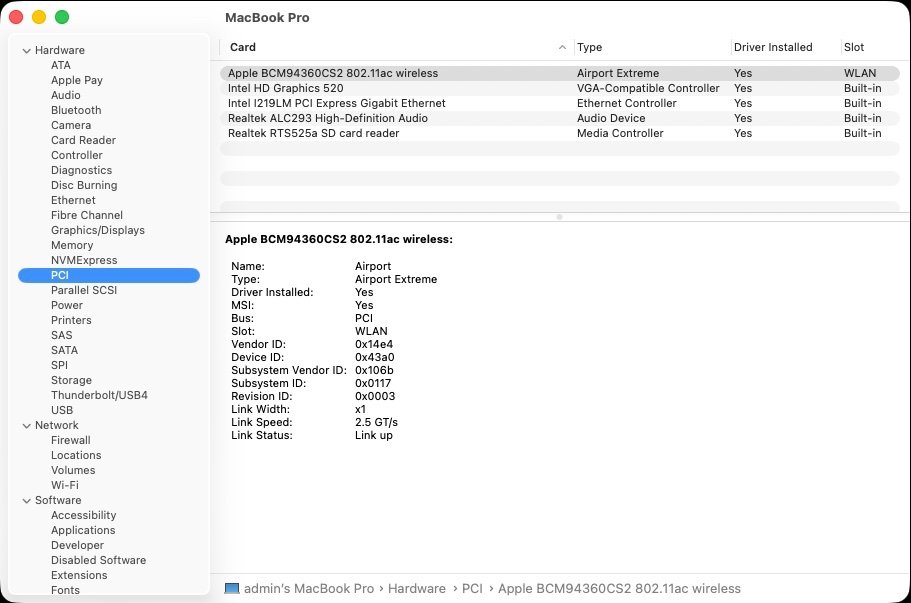


[Latitude E7270] config.plist to run macos Tahoe
in E7xxx
Posted
In the Device Properties->IGPU section of the Clover config, the property that allows framebuffer patching is disabled. As such the fbmem and stolenmem patches are not applied. Oops! Remove the '#' character and Tahoe should boot Ok.
...Clover config of Sequoia and Tahoe bootpacks now fixed.