
Leaderboard


Popular Content
Showing content with the highest reputation on 06/18/19 in all areas
-
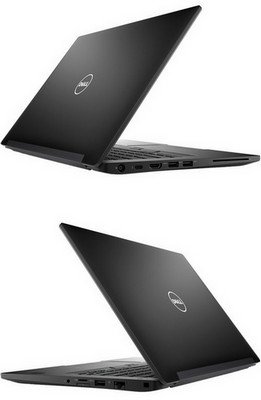
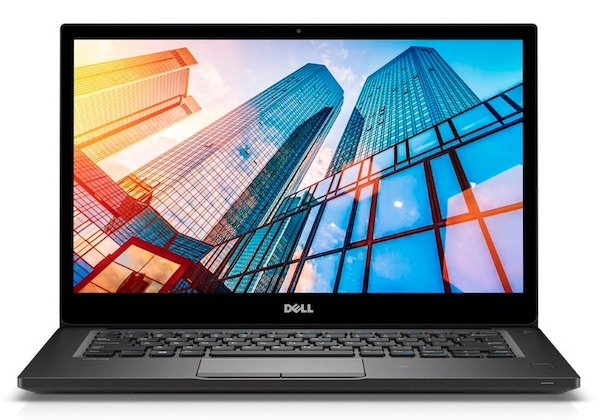
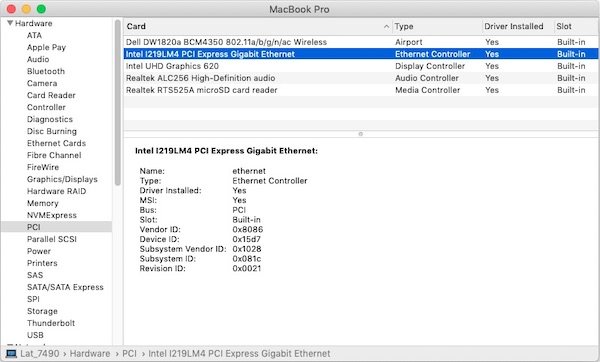
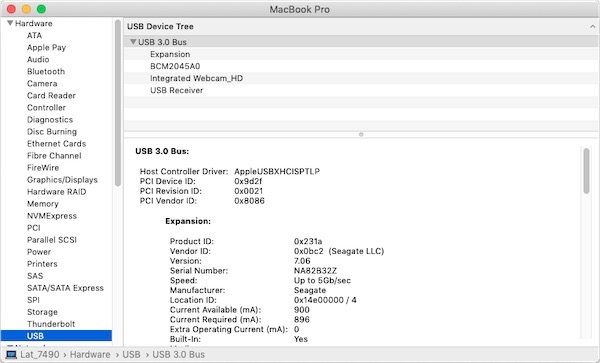
Last update: 16 Sep 2020 Specifications: BIOS v1.8.0 v1.9.3 v1.10.0 v1.11.0 v1.12.2 v1.13.1 v1.14.0 v1.15.1 v1.16.0 (needs SATA in AHCI mode, not RAID or disk won't be seen) Intel 8th gen Kaby Lake R quad-core i7-8650U 1.9GHz CPU (Turbo boost up to 3.9GHz for 3 & 4 cores and up 4.2GHz for 1 & 2 cores) integrated Intel UHD620 GPU 300-1150MHz (PCI ven id 0x8086, dev id 0x5917) 14" 1920x1080 FHD non-touch LCD 16Go DDR4-2400 RAM M.2 2280 512GB SATA SSD (in Key M slot) Intel i219-LM Gigabit Ethernet (PCI ven id 0x8086, dev id 0x15d7) Realtek ALC256 (ALC3246) High Def audio (PCI ven id 0x10ec, dev id 0x0256) Dell DW1820A M.2 802.11ac combo wireless card (PCI ven id 0x14e4, dev id 0x43a3) + Bluetooth 4.1 (PCI ven id 0x0a5c, dev id 0x6412) integrated Realtek HD webcam (USB internal, PCI ven id 0x0bda, dev id 0x5650) integrated Realtek RTS525A microSD 4.0 card reader (PCI ven id 0x10ec, dev id 0x525a) Alps I2C HID Multi-Touch Touchpad (PCI ven id 0x1028, dev id 0x081c) Alps I2C HID TrackPoint (PCI ven id 0x044e: dev id 0x1212) 1 x M.2 2230 WLAN slot (Key A for Key A/E cards) 1 x M.2 2242 WWAN slot (Key B for Key B & Key M/B cards) 1 x 3.5mm universal jack (combo audio) 3 x USB 3.1 gen1 Type-A (right port with PowerShare) 1 x HDMI v1.4 1 x DisplayPort on USB Type-c Lat7490:~ admin$ lspci -nn 00:00.0 Host bridge [0600]: Intel Corporation Xeon E3-1200 v6/7th Gen Core Processor Host Bridge/DRAM Registers [8086:5914] (rev 08) 00:02.0 VGA compatible controller [0300]: Intel Corporation UHD Graphics 620 [8086:5917] (rev 07) 00:04.0 Signal processing controller [1180]: Intel Corporation Xeon E3-1200 v5/E3-1500 v5/6th Gen Core Processor Thermal Subsystem [8086:1903] (rev 08) 00:14.0 USB controller [0c03]: Intel Corporation Sunrise Point-LP USB 3.0 xHCI Controller [8086:9d2f] (rev 21) 00:14.2 Signal processing controller [1180]: Intel Corporation Sunrise Point-LP Thermal subsystem [8086:9d31] (rev 21) 00:15.0 Signal processing controller [1180]: Intel Corporation Sunrise Point-LP Serial IO I2C Controller #0 [8086:9d60] (rev 21) 00:15.1 Signal processing controller [1180]: Intel Corporation Sunrise Point-LP Serial IO I2C Controller #1 [8086:9d61] (rev 21) 00:15.2 Signal processing controller [1180]: Intel Corporation Sunrise Point-LP Serial IO I2C Controller #2 [8086:9d62] (rev 21) 00:15.3 Signal processing controller [1180]: Intel Corporation Sunrise Point-LP Serial IO I2C Controller #3 [8086:9d63] (rev 21) 00:16.0 Communication controller [0780]: Intel Corporation Sunrise Point-LP CSME HECI #1 [8086:9d3a] (rev 21) 00:16.3 Serial controller [0700]: Intel Corporation Sunrise Point-LP Active Management Technology - SOL [8086:9d3d] (rev 21) 00:17.0 SATA controller [0106]: Intel Corporation Sunrise Point-LP SATA Controller [AHCI mode] [8086:9d03] (rev 21) 00:1c.0 PCI bridge [0604]: Intel Corporation Sunrise Point-LP PCI Express Root Port #1 [8086:9d10] (rev f1) 00:1c.2 PCI bridge [0604]: Intel Corporation Sunrise Point-LP PCI Express Root Port #3 [8086:9d12] (rev f1) 00:1f.0 ISA bridge [0601]: Intel Corporation Sunrise Point LPC Controller/eSPI Controller [8086:9d4e] (rev 21) 00:1f.2 Memory controller [0580]: Intel Corporation Sunrise Point-LP PMC [8086:9d21] (rev 21) 00:1f.3 Audio device [0403]: Intel Corporation Sunrise Point-LP HD Audio [8086:9d71] (rev 21) 00:1f.4 SMBus [0c05]: Intel Corporation Sunrise Point-LP SMBus [8086:9d23] (rev 21) 00:1f.6 Ethernet controller [0200]: Intel Corporation Ethernet Connection (4) I219-LM [8086:15d7] (rev 21) 01:00.0 Unassigned class [ff00]: Realtek Semiconductor Co., Ltd. RTS525A PCI Express Card Reader [10ec:525a] (rev 01) 02:00.0 Network controller [0280]: Broadcom Inc. and subsidiaries BCM4350 802.11ac Wireless Network Adapter [14e4:43a3] (rev 08) For recommended BIOS settings, see here. NB: The E7490 is able to boot from microSD card.
 1 point
 -
So according to @Hervé's guidance, I was able to use my DW1820A. My configs were posted here. After some research, I'm able to use Auto Unlock function now, and still no freeze, after 1 hour of usage. A. Some research. Model Typical Devices Device ID Auto Unlock Supports BCM94331CSAX MBP 2012 14e4:4331 NO BCM943224PCIEBT2 MBA 2011 14e4:4353 NO BCM94360CS MBP 2013 14e4:43a0 YES BCM94360CS2 MBA 2013 14e4:43a0 YES It looks like by faking dw1820a(bcm4350) into 14e4:4353 will make it looks like an 2011 mba card, and won't get Auto Unlock function. BCM433x can't use auto unlock, BCM436x can. DW1820A was BCM4350, in between of 433X and 436X. B. The new config. So instead of faking the card into 14e4:4353, and setting brcmfx-driver=1, I tried 14e4,43a0 and set brcmfx-driver=2. And that's it, nothing else changed, everything's working, including Apple Watch Auto Unlock. (It didn't work in the first place, but worked after disabling and enabling the feature again). C. Some screenshots and terminal outputs. a. kextstat|grep -y brcm b. SysInf Wi-Fi. (firmware version changed, and the Auto Unlock line comes out) c. SysInf BLE.( firmware version changed) D. Some problems. I heard some noise, maybe coil whine, after booting into the system with this new config. The noise disappeared after several minutes. I never noticed such noise before switch to this config.
1 point
-
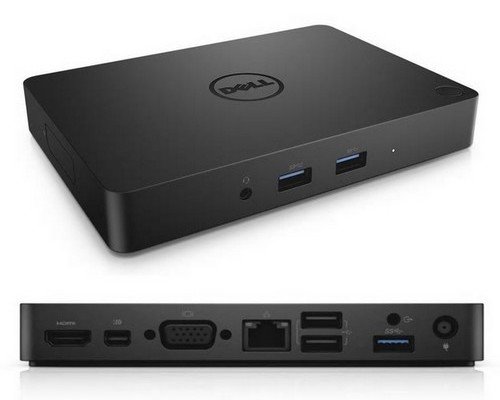
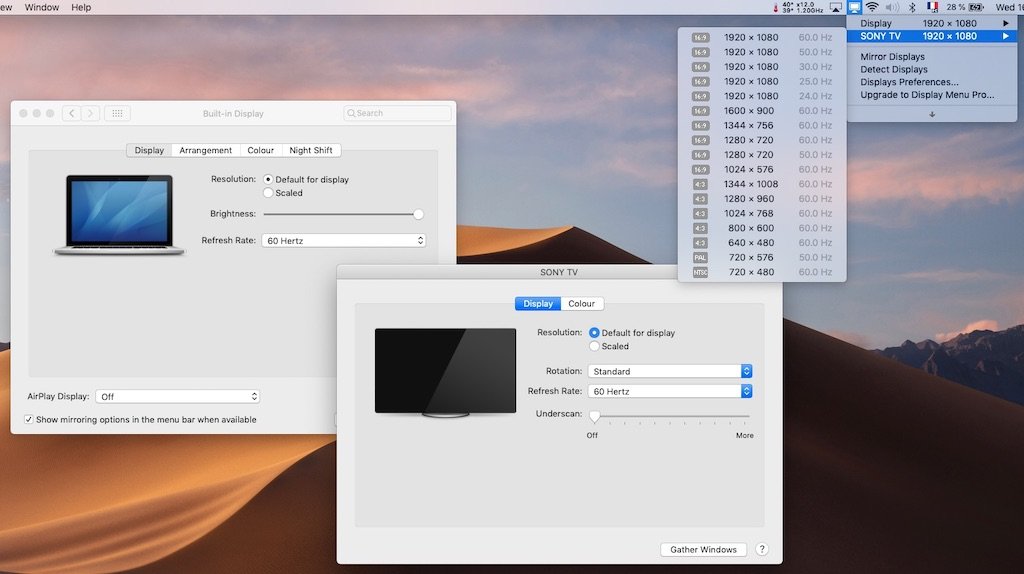
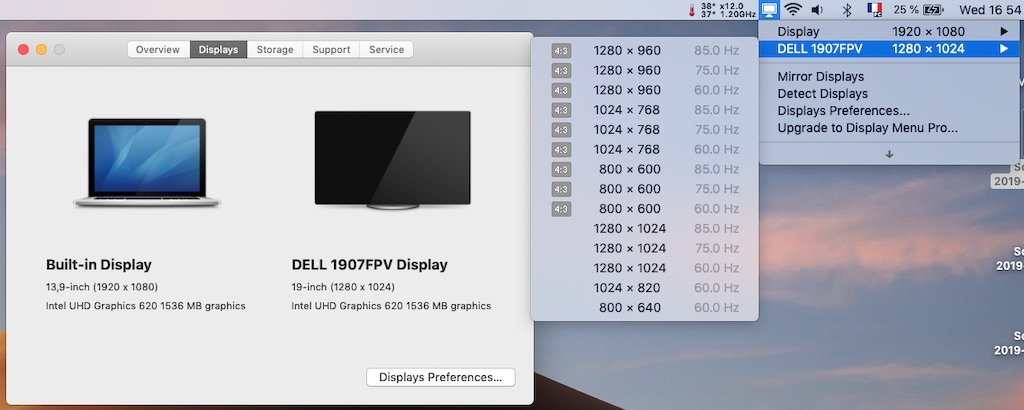
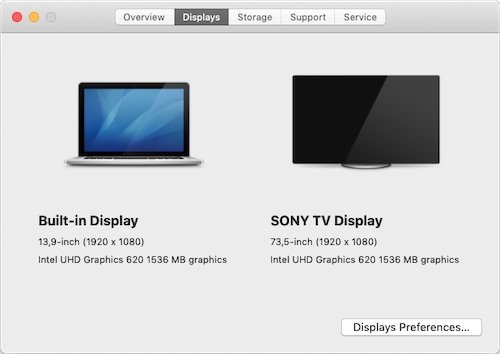
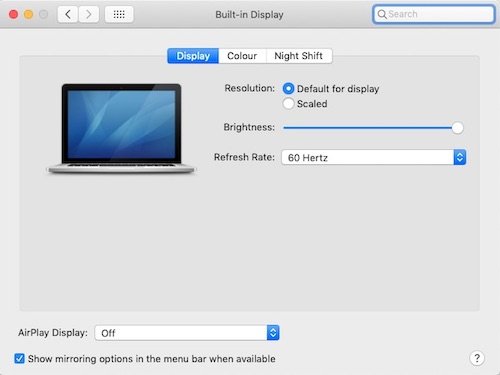
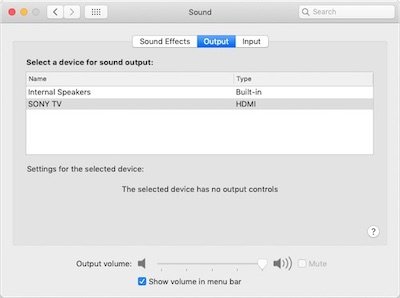
I got to test the Dell WD15 USB Type-c docking station today. Supported OOB: HDMI, mini-DP and VGA outputs GigEthernet RJ45 port (Realtek RTL8153 USB3-to-Ethernet converter, 0x0bda:0x8153) Rear USB2.0 ports Rear USB3.0 port Front USB3.0 port Front headset jack Unsupported: Rear line-out jack (tried various layouts to no effect) Regarding VGA output: VGA worked OOB as single connected display, laptop booted lid closed. VGA worked as 2nd display only if connected at startup (it's quite usual for VGA not to work if connected after system has started). VGA worked alongside DP and/or HDMI but only in clone mode, not as 2nd or 3rd display. This is something apparently done at docking station level. Dell manual states it's the expected mode in 3 x displays setup but, in my case, this was experienced only with DP connected, laptop's lid closed. Front headset output: VGA output (lid closed): DP/HDMI output (lid closed, with or without VGA): Dual display, built-in LCD + VGA: Dual display, built-in LCD + DP or built-in LCD + HDMI:
1 point
-
I initially installed Mojave on an external USB3.0 HDD in order to avoid messing with the Win10 installation that's on the built-in M.2 SATA SSD. Given that the Latitude 7490 can boot from microSD card (needs Legacy boot enabled in BIOS), I installed Clover and the 7490 pack on an old 2GB microSD card I had lying around. Card was initially reformatted FAT32. I now use it to boot Mojave from a freshly created partition on the SSD without having had to mess around with the Win10 Boot (EFI) partition. It works great.1 point
-
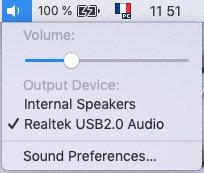
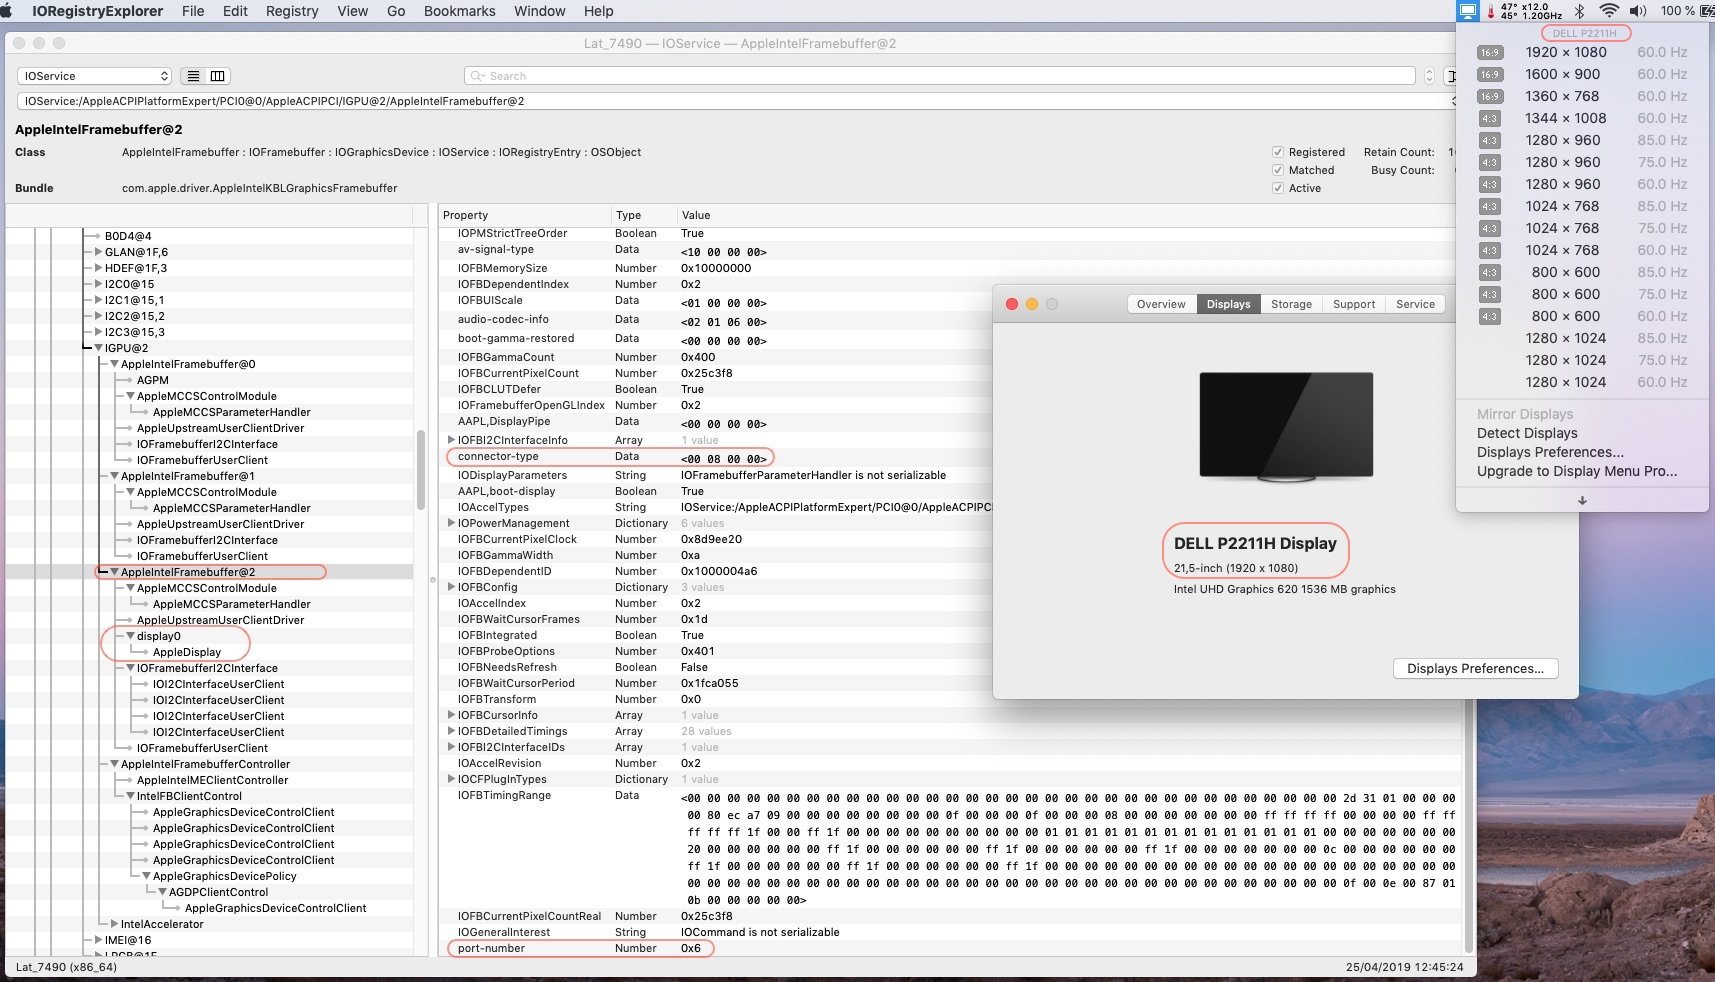
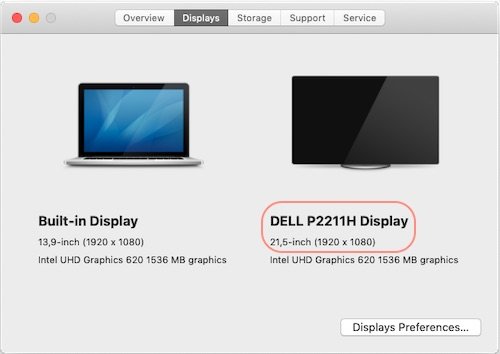
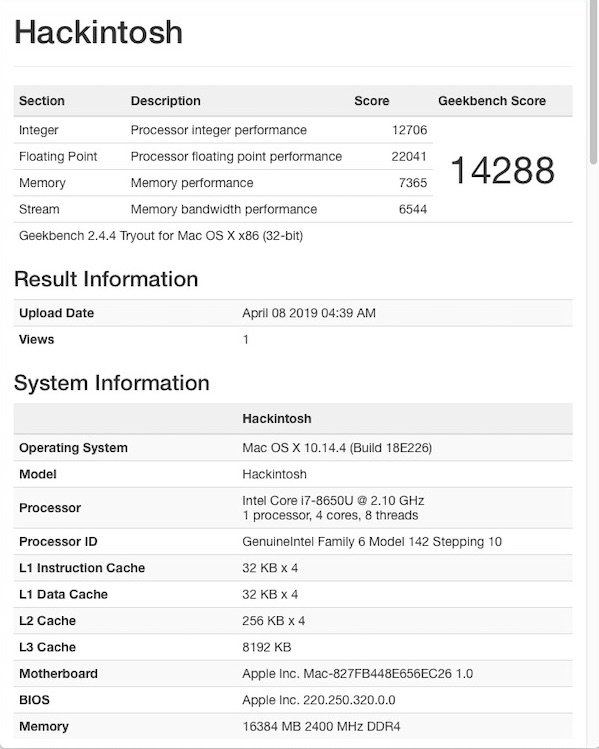
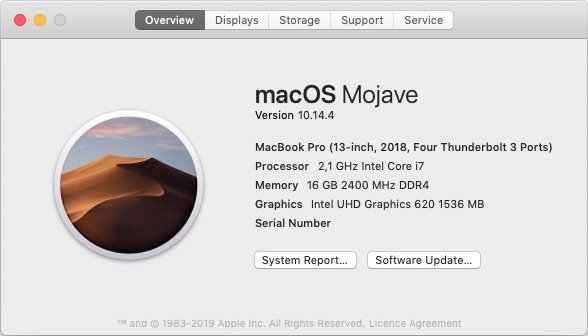
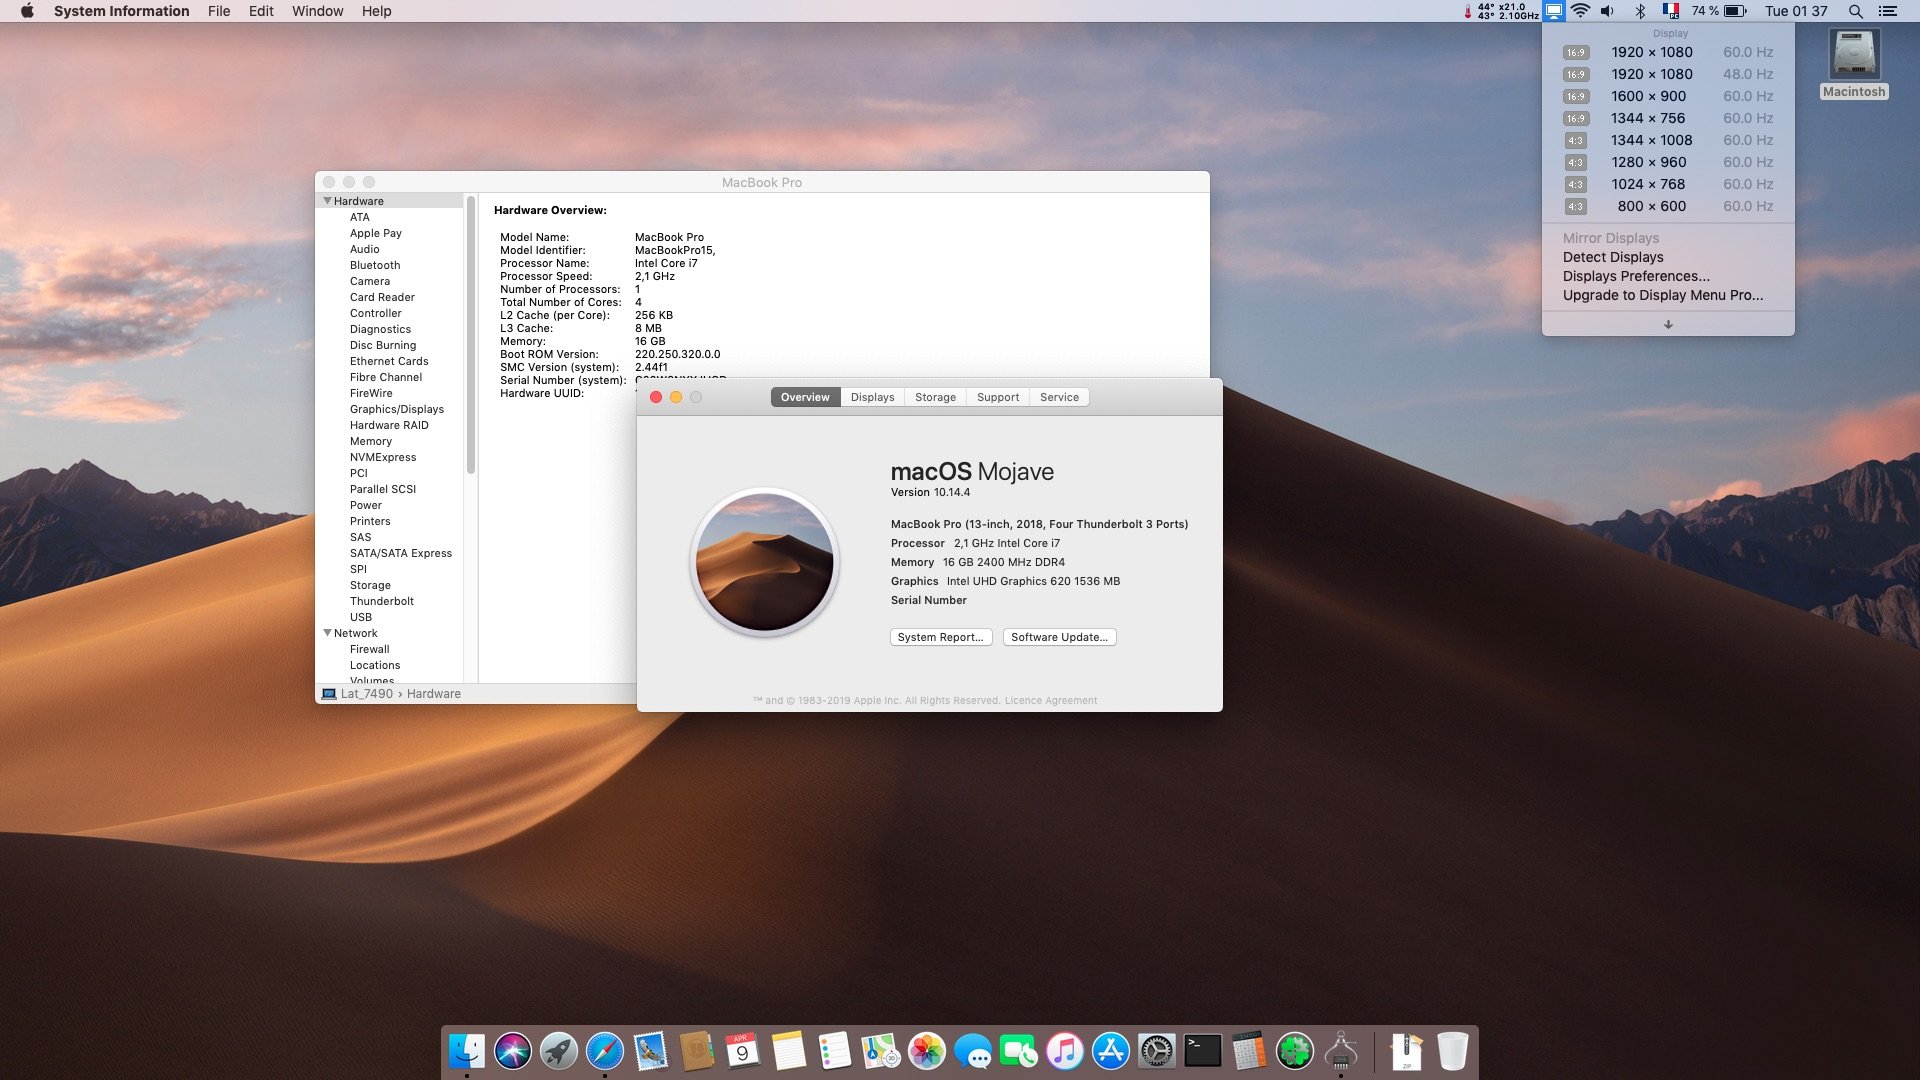
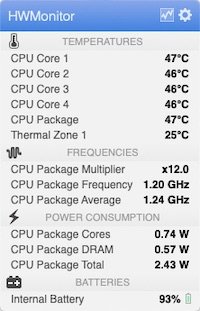
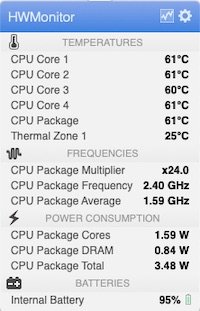
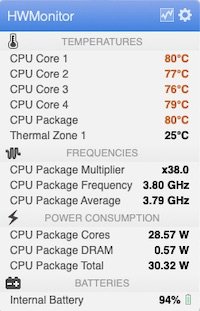
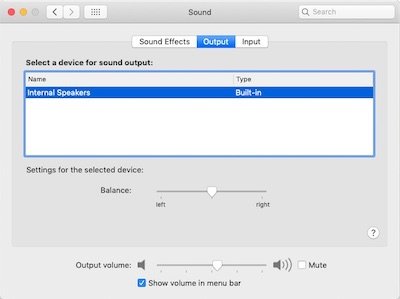
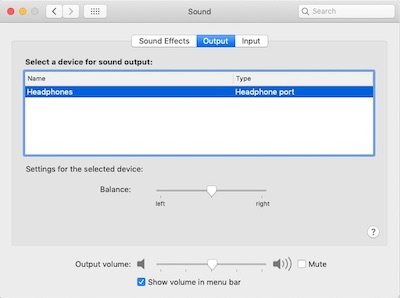
Last update: 17 Jun 2020 Target macOS release: Mojave 10.14.x This is a Clover-based installation using the well-known/well documented vanilla method detailed below: Working: full graphics acceleration on Intel UHD620 iGPU, including brightness control (with Lilu v1.3.5 + WEG v1.2.7) multi-display with HDMI OOB, including HDMI-to-DVI adaptation (HDMI-to-VGA not successful) and VGA/DP over USB Type-C audio, including HDMI, microphone input and headset output (with AppleALC v1.3.6 & layout 11 + CodecCommander v2.7.1) GigEthernet LAN connection (with IntelMausiEthernet 2.4.0 kext) wireless and bluetooth with any compatible card (a DW1820A in my case) left and right USB ports (with Hackintool-generated USBPorts), including USB Type-C integrated webcam (OOB) CPU power management sleep (Lid, Energy Saver settings, Apple menu, Fn-Insert, PWR button) & wake (Lid, PWR button) battery management (with ACPIBatteryManager v1.90.1) keyboard (with VoodooPS2Controller v1.9.2) touchpad (with VoodooI2C v2.1.4 + VoodooI2CHID v1.0), including tap-to-click (mandatory in PrefPane settings), scroll & zoom, rotate or other multi-finger gestures. On occasions, won't work until system is rebooted one or several times. Not working: Touchpad buttons TrackPoint Not tested: RTS525a microSD card reader with Cholonam's revised sinetek-rtsx kext GeekBench v2.4.3 (32bit) gives a 14200+ rating: 1) 10.14 USB installer creation Using a USB key of 8GB minimum, create a Mojave USB installer through the following Terminal command: sudo <path>/Install\ macOS\ Mojave.app/Contents/Resources/createinstallmedia --volume /Volumes/<USB key> where: <path> = location of Mojave installation package (eg: /Applications if freshly downloaded) <USB key> = name of formatted USB volume (eg: USB_8GB) The process will take several minutes. Once completed: install Clover bootloader on the USB installer with the following customised settings: Clover for UEFI booting only Install Clover in the ESP UEFI Drivers AudioDxe-64 DataHubDxe-64 FSInject-64 SMCHelper-64 ApfsDriverLoader-64 AppleImageLoader-64 AptioMemoryFix-64 Fat-64 HFSPlus NvmExpressDxe-64 PartitionDxe-64 Ps2MouseDxe-64 UsbKbDxe-64 UsbMouseDxe-64 Themes (optional) Install Clover Preference Pane (optional) you may use version r4919 attached below: Clover_v2.4k_r4919.pkg.zip once Clover is installed, launch Clover Configurator app and mount the freshly created EFI partition of the USB installer Clover_Configurator.zip open this EFI partition and transfer/copy the files & folders from the Latitude 7490 Mojave Clover pack below to the EFI/Clover folder: Clover_Pack_7490.zip Clover_Pack_7490_#2.zip Clover_Pack_7490_#3.zip Clover_Pack_7490_#4.zip Clover_Pack_7490_#5.zip Clover_Pack_7490_#6.zip Clover_Pack_7490_#7.zip Clover_Pack_7490_#8.zip 7490_Mojave_Clover_Pack_#9.zip 2) 10.14 installation boot the Mojave USB installer at the Clover main menu, select the "Install macOS Mojave" partition (but don't press [ENTER]) press [SPACE], select -v verbose option in the menu, then choose to boot with the selected options proceed with installation, creating & formatting the target Mojave installation through Disk Utility as/if required on 1st reboot, boot off the USB installer and select the freshly created "macOS install from <target Mojave partition>" repeat this until this partition is no longer offered and only the target Mojave partition is left to boot Reboot the target Mojave partition via your USB installer 3) Post-installation tuning Once the target Mojave partition has booted, complete the 1st boot configuration tuning Once at the desktop, install Clover bootloader on the Mojave partition/disk with the customised settings listed above Once Clover is installed, launch Clover Configurator app and mount the freshly created EFI partition of the Mojave partition/disk Open this EFI partition and transfer the files & folders from the above Latitude 7490 Mojave Clover pack to the EFI/Clover folder You may then reboot and verify that Mojave boots off your disk through Clover Edit: 16 Apr 2019 - - - - - - - - - - - - Tuned-up Clover pack #2: removed unnecessary SSDTs removed unnecessary patches removed unnecessary settings added NoTouchID kext to fix authentication lag when making changes to /LE and/or /S/L/E replaced I2C kexts to fix TouchPad laggy/jumpy movement Edit: 31 Jul 2019: - - - - - - - - - - - - Revised Clover pack #4: patched DSDT added to inject support for Fn-F11/Fn-F12 brightness keys. Edit: 09 Aug 2019: - - - - - - - - - - - - - Revised Clover pack #5: fixed mistake in patched DSDT affecting _PWR resources which killed Sleep when laptop running on mains. Edit: 15 aug 2019: - - - - - - - - - - - - - Revised Clover pack #6: Adjusted Clover config to add "DellSMBIOSPatch" in order to avoid truncated Mac model name in "About This Mac". Edit: 08 Sep 2019: - - - - - - - - - - - - - Revised Clover pack #7: Patched DSDT of pack #6 was causing system reset. Re-patched raw DSDT from BIOS 1.11.0 to inject support for Fn-F11/Fn-F12 brightness keys (no other patch) and all seems Ok. Edit: 05 Oct 2019: - - - - - - - - - - - - - Revised Clover pack #8: Injected HDMI connector type to iGPU FB@1 to recover from a picture issue (like yellow veil) with HDMI output + loss of HDMI audio, all due to default DP connector type on the framebuffer. This worked OOB initially (certainly did with my initial 10.14.4 build) but clearly not any more with subsequent Mojave versions, at least 10.14.6. Edit: 20 Apr 2020: - - - - - - - - - - - - - Added a note about Realtek RTS525a SD card reader. Edit: 17 Jun 2020: - - - - - - - - - - - - - Revised Clover pack #9: Moved patched DSDT out of ACPI/patched folder since it's causing KP for most people. It was only patched to support brightness control through Fn-F11/Fn-F12. Jake Lo has provided SSDT alternatives in other guides/threads so it's best to use that. I'll try them asap on the 7490 and update accordingly.
1 point


.jpg.599951da36dc85f34f925b05e73e9eff.jpg)


This leaderboard is set to London/GMT+01:00