
Leaderboard


Popular Content
Showing content with the highest reputation on 11/03/19 in all areas
-
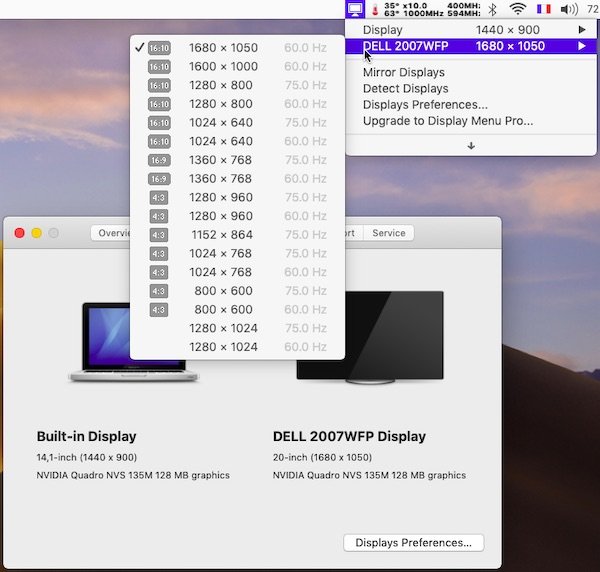
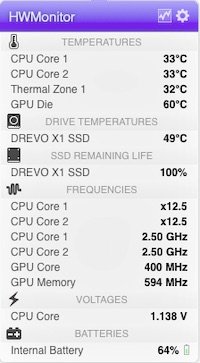
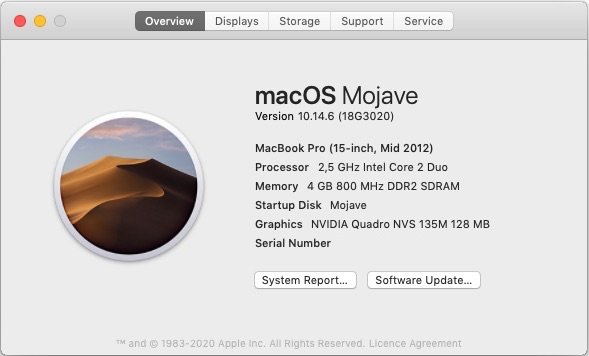
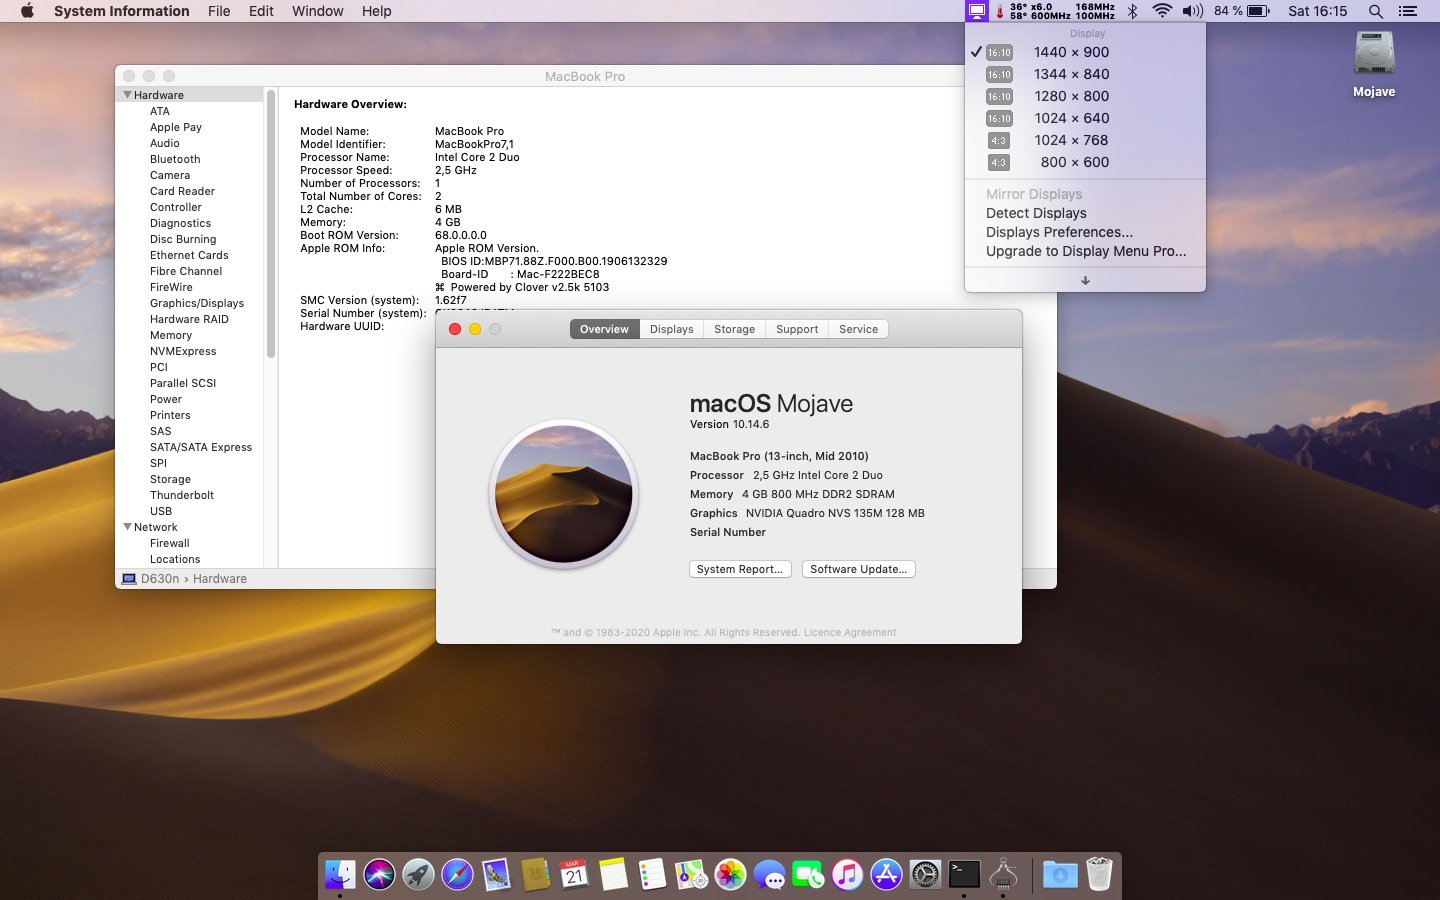
Target macOS release: Sierra 10.14.x (all versions) For models with Penryn CPUs only Proceed with the knowledge that, lack of Metal compatibility of Tesla GPUs oblige, only OpenGL graphics acceleration can be achieved. It works Ok but graphics bugs and/or degraded performance may be noticeable especially with Finder or when watching a movie in Netflix (video may be slightly jerky). It's not totally as smooth as in High Sierra. Working: OpenGL-only graphics acceleration with nVidia Quadro NVS 135m (after specific tuning) VGA output (display extension or mirroring) full audio, including jack microphone input and headset output (with VoodooHDA v2.8.x & AppleHDADisabler kexts in /L/E) built-in Gigabit Ethernet (with BCM5722D kext v2.3.6) DW360 bluetooth OOB native CPU speedstep (with SMC-tuned Kozlek's FakeSMC v6.13.1363 and MBP7,1 SMBIOS profile) native GPU throttling (with above AGPM-tuned Kozlek's FakeSMC) sleep through lid closure, Fn-Esc, Apple menu->Sleep, power button (Press ALT-CMD/Win-PWR or CTRL-PWR for power options menu) and energy savings settings (all with hibernation disabled) wake through lid opening and power button wireless with any compatible card battery management and monitoring (with ACPIBatteryManager kext v1.81.4) rear + right USB2.0 ports (with USBInjectAll kext v0.7.1) Not Working: CardBus/PC Card/PCMCIA (unsupported since SL 10.6.7) Not tested: Firewire 1394 SmartCard reader 1) 10.14 USB installer creation Using a USB key of 8GB minimum, create a Mojave USB installer through the following Terminal command: sudo <path>/Install\ macOS\ Mojave.app/Contents/Resources/createinstallmedia --volume /Volumes/<USB key> where: <path> = location of Mojave installation package (eg: /Applications if freshly downloaded) <USB key> = name of formatted USB volume (eg: USB_8GB) The process will take several minutes. Once completed: install Clover bootloader on the USB installer with the following customised settings: Install Clover in the ESP Boot Sectors -> Install boot0af in MBR Clover for BIOS (legacy) booting -> Clover EFI 64-bits SATA BIOS Drivers, 64 bit -> ApfsDriverLoader / FSInject / HFSPlus / SMCHelper BIOS Drivers, 64 bit -> GrubEXFAT / GrubNTFS you may use version r5097 attached below or any subsequent version available at Dids' Github repo: Clover_v2.5k_r5097.pkg.zip once Clover is installed, launch Clover Configurator app and mount the freshly created EFI partition of the USB installer Clover Configurator.zip open this EFI partition and transfer the files & folders from the D630n Mojave Clover pack below to the EFI/Clover folder. This pack contains 2 x Clover config files: the default one with MBP7,1 SMBIOS which is required to gain CPU power management and a 2nd one called "config_MBP9,1" with MBP9,1 SMBIOS which is required for Mojave installation and updates D630n_10.14_Clover_Pack.zip copy High Sierra 10.13.6's telemetry plugin below to the root of your USB installer com.apple.telemetry.plugin.zip copy Mojave's PlaformSupport plist below (patched to support MBP7,1 platforms) to the root of your USB installer PlatformSupport.plist.zip copy Clover package + Clover Configurator app to the root of your USB installer for subsequent use later 2) Basic 10.14 installation (no Telsa dGPU support/no graphics acceleration) boot the Mojave USB installer at the Clover main menu, go "Options" then "Configs" and select "config_MBP9,1" (Press [ENTER] each time). Press [ESC] a couple of times to return to Clover main menu at the Clover main menu, select the "Install macOS Mojave" partition but don't press [ENTER] press [SPACE], select -v verbose option in the menu, then boot with the selected options proceed with installation, 1st creating & formatting the target Mojave partition through Disk Utility as/if required (GUID scheme, HFS (journaled) format) on 1st reboot, boot from the USB installer again and select "config_MBP9,1" config file again return to the Clover main menu and boot the freshly created "macOS Install from <target Mojave partition>" temporary partition repeat this reboot sequence until the temporary partition is no longer offered and only the target Mojave partition is offered, marking the effective completion of Mojave's installation reboot the USB installer as it if were the 1st time again (or the Recovery partition via the USB installer) and, once at the macOS installer main screen, open up Terminal from Utilities menu copy 10.13.6's telemetry plugin to Mojave's target partition to avoid SSE4.2-related KP/reset on Core2Duo at boot time (required after each update ) cp -Rf /Volumes/Image\ Volume/com.apple.telemetry.plugin /Volumes/<target Mojave partition>/System/Library/UserEventPlugins/ copy Mojave's patched PlatformSupport plist to Mojave's target partition to support booting Mojave with MacBookPro7,1 SMBIOS cp -f /Volumes/Image\ Volume/PlatformSupport.plist /Volumes/<target Mojave partition>/System/Library/CoreServices/ exit Terminal and restart your computer. Reboot the target Mojave partition via your USB installer with default config file. 3) Post-installation basic tuning Once the target Mojave partition has booted, complete the 1st boot system setup Once at the desktop, install Clover bootloader on the Mojave partition/disk with the customised settings listed above Once Clover is installed, launch Clover Configurator app and mount the freshly created EFI partition of the Mojave partition/disk Open this EFI partition and transfer the files & folders from the above D630n Mojave Clover pack to the EFI/Clover folder You may then reboot and verify that Mojave boots off your disk through Clover Copy High Sierra's telemetry plugin + patched PlatformSupport plist, available above, to the root of your Mojave partition/volume If you wish to cache add-on kexts rather than inject them through Clover at boot time, copy them to /L/E folder and rebuild your cache through the following Terminal commands: sudo chmod -Rf 755 /L*/E* sudo chown -Rf 0:0 /L*/E* sudo touch -f /L*/E* sudo kextcache -i / 4) Post-installation graphics tuning Fine-tuning for natively unsupported Quadro NVS 135M Tesla discrete GPU may now complete using the files available in the package below, as derived from early findings with Mojave and the work done dosdude1 & AsiententBot at MacRumors & InsanelyMac: Tesla_10.14.zip Place an uncompressed copy of the above Tesla_10.14 folder to the root of your Mojave partition/volume Reboot in single-user mode (at Clover main menu, press [SPACE] and select -s option) At the single-user mode prompt, mount your Mojave volume: mount -uw / For Mojave 10.14.4 and later, remove GPUSupport + SkyLight + OpenGL + CoreDisplay vanilla frameworks: rm -Rf /S*/L*/PrivateFrameworks/GPUSupport.framework rm -Rf /S*/L*/PrivateFrameworks/SkyLight.framework rm -Rf /S*/L*/Frameworks/OpenGL.framework rm -Rf /S*/L*/Frameworks/CoreDisplay.framework For Mojave 10.14.4 and later, install 10.14.3's replacement frameworks: cp -Rf /Tesla_10.14/Frameworks/CoreDisplay.framework /S*/L*/Frameworks/ cp -Rf /Tesla_10.14/Frameworks/OpenGL.framework /S*/L*/Frameworks/ cp -Rf /Tesla_10.14/PrivateFrameworks/GPUSupport.framework /S*/L*/PrivateFrameworks/ cp -Rf /Tesla_10.14/PrivateFrameworks/SkyLight.framework /S*/L*/PrivateFrameworks/ Install the legacy kexts required for Tesla dGPU support: cp -Rf /Tesla_10.14/Extensions/*.* /S*/L*/E* chmod -Rf 755 /S*/L*/E* chown -Rf 0:0 /S*/L*/E* touch -f /S*/L*/E* Quit single-user mode and resume normal macOS startup: exit macOS Mojave should then complete full boot and now run with (OpenGL-only) graphics acceleration. Note that this entire graphics-tuning process will require to be repeated after each Mojave update. 5) Mojave update Mojave updates will only be offered, downloadable and installable if running with MBP9,1 SMBIOS, i.e. if booting with the "config_MBP9,1" config; this because Apple does not offer/support updates for unsupported models. Once a Mojave update has completed, the following fine-tuning must be completed through single-user mode: re-install High Sierra's telemetry plugin as detailed above re-install patched PlatformSupport plist as detailed above re-apply the graphics fine-tuning process detailed above Please note that all reboots must be done with "config_MBP9,1" Clover config until Mojave update and fine-tuning have been fully completed. Only then can Mojave be safely rebooted with its default MBP7,1 Clover config.
 1 point
 -
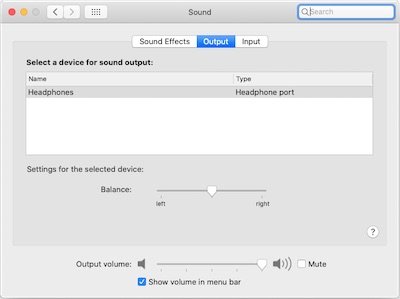
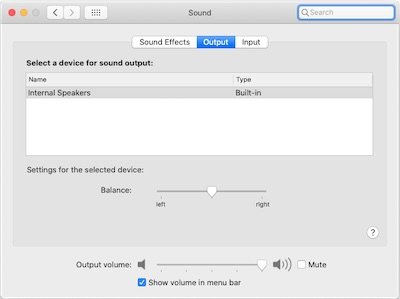
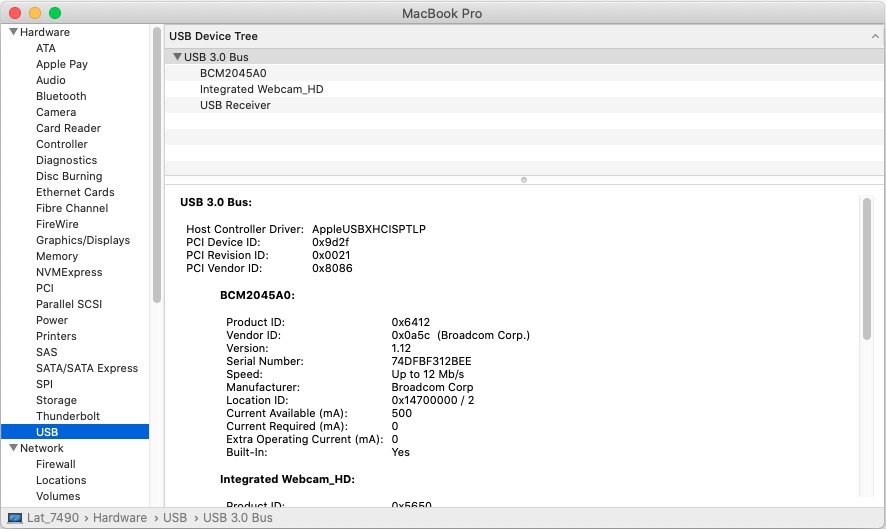
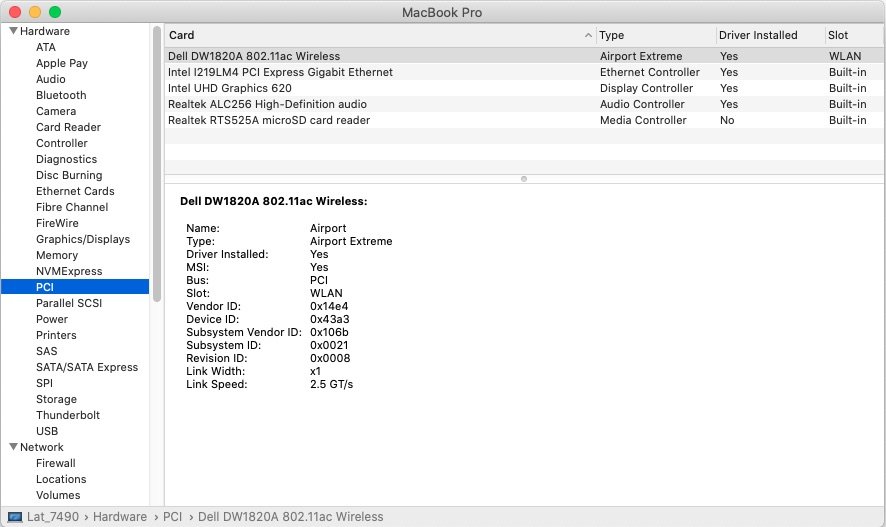
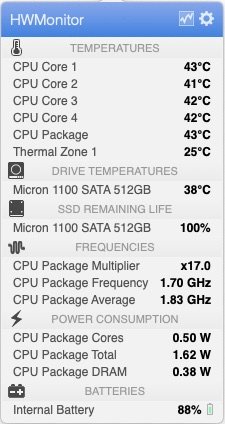
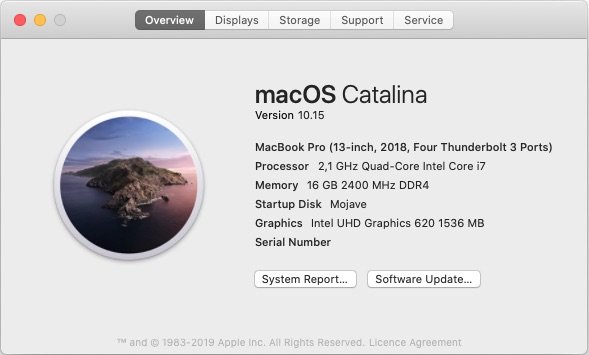
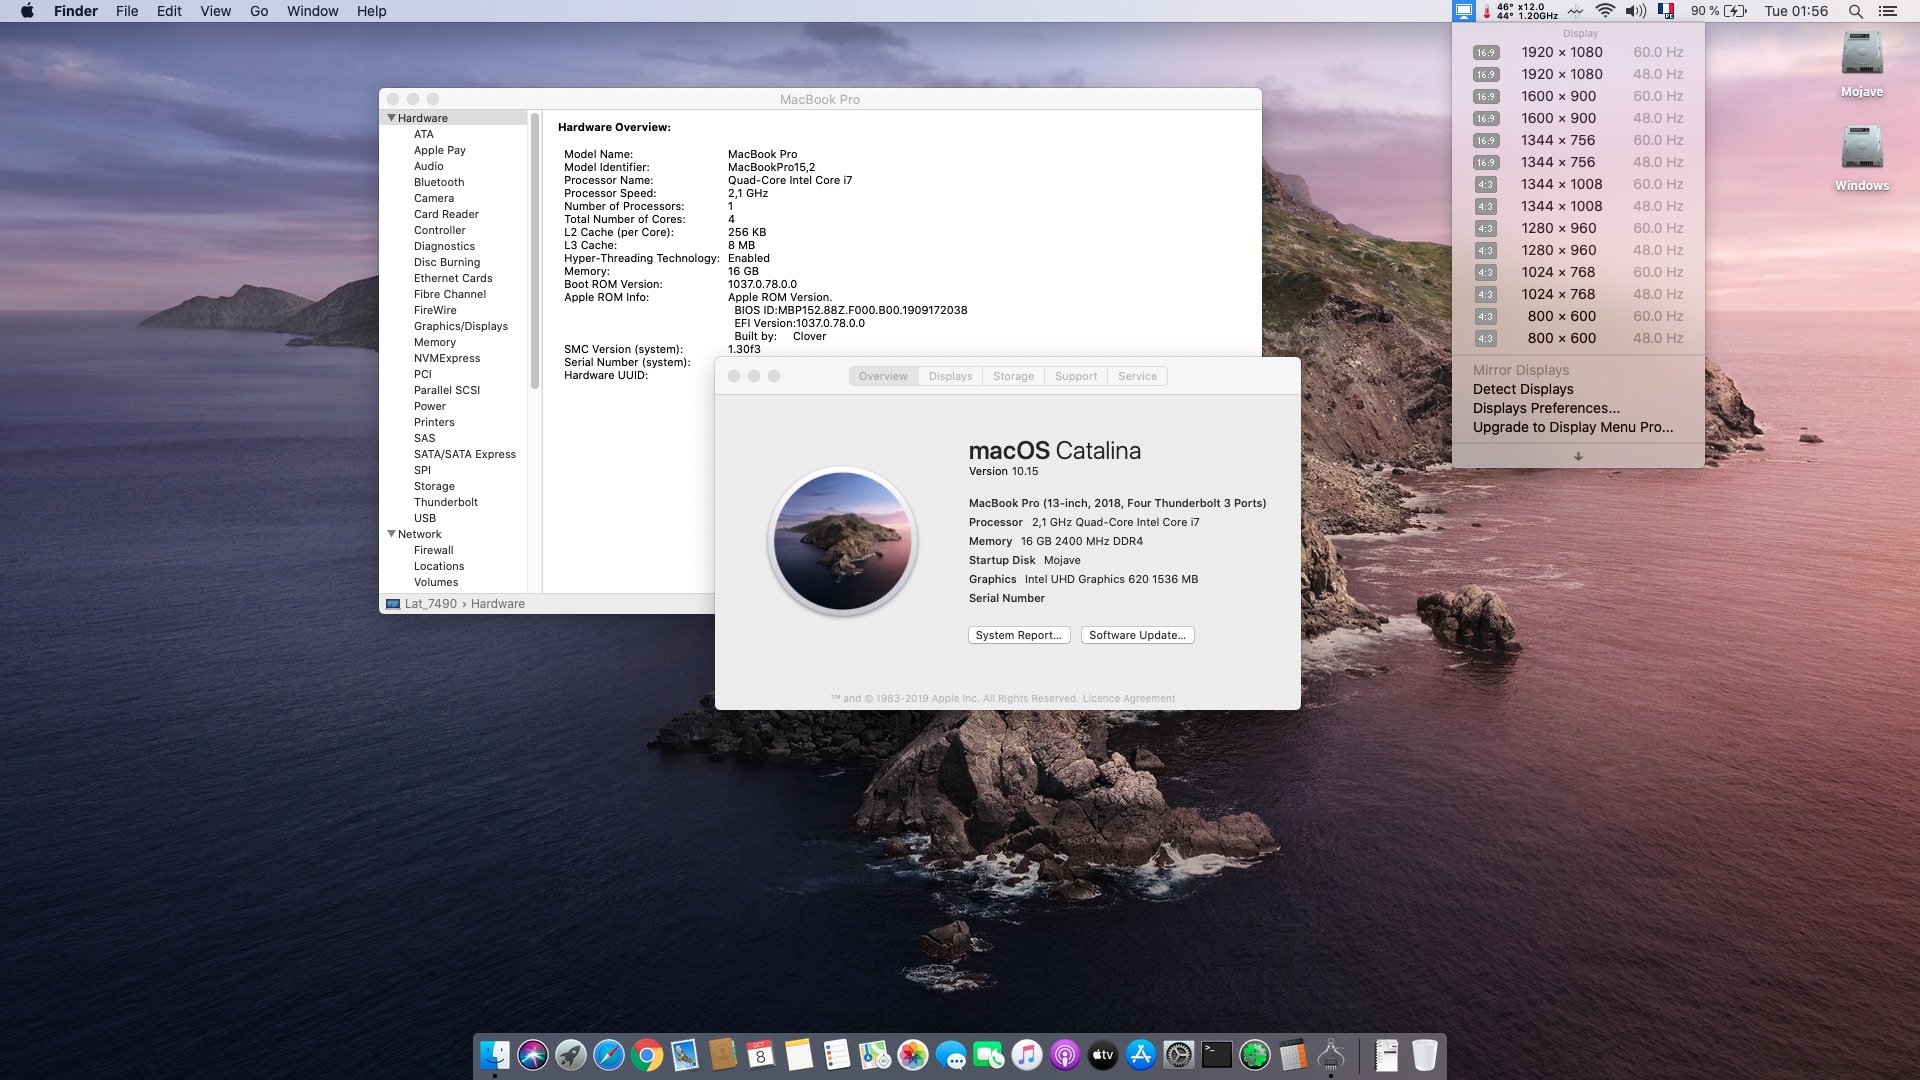
Last update: 17 Jun 2020 Target macOS release: Catalina 10.15.x This is a Clover-based installation using the well-known/well documented vanilla method detailed below: Working: full graphics acceleration on Intel UHD620 iGPU, including brightness control (with Lilu v1.3.8 + WEG v1.3.2) multi-display with HDMI OOB, including HDMI-to-DVI adaptation (HDMI-to-VGA not successful) and VGA/DP over USB Type-C audio, including HDMI, microphone input and headset output (with AppleALC v1.3.9 & layout 11 + CodecCommander v2.7.1) GigEthernet LAN connection (with IntelMausiEthernet 2.4.0 kext) wireless and bluetooth with any compatible card (a DW1820A in my case) left and right USB ports (with Hackintool-generated USBPorts), including USB Type-C integrated webcam (OOB) CPU power management sleep (Lid, Energy Saver settings, Apple menu, Fn-Insert, PWR button) & wake (Lid, PWR button) battery management (with ACPIBatteryManager v1.90.1) keyboard (with VoodooPS2Controller v1.9.2) touchpad (with VoodooI2C v2.1.4 + VoodooI2CHID v1.0), including tap-to-click (mandatory in PrefPane settings), scroll & zoom, rotate or other multi-finger gestures. On occasions, won't work until system is rebooted one or several times. RTS525a microSD card reader (Performance limited to 5MB/s) Not working: Touchpad buttons TrackPoint 1) 10.15 USB installer creation Using a USB key of 8GB minimum, create a Catalina USB installer through the following Terminal command: sudo <path>/Install\ macOS\ Catalina.app/Contents/Resources/createinstallmedia --volume /Volumes/<USB key> where: <path> = location of Catalina installation package (eg: /Applications if freshly downloaded) <USB key> = name of formatted USB volume (eg: USB_8GB) The process will take several minutes. Once completed: install Clover bootloader on the USB installer with the following customised settings: Clover for UEFI booting only Install Clover in the ESP UEFI Drivers Recommended drivers ApfsDriverLoader AptioMemoryFix AudioDxe DataHubDxe FSInject HFSPlus SMCHelper Human Interface Devices Ps2MouseDxe UsbMoueDxe File system Drivers Fat Additional Drivers NvmExpressDxe PartitionDxe Themes (optional) Install Clover Preference Pane (optional) you may use version r5093 attached below: Clover_v2.5k_r5093.pkg.zip once Clover is installed, launch Clover Configurator app and mount the freshly created EFI partition of the USB installer Clover Configurator.zip open this EFI partition and transfer/copy the files & folders from the Latitude 7490 Catalina Clover pack below to the EFI/Clover folder: 7490_Catalina_Clover_Pack.zip 7490_Catalina_Clover_Pack_#2.zip 7490_Catalina_Clover_Pack_#3.zip 2) 10.15 installation boot the Catalina USB installer at the Clover main menu, select the "Install macOS Catalina" partition (but don't press [ENTER]) press [SPACE], select -v verbose option in the menu, then choose to boot with the selected options proceed with installation, creating & formatting the target Catalina installation through Disk Utility as/if required on 1st reboot, boot off the USB installer and select the freshly created "macOS install from <target Catalina partition>" repeat this until this partition is no longer offered and only the target Catalina partition is left to boot Reboot the target Catalina partition via your USB installer 3) Post-installation tuning Once the target Catalina partition has booted, complete the 1st boot configuration tuning Once at the desktop, install Clover bootloader on the Catalina partition/disk with the customised settings listed above Once Clover is installed, launch Clover Configurator app and mount the freshly created EFI partition of the Catalina partition/disk Open this EFI partition and transfer the files & folders from the above Latitude 7490 Catalina Clover pack to the EFI/Clover folder You may then reboot and verify that Catalina boots off your disk through Clover Edit: 02 Nov 2019: - - - - - - - - - - - - - Revised Clover pack #2: DW1820A properties injection commented out (only required for those who have such a card, in which case, remove the # character) Edit: 20 Apr 2020: - - - - - - - - - - - - - Added a note about solution for Realtek RTS525a SD card reader. Edit: 17 Jun 2020: - - - - - - - - - - - - - Revised Clover pack #3: Moved patched DSDT out of ACPI/patched folder since it's causing KP for most people. It was only patched to support brightness control through Fn-F11/Fn-F12. Jake Lo has provided SSDT alternatives in other guides/threads so it's best to use that. I'll try them asap on the 7490 and update accordingly.
1 point
-
You don't install OS X to the USB stick. You install it to the internal SSD. If you don't see the SSD, perhaps you have NVME drive? Check the BIOS to confirm.1 point


This leaderboard is set to London/GMT+01:00