
Leaderboard


Popular Content
Showing content with the highest reputation on 05/08/21 in all areas
-
@truceFR the behaviour of the Touchpad as you described it seems pretty normal to me: yes you use the "palm" or "face" of your fingers to move the cursor, not the tip. I must admit that don't know any TouchPad that would work like that. I had never even thought or considered doing it but I can too confirm that 2-finger scrolling appears to work when using the tip of the fingers; it's a very unusual way to use a TouchPad and certainly feels very weird and awkward to me. I certainly could not get mouse control or tap-to-click working when using the tip of my finger but, again, that felt really weird... As for the Touchpad sensitivity, it's indeed adjustable through the FingerZ parameter of the kext's Info.plist file. Dr Hurt's kext is fully compatible with the TouchPad PrefPane so there are things you can control from there. Same from the accessibility PrefPane.1 point
-
Give this a try. Config is modified from the one you attached above. Just add the SSDT* and kext to the appropriate folders, and replace the Config No, the Alps touchpad has very limited support. E5470_FnKeys.zip1 point
-
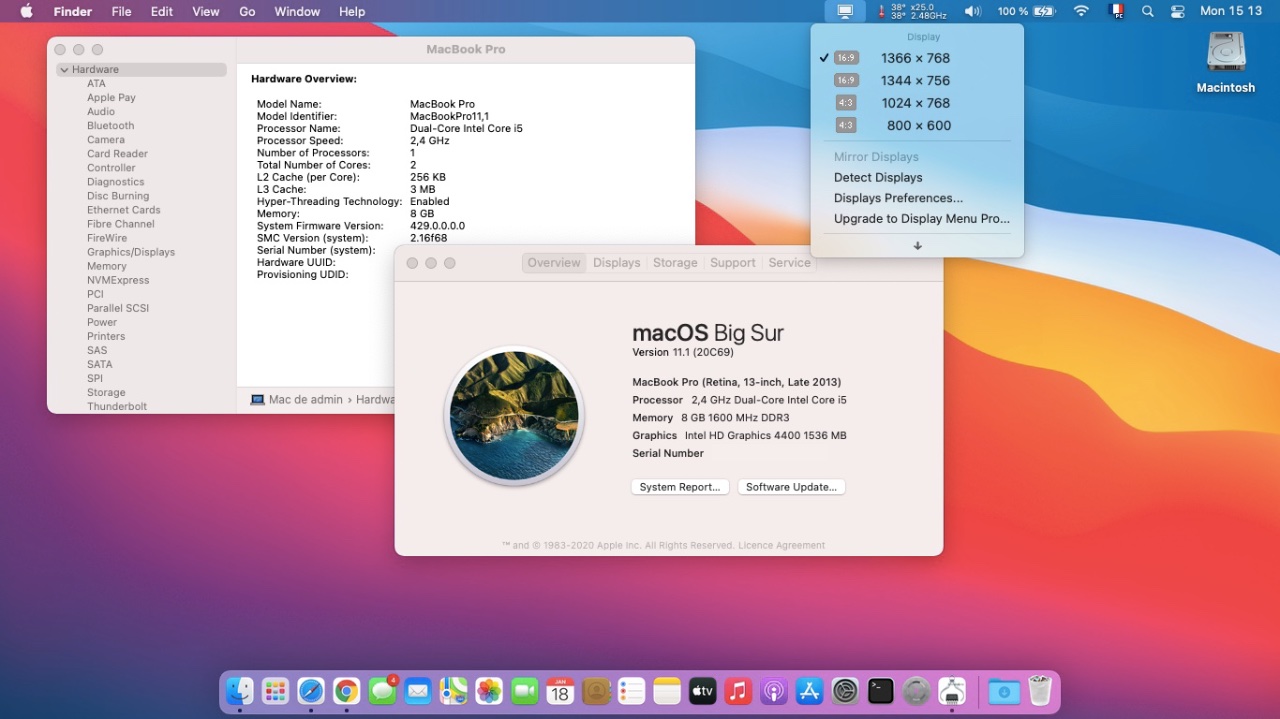
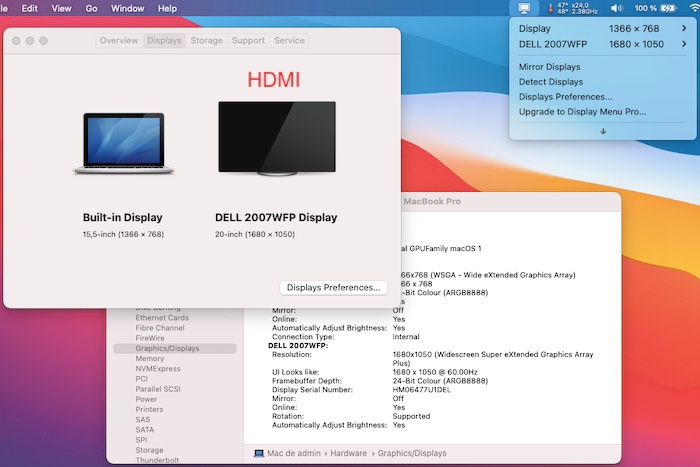
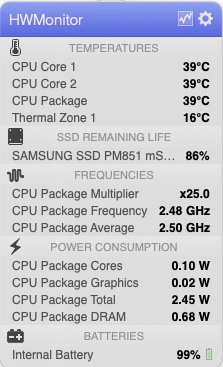
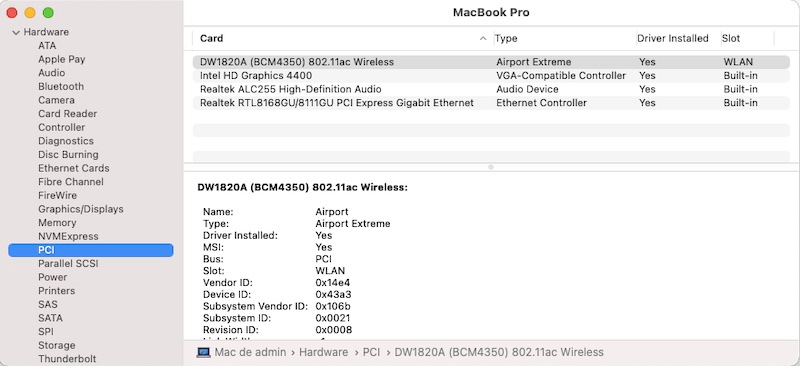
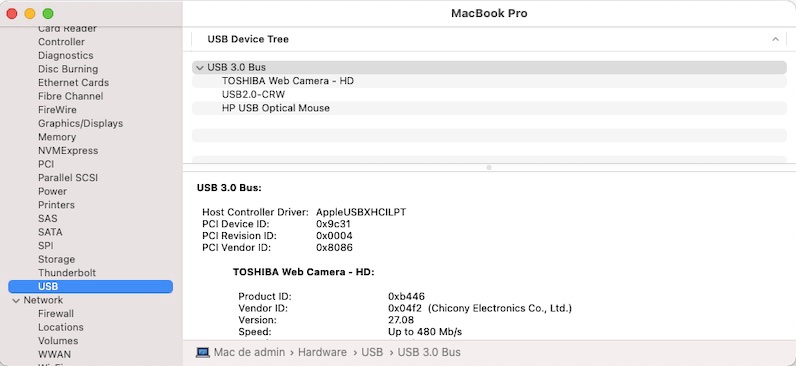
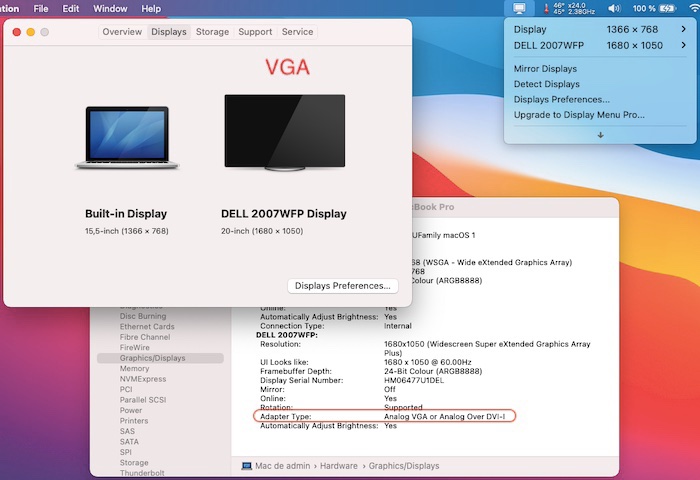
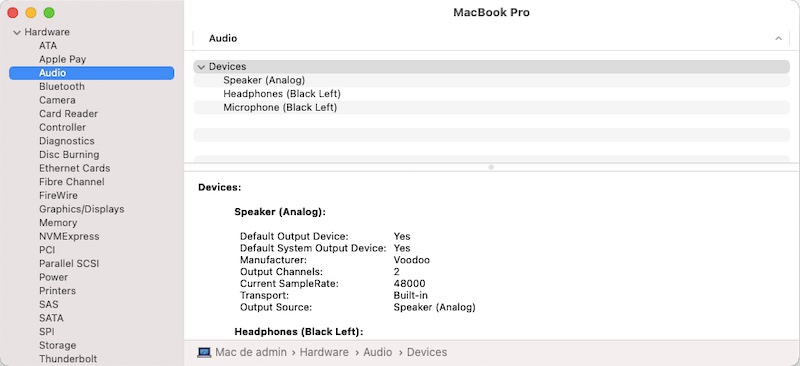
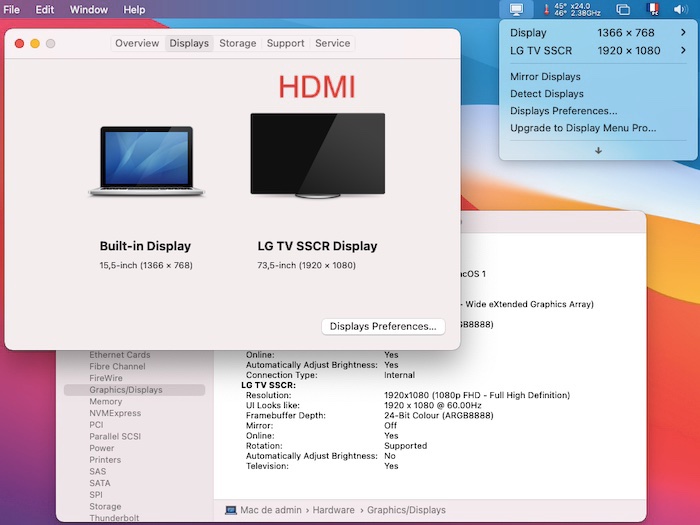
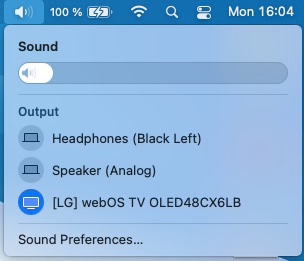
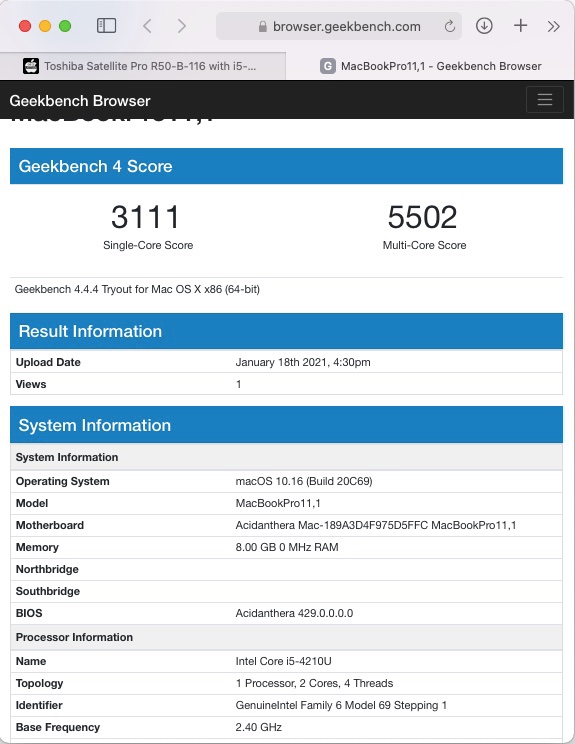
Target macOS release: Big Sur 11.x This is an OpenCore-based installation (on a SATA-III 6Gb/s SSD) using the standard vanilla method detailed below: Working: full graphics acceleration on Intel HD4400 graphics (with Lilu v1.5.0 v1.6.0 + WEG v1.4.6 v1.5.8 + usual Azul FB properties injection) multi-display on VGA (OOB) + HDMI (with injected connector patch) brightness control with Fn-Ins/Fn-PgDn (with Dortania's SSDT-PNLF); keys remapping required here audio, including combo jack microphone input/headphones output (with VoodooHDA v2.9.2 + AppleHDADisabler); manual output selection required between speakers and headphones. I was only able to get audio with AppleALC (layout 13) if I booted with Clover. HDMI audio (with ACPI renaming of B0D3 to HDAU) GigEthernet LAN (with Mieze's RealtekRTL8111 v2.4.0d6) wireless with any compatible card integrated webcam (OOB) Realtek USB-internal SD Card reader (with Firewolf's RealtekCardReader v0.9.6) full CPU power management 0.8->1.7GHz, including Turbo boost 1.8->2.7GHz (with Dortania's SSDT-PLUG.aml) sleep & wake (with Hackintool's SSDT-UIAC): sleep with Battery PrefPane settings, Apple menu, PWR button but not through lid closing wake with PWR button, keyboard key, mouse/trackpad, lid opening, AC plugging partial battery management (with Rehabman's ACPIBatteryManager v1.90.1); no auto-detection of AC plugging/unplugging (except after sleep/wake) but battery charge % Ok keyboard & basic TrackPad functionalities (with Rehabman's VoodooPS2Controller v1.9.2) all USB ports Not working: AC charger plugging/unplugging; proper status only reflected at startup or after wake Bluetooth; not seen/detected due to likely USB-related issue; in fact, Bluetooth no longer appears/works in Windows after having booted macOS with OC GeekBench v4.4.x (64bit) results: 1) 11.x USB installer creation Using a USB key of 16GB minimum, create a Big Sur USB installer through the following Terminal command: sudo <path>/Install\ macOS\ Big\ Sur.app/Contents/Resources/createinstallmedia --volume /Volumes/<USB key> where: <path> = location of Big Sur installation package (eg: /Applications if freshly downloaded) <USB key> = name of formatted USB volume (eg: USB_16GB) The process will take several minutes. Once completed: Setup your BIOS for UEFI mode if not already done so (installation won't work in CSM mode). Recommended BIOS settings available here. mount the EFI partition of your USB installer and, if applicable, erase the partition through Disk Utility or delete all of its existing contents. Tools such as Mount EFI or apps such as Clover Configurator or EFI Mounter may be used to that effect. Failing that, the simple diskutil mount command does the trick once you've identified your EFI partition with diskutil list command: sudo diskutil list (shows list of disks and partitions) sudo diskutil mount /dev/<identified disk> (eg: sudo diskutil mount /dev/disk0s1) uncompress the following Satellite Pro R50-B-116 Big Sur OpenCore pack and copy the EFI folder to the mounted EFI partition: OC_0.6.5_EFI_R50-B-116_BigSur.zip OC_0.8.0_EFI_R50-B-116_BigSur.zip Please note that, to modify your OpenCore config, you should use the following ProperTree app (see Dortania's documentation for details on this) though I must say that I've never encountered any issues with OpenCore Configurator app and OC: ProperTree.zip 2) 11.x installation boot the Big Sur USB installer at the OpenCore main menu, select the "Install macOS Big Sur" partition and press [ENTER] at Big Sur main installation screen, select Disk Utility to create & format the target Big Sur partition/disk. Note that I could not begin installation unless my target partition/disk was formatted HFS+ exit DU and return to Big Sur main installation screen, then proceed with installation the installation process will twice reboot a temporary macOS installer partition to complete the installation. This overall installation process takes much longer (~1hr) than what was experienced with previous macOS versions so be patient. Don't be frightened by the 2nd reboot which show things never seen with previous macOS versions a 3rd reboot will boot your target named Big Sur partition/disk and will be quickly followed by a 4th and final reboot of that same target Big Sur partition/disk each time, reboot via your USB installer. 3) Post-installation tuning Once the finalised Big Sur installation has booted, complete the 1st boot configuration tuning Once at the desktop, mount the EFI partition of your Big Sur disk Copy the EFI folder of the OpenCore R50-B-116 Big Sur pack to the mounted EFI partition You may then reboot and verify that Big Sur boots off your disk through OpenCore You may then disable verbose mode by removing -v flag from NVRAM->7C436110-AB2A-4BBB-A880-FE41995C9F82->boot-args in the OpenCore config file. You may then modify your SMBIOS info under PlatformInfo->Generic section and ensure you have unique numbers or unique combination of numbers. Use GenSMBIOS tool (available here) to generate new MLB, ROM, SystemSerialNumber and SystemUUID. Refer to Dortania's documentation for further info and guidance. Alternatively, you may use OpenCoreConfigurator app given that it is generally Ok too these days. Complete any additional fine-tuning such as disabling hibernation, disabling GateKeeper, etc. Please note that if you use a DW1820A card in this laptop, make sure to: enable AirportBrcmFixup parent kext (not the PlugIns) in the Kernel section of your OC config uncomment the compatible, pci-aspm-default and model properties against device located at PciRoot(0x0)/Pci(0x1c,0x1)/Pci(0x0,0x0) in the PropertiesInjection section Please note that, after any significant change to your Big Sur setup requiring to modify your OpenCore configuration, it's usually required to execute a Reset NVRAM from OpenCore main menu (aka Picker) in order for the change(s) to be taken into account. At time of writing (Jan 2021), this remains work in progress in order to address: AC charger connection/disconnection status Audio with AppleALC when booting with OpenCore TrackPad better recognition and gestures Brightness keys remapping Bluetooth off compatible M.2 combo card - - - - - - - - - - Edit #1: 30 May 2022 Revised OC 0.8.0 pack with support for Realtek card reader
 1 point

.jpg.56b1c8a38c435a615c7605fb5c995954.jpg)
This leaderboard is set to London/GMT+01:00