
Leaderboard


Popular Content
Showing content with the highest reputation on 11/15/19 in all areas
-
Compare the Config files, you'll find the differences under ACPI in Config file The SSDT-xx goes into /EFI/Clover/ACPI/Patched1 point
-
You've got no patched DSDT and, in your Clover config, you've selected ACPI patch "InjectDarwin" instead of "InjectDarwin7". The former sets the OS to Win XP when the latter sets the OS to Win7, i.e. what you need to activate USB3.0 controller support. That or you patch your DSDT to simply inject DSDT alongside Windows Vista ("Windows 2006") or Windows 7 ("Windows 2009").1 point
-
try this, replace Config and add kext to kexts/Other usb.zip1 point
-
Remove USBPorts-Exx30.kext1 point
-
You can't just disable the TouchPad when a USB mouse is plugged in; that's not feasible. You either fully disable the TouchPad or not at all.1 point
-
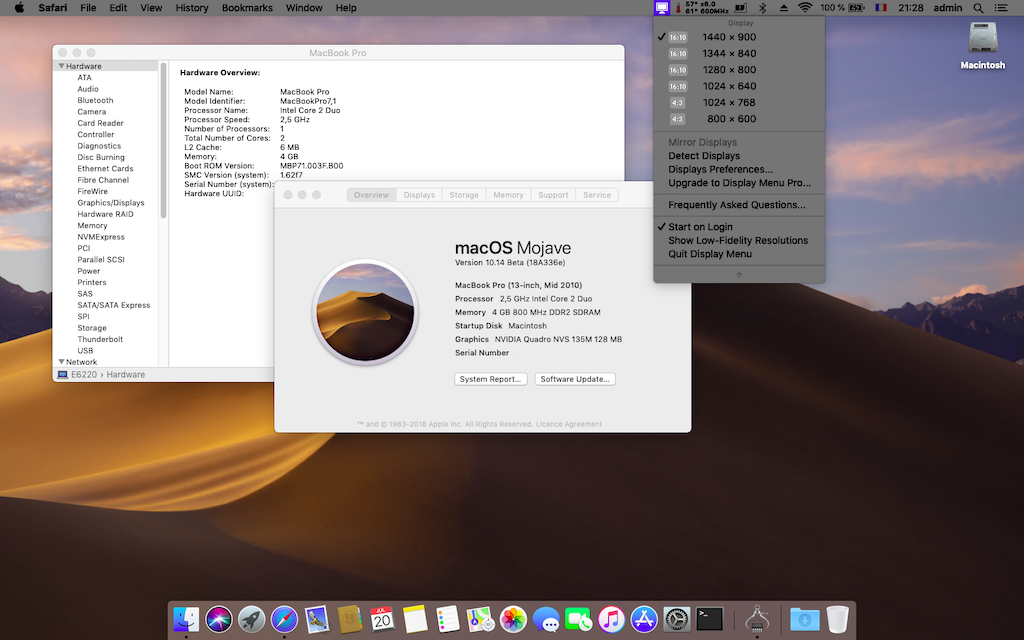
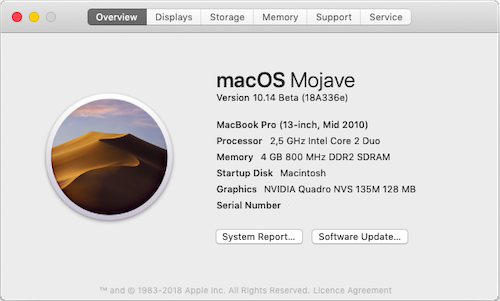
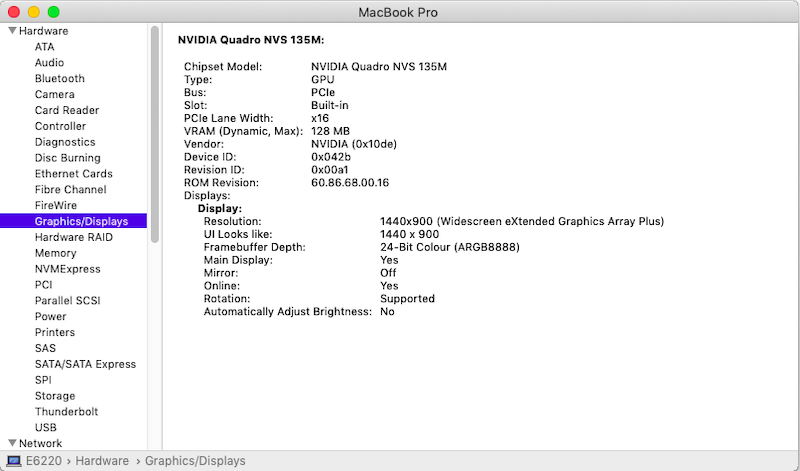
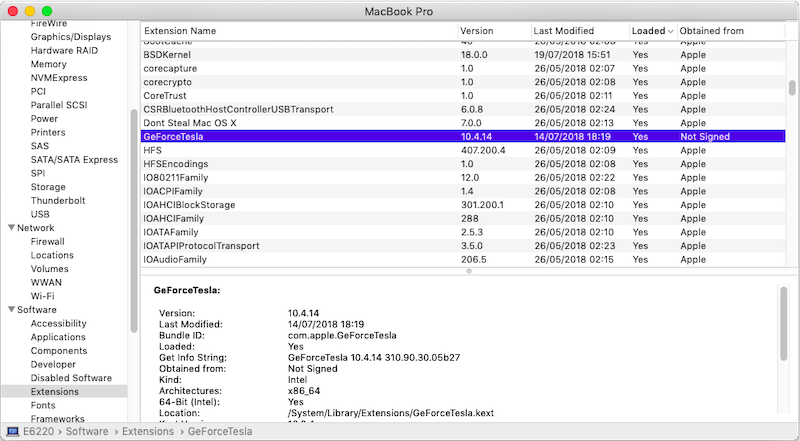
Fitted the Mojave SSD of the E6220 in my D630 and added the necessary modifications for MBP7,1 model: patched PlatformSupport plist (already in place for MBP8,1 SMBIOS on E6220) posted above installation of nVidia kexts/pack from High Sierra 10.13.6 to /S/L/E 10.13.6_nVidia_kexts.zip replacement of Mojave's /S/L/UserEventsPlugins/com.apple.telemetry.plugin by High Sierra 10.13.6's version com.apple.telemetry.plugin.zip The results are similar to what's achieved on the E6220 with HD3000: full graphics acceleration with minor defects (more visible in light mode than dark one). Other than the above small graphics limitations, D630 appears fully functional (sleep/wake, LAN, wifi, WWAN, audio, dGPU throttling/AGPM, etc.)
 1 point
 -
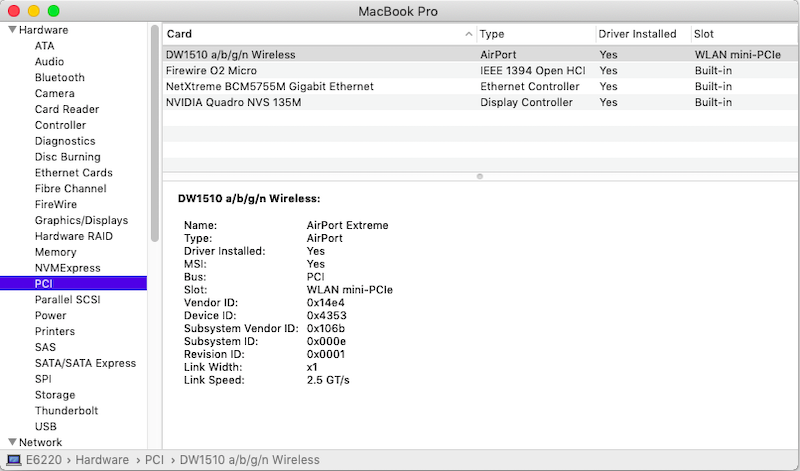
Before you give up, can you please check and post info about your card from Hardware / USB and Network / WWAN from System Information, so we can compare few things with info I am getting. Even I have different card (DW5809e) in different Dell laptop (E7450), some basic things should be same. Your card should be shown correctly in all of those places. My card is under USB 2.0 Bus inside Hardware / USB and info about it looks like this: Dell Wireless 5809e Gobi™ 4G LTE Mobile Broadband Card: Product ID: 0x81b1 Vendor ID: 0x413c (Dell Inc.) Version: 0.06 Speed: Up to 480 Mb/sec Manufacturer: Sierra Wireless, Incorporated Location ID: 0x1d180000 / 6 Current Available (mA): 500 Current Required (mA): 500 Extra Operating Current (mA): 0 Is your card shown under USB 3.0 or USB 2.0 Bus? Inside Network / WWAN I can see this info: WWAN Information: Dell_Wireless_5809e_Gobi____4G_: Device Version Number: 6 idProduct: 0x81b1 idVendor: 0x413c IMEI: 3535XXXXXX20XX2 IMSI: XX00XX00XX32XX4 locationID: 0x1d180000 @ 0 LOCK_STATE: UNLOCKED Manufacturer: Sierra Wireless, Incorporated Model: EM7305 Modem Software: SWI9X15C_05.05.58.00 r27038 carmd-fwbuild1 2015/03/04 21:30:23 Network Name: Unknown Serial#: 3X3XXXX53XXX9X2 WWAN_TYPE: GSM I am especially curios about your LOCK_STATE and Modem Software. Can you see your WWAN inside Network along with your Ehternet, WiFi and Bluetooth? Have you tried to use Default configuration without any Account Name or Password and empty APN?1 point
-
Hello, I'd like to contribute to the forum and I have decided to write a detailed guide how I installed macOS Sierra 10.12.1 on my E6220 with Core-i7 2620m, HD3000, 8GB RAM, 128GB SSD. I have received few personal messages for help, although there’s a perfect Enoch guide by Herve: https://osxlatitude.com/index.php?/topic/7914-dell-latitude-e6220-with-i5-2520m-hd3000-and-1366x768-lcd-mavericksyosemiteel-capitansierra/ and excellent generic El Capitan guide by Jake Lo: https://osxlatitude.com/index.php?/topic/8506-dell-latitude-inspiron-precision-el-capitan-clover-guide/ I will follow Jake’s guide, but I will add more stuff and this guide will be useful for all Sandy bridge E6x20 Many thanks to all OS X latitude forum members, who helped me when I was very new to OS X. Let’s start. You need: 1. E6220 2. 8GB USB or bigger 3. Access to real mac to create install USB or if you have Windows/Linux you can use a virtual machine using virtualbox or vmmare You should update your BIOS to A13 and set it to the following settings : https://osxlatitude.com/index.php?/topic/8281-e6220-bios-settings/ Download macOS Sierra from Apple store. Prepare USB using the following instructions: 1: Prepare Bootable USB Drive This step extracts the OS X Installer contents, then installs Clover bootloader to the USB stick. 1. Insert the USB drive on a running OS X system 2. Open /Applications/Utilities/Disk Utility 3. Highlight the USB drive in left column 4. Click on the Partition tab 5. Click Current and choose 1 Partition 6. Click Options... 7. Choose GUID Partition Table 8. Under Name: type USB (You can rename it later) 9. Under Format: choose Mac OS Extended (Journaled) 10. Click Apply then Partition 11. Go to Applications, right click on “Install macOS Sierraâ€/Show Package Contents/Contents/ SharedSupport 12. Mount InstallESD.dmg 13. Launch ShowHiddenFiles and select “Show Special Files†( app attached at the end of guide) 14. Mount BaseSystem.dmg (hidden) from “OS X Install ESD†15. Use Disk Utility to restore “OS X Base System†to USB (see image below) 16. After restore is complete, USB is now renamed to “OS X Base Systemâ€. Go ahead and rename it to “Install macOS Sierra†17. Go to “Install macOS Sierraâ€/System/Installation and delete the alias “Packagesâ€. 18. Copy “Packages†from root of “OS X Install ESD†to “Install macOS Sierraâ€/System/Installation 19. Copy BaseSystem.dmg and BaseSystem.chunklist (hidden files) from “OS X Install ESD†to root of “Install macOS Sierra†20. Launch ShowHiddenFiles and select “Hide Special Files†21. Download Clover EFI boot loader 22. Open Clover package installer 23. Hit Continue, Continue, Change Install Location... 25. Choose “Install macOS Sierra†26. Hit Continue, then hit Customize. Select these items: • Install Clover in the ESP • Bootloader/Install boot0af in MBR • CloverEFI/CloverEFI 64-bits SATA You can also select a Clover theme. 27. Click Install 28. After installation of Clover, the hidden EFI Partition will appear on the Desktop Now you will need to browse the EFI partition and put the necessary files in the correct locations: DSDT.aml and ssdt.aml should be copied to EFI partition and folders CLOVER->ACPI->patched Important note: if you have different CPU and you use my ssdt.aml - you will get kernel panic. If you have i5-2520M which seems to be the most common - you can get ssdt.aml from the files provided in Herve’s guide - https://osxlatitude.com/index.php?/topic/7914-dell-latitude-e6220-with-i5-2520m-hd3000-and-1366x768-lcd-mavericksyosemiteel-capitansierra/ If you have another CPU - then don’t use ssdt.aml and find NullCPUPowerManagement.kext, which should be added along with the other kexts. As of this writing, I do not know which is the latest such kext working OK with Sierra. If someone is ready to provide it - I can add it to the post. You can use a shell script ssdtPRGen.sh to generate ssdt.aml for your CPU after the install. The script is provided in the Tools zip to this post. You might want to google for a newer version. Kexts should go to EFI/CLOVER/kexts/10.12/ config.plist goes to EFI/CLOVER/ Please use Clover Configurator to generate a new serial. Just start Clover Configurator - File - Open - select config.plist from EFI/CLOVER/ and open it. Then SMBIOS from the left-hand list and click the magic wand and select first laptop picture and from the menu Macbook Pro 8,2 or 8,1 if you have the i5 processor. You can choose year of manufacture and click the buttons ‘shake’ to get different serials generated. When done - click File - Save. Now you can reboot computer and start the installation. You can press F12 before boot and choose USB. If you get kernel panic - one common reason would be if you have empty DIMM A slot, and only 1 RAM stick in DIMM B. Move the RAM to DIMM A and try again. For a new installation of macOS, you MUST erase and format the destination drive according to the following steps before continuing. a. From the menu bar, click Utilities -> Choose Disk Utility b. Highlight your target hard drive for the macOS installation in left column. c. Click Erase tab d. Under Scheme: GUID Partition Map e. Under Name: type Macintosh SSD (You can rename it later) f. Under Format: choose Mac OS Extended (Journaled) g. Click Erase h. Click on Partition Tab to add more partition if you prefer i. Close Disk Utility Click Continue, Continue, Agree Select Macintosh SSD, or name of your existing drive, where you want to install macOS and click Continue Upon completion, system will restart Press the F12 to choose boot device Choose <Your USB Installer device> When Clover boot screen appears, choose Macintosh SSD or name of your existing drive The system will boot into the new drive, and complete the installation… Launch the terminal and enter the following command diskutil list If you something about virtual drive like this: /dev/disk1 (internal, virtual): Please enter the below command if you have only one disk and you are not setting up dual-booting: diskutil cs revert /dev/disk1 Otherwise you have to find out which is the correct ending number from the data you see from “diskutil listâ€. Then create a folder and mount EFI partition: sudo mkdir /Volumes/efi sudo mount -t msdos /dev/disk0s1 /Volumes/efi Now it’s the time to run Clover installer and install on your HDD/SSD in a similar way like when preparing the USB, however please select couple of more options: • Install Clover in the ESP • Bootloader/Install boot0af in MBR • CloverEFI/CloverEFI 64-bits SATA • Install RC scripts on target volume • Install Clover Preference Panel Copy DSDT, SSDT, kexts and config.plist to the EFI partition of your HDD. You can use EFI mounter if for some reason - it is not mounted after Clover install. Now let’s fix the audio: Copy AppleHDA_IDT92HD90.kext to /Library/Extensions Copy AppleHDA.kext to /System/Library/Extensions Repair permission and rebuild cache. Run command from terminal sudo chmod -Rf 755 /L*/E* sudo chown -Rf 0:0 /L*/E* sudo touch -f /L*/E* sudo chmod -Rf 755 /S*/L*/E* sudo chown -Rf 0:0 /S*/L*/E* sudo touch -f /S*/L*/E* sudo kextcache -Boot -U / Make sure to disable hibernation as it's a prerequisite to get sleep & wake to work Ok on a Hackintosh: • sudo pmset hibernatemode 0 • sudo rm -f /var/vm/sleepimage • sudo pmset hibernatefile /dev/null Remove USB and reboot. You system should start fine, but you might notice that if you tap on the touchpad - it does not click. Moreover, Trackpad preference panel may not load. This is easily fixed by deleting: /System/Library/PreferencePanes/Trackpad.prefPane and replacing it with a Trackpad panel from El capitan. Link to download: http://www.megafileupload.com/85j1/Trackpad.prefPane.zip I still had a persisting problem that whatever I set in Trackpad preferences - it’s not saved after reboot, so I used Dr. Hurt's app - Touchpad Settings.app , which I copied to the Applications folder and allowed access from System Preferences - Security & Privacy - Accessibility - Allow the apps below to control your computer and I added Touchpad settings. I really hope that this will be very helpful to people new to hackintoshing and have Sandy Bridge models E6x20. PS. I may have missed something and fix it later. More stuff could be added later, or improve formatting. Feel free to criticize me and point out if I am doing something the wrong way English is not my native language, but I think I have provided clear enough explanations. Tools.zip E6220-i7 2620m.zip1 point


This leaderboard is set to London/GMT+01:00