
Leon
-
Posts
1235 -
Joined
-
Last visited
-
Days Won
58


Leon's Achievements
Lieutenant Colonel (15/17)
95
Reputation
-
Hi Leon,
We have the same problem with the 2big nas. And we will collect the files from your site, but the link http://files.osxlatitude.com/leon/Lacie/lacie1.zip is not working.
The file or directory is not found, error code 404. Can you send us a good working link?
Kind Regards,
John and Mète From Holland
-
*WORK IN PROGRESS* With this guide we are going to setup a crouton buster-core chroot and setup sommelier - this allows us to run linux apps on chromeos with graphics accel. - this guide is not perfect and its a work in progress. (Running Brave, firefox and Microsoft Edge at native speed on chromeos) Resources: https://github.com/dnschneid/crouton https://github.com/dnschneid/crouton/wiki/Sommelier-(A-more-native-alternative-to-xiwi) Crouton installation Download crouton from: https://goo.gl/fd3zc Open a shell (Ctrl+Alt+T, type shell and hit enter) Copy the installer to an executable location by running: sudo install -Dt /usr/local/bin -m 755 ~/Downloads/crouton Now that crouton is installed, we can start setting up chroots (containers if you will). Setup a buster core container Download a buster core container - run: sudo bash ~/Downloads/crouton -r buster -t core -n buster-core During the you will be asked to setup username and password, once its done – you can proceed Lets setup sommelier inside our buster-core Before we can start to run linux apps with need todo a bit of installation, while not complete – this is basiclly what we will do: https://github.com/dnschneid/crouton/wiki/Sommelier-(A-more-native-alternative-to-xiwi) Download sommelier to the Downloads folder "enter" your previos created chroot by running: sudo enter-chroot –n buster-core Run: cd ~/Downloads/ mkdir sommelier wget https://chromium.googlesource.com/chromiumos/containers/sommelier/+archive/1382ce084cc40790340d672e8b62ec47733cb860.tar.gz mv 1382ce084cc40790340d672e8b62ec47733cb860.tar.gz sommelier cd sommelier tar -xzf s1382ce084cc40790340d672e8b62ec47733cb860.tar.gz Run: export GDK_BACKEND=wayland export CLUTTER_BACKEND=wayland export XDG_RUNTIME_DIR='/var/run/chrome' export WAYLAND_DISPLAY=wayland-0 export DISPLAY=:0 Next, you'll need to build it. Thankfully, this is relatively simple. First, install the necessary dependencies. sudo apt update sudo apt install -y pkg-config git nano make xwayland libwayland-dev libgbm-dev gcc libx11-xcb-dev libsystemd-dev libxcb-composite0-dev libxkbcommon-dev libxrender-dev libxtst-dev libpixman-1-dev Then actually build it! Whilst in sommelier's directory: Make Then, in order to run sommelier as shown below, make the sommelierrc file executable: chmod +x sommelierrc sudo make install Finally, to stop getting a warning when running sommelier (_XSERVTransmkdir: Owner of /tmp/.X11-unix should be set to root), change the owner of /tmp/.X11-unix to root: sudo chown root:root /tmp/.X11-unix Edit .bashrc to launch sommelier when you start the core: Run: cd nano .bashrc Add these lines to the end of your .bashrc clear echo echo [-] Starting sommilier # export GDK_BACKEND=wayland export CLUTTER_BACKEND=wayland export XDG_RUNTIME_DIR='/var/run/chrome' export WAYLAND_DISPLAY=wayland-0 export DISPLAY=:0 alias sommelier='~/Downloads/sommelier/sommelier -X --glamor --x-display=:0 --no-exit-with-child /bin/sh -c "~/Downloads/sommelier/sommelierrc"' sommelier & :::::::::: EDITS 1. Added --glamor to sommelier alias, seems to be needed for some to machines to enable accelrated graphics

-
 Did you ever consider testing Big Sur on it ?
 -
Original: https://linuxize.com/post/how-to-install-xrdp-on-ubuntu-20-04/ This is a mirroed post. Xrdp is an open-source implementation of the Microsoft Remote Desktop Protocol (RDP) that allows you to graphically control a remote system. With RDP, you can log in to the remote machine and create a real desktop session the same as if you had logged in to a local machine. This tutorial covers how to install and configure Xrdp server on Ubuntu 20.04. Installing Desktop Environment Ubuntu servers are managed from the command line and do not have a desktop environment installed by default. If you run the desktop version of Ubuntu, skip this step. There are various desktop environments available in Ubuntu repositories that you can choose. One option is to install Gnome, which is the default desktop environment in Ubuntu 20.04. Another option is to install Xfce . It is a fast, stable, and lightweight desktop environment, which makes it ideal for usage on a remote server. Run one of the commands below to install the desktop environment of your choice. Install Gnome: sudo apt update sudo apt install ubuntu-desktop Install Xfce: sudo apt update sudo apt install xubuntu-desktop Depending on your system, downloading and installing GUI packages will take some time. Installing Xrdp Xrdp is incuded in the default Ubuntu repositories. To install it, run: sudo apt install xrdp Once the installation is complete, the Xrdp service will automatically start. You can verify it by typing: sudo systemctl status xrdp The output will look something like this: ● xrdp.service - xrdp daemon Loaded: loaded (/lib/systemd/system/xrdp.service; enabled; vendor preset: enabled) Active: active (running) since Fri 2020-05-22 17:36:16 UTC; 4min 41s ago ... By default Xrdp uses the /etc/ssl/private/ssl-cert-snakeoil.key file that is readable only by members of the “ssl-cert” group. Run the following command to add the xrdp user to the group : sudo adduser xrdp ssl-cert Restart the Xrdp service for changes to take effect: sudo systemctl restart xrdp That’s it. Xrdp has been installed on your Ubuntu server, and you can start using it. Xrdp Configuration The Xrdp configuration files are located in the /etc/xrdp directory. For basic Xrdp connections, you do not need to make any changes to the configuration files. Xrdp uses the default X Window desktop environment (Gnome or XFCE). The main configuration file is named xrdp.ini . This file is divided into sections and allows you to set global configuration settings such as security and listening addresses and create different xrdp login sessions. Whenever you make any changes to the configuration file, you need to restart the Xrdp service. Xrdp uses startwm.sh file to launch the X session. If you want to use another X Window desktop, edit this file. Configuring Firewall The Xrdp daemon listens on port 3389 on all interfaces. If you run a firewall on your Ubuntu server , you’ll need to open the Xrdp port. To allow access to the Xrdp server from a specific IP address or IP range, for example, 192.168.33.0/24, you would run the following command: sudo ufw allow from 192.168.33.0/24 to any port 3389 If you want to allow access from anywhere (which is highly discouraged for security reasons), run: sudo ufw allow 3389 For increased security, you may consider setting up Xrdp to listen only on localhost and creating an SSH tunnel that securely forwards traffic from your local machine on port 3389 to the server on the same port. Connecting to the Xrdp Server Now that you have set up your Xrdp server, it is time to open your Xrdp client and connect to the server. If you have a Windows PC, you can use the default RDP client. Type “remote” in the Windows search bar and click on “Remote Desktop Connection”. This will open up the RDP client. In the “Computer” field, enter the remote server IP address and click “Connect”. You can now start interacting with the remote desktop from your local machine using your keyboard and mouse. If you are running macOS, you can install the Microsoft Remote Desktop application from the Mac App Store. Linux users can use an RDP client such as Remmina or Vinagre. Conclusion Configuring a remote desktop allows you to manage your Ubuntu 20.04 server from your local machine through an easy to use graphic interface. If you have questions, feel free to leave a comment below.
-
Original: https://idroot.us/install-pantheon-desktop-ubuntu-20-04/ This is a mirrord post. In this tutorial, we will show you how to install Pantheon Desktop on Ubuntu 20.04 LTS. For those of you who didn’t know, Pantheon is a default desktop environment for Elementary OS. It is developed by the same team that builds the elementary OS. It is written from scratch using Vala and the GTK3 toolkit and is widely known for its highly polished appearance. This article assumes you have at least basic knowledge of Linux, know how to use the shell, and most importantly, you host your site on your own VPS. The installation is quite simple and assumes you are running in the root account, if not you may need to add ‘sudo‘ to the commands to get root privileges. I will show you through the step by step installation of Pantheon Desktop on Ubuntu 20.04 (Focal Fossa). You can follow the same instructions for Ubuntu 18.04, 16.04, and any other Debian based distribution like Linux Mint. Install Pantheon Desktop on Ubuntu 20.04 LTS Focal Fossa Step 1. First, make sure that all your system packages are up-to-date by running the following apt commands in the terminal. sudo apt update sudo apt upgrade Step 2. Installing Pantheon Desktop on Ubuntu 20.04. Now we add the ElementaryOS PPA repository: sudo add-apt-repository ppa:elementary-os/daily sudo add-apt-repository ppa:elementary-os/os-patches sudo add-apt-repository ppa:elementary-os/testing Next, run the following commands to install Pantheon on Ubuntu: sudo apt update sudo apt install elementary-theme elementary-icon-theme elementary-default-settings elementary-desktop On progress installation, select default display manager. Pantheon desktop will attempt to install lightdm as a default display manager. Step 3. Accessing Pantheon Desktop on Ubuntu system. Once the installation is complete, restart your Linux computer, and wait for the login screen to appear: Congratulations! You have successfully installed Pantheon Desktop. Thanks for using this tutorial for installing the Pantheon Desktop environment on your Ubuntu 20.04 LTS Focal Fossa system. For additional help or useful information, we recommend you to check the official Pantheon Desktop website.
-
So... you figured out that for some weird reason it could be run to RDP (Remote desktop) into your crostini installation ? In my case, i wanted a full desktop env. - NOTICE - dont expect better performance .. in my tests crouton is faster.. but this seems more stable - its also worth to notice that the default user routes trafic from x11 to wayland to show you applications native. Its actually pretty straith forward - Install xrdp and a desktop env. like xfce4 1. Open up a crostini console 2. run: sudo apt install xrdp xfce4 While you technically could use your existing user - i would suggest adding a new user so we can do custom stuff with "just that user" So, add a new user, run: 1. sudo useradd -m USERNAME Remember to set a password.... run: 1. sudo passwd USERNAME ... and restart crostini... Now you can RDP into your crostini installation using the ip addr from the crostini container. now.. you might notice that some apps (eg. gnome) will open directly in chromeOS and not inside your RDP.. quick fix for that: Add export GDK_BACKEND=x11 to: ~/.config/xfce/xinitrc and /etc/xrdp/startwm.sh ... restart crostini Enjoy! Source links: 1: https://unix.stackexchange.com/questions/563311/bypass-x-forwarding-to-sommelier-during-xrdp-session-via-xorg-on-crostini
-
Orginal: https://www.reddit.com/r/Crostini/comments/m0r9dg/quick_tip_more_info_on_crostini_error_codes_is/ by kirbyfan64sos All the error codes you see from "Error starting Crostini" are available here. In my case, I hit error code 20, bizarrely enough while Crostini was already running. After a bit of hunting, I found these two URLs that should have logging information: file:///home/chronos/user/log/chrome is where the error codes you see are logged, and usually a bit above it is more logging messages explaining the error. Things like mounts are handled by separate daemons, and they log to file:///var/log/messages. In particular, anything related to disks and mounting is handled by cros-disks, and I found the following in the logs: 2021-03-08T03:59:33.569178Z ERR cros-disks[1931]: FUSE mount program '/usr/bin/sshfs' outputted 1 lines: 2021-03-08T03:59:33.569259Z ERR cros-disks[1931]: ERR: read: Connection reset by peer 2021-03-08T03:59:33.569291Z ERR cros-disks[1931]: FUSE mount program '/usr/bin/sshfs' returned error code 1 2021-03-08T03:59:33.569314Z ERR cros-disks[1931]: FUSE daemon start failure: MOUNT_ERROR_MOUNT_PROGRAM_FAILED 2021-03-08T03:59:33.577003Z ERR cros-disks[1931]: Cannot mount 'sshfs://[email protected]:': MOUNT_ERROR_MOUNT_PROGRAM_FAILED 2021-03-08T03:59:33.577060Z ERR cros-disks[1931]: Failed to mount 'sshfs://[email protected]:': MOUNT_ERROR_MOUNT_PROGRAM_FAILED Turns out, I had accidentally blocked the cros-sftp service from running in the container. A quick sudo systemctl start cros-sftp fixed it! Of course, not everything might end this well, but it's something worth looking into if you get any of the dreaded container errors.
-
Hello!
I have a Dell Latitude 13 Core 2 Duo- 4GB DDR3- Intel Grafic - SSD and I want to make it Hackintosh, Please help me because I do not know which Mac OS fits and where to find it! I know the Dell Latitude 13 Laptop is an old device, but I want to bring it back to Mac OS. Please help me
-
A small update from my part: I have ordered an i5 model and a usb cable for patching WP/bios on my i7 model - the i7 have nvme disk so it should be able to boot native. For i5 users, a thumbkey usb-c key with bootloade rmight be a work around
-
Hey @Hervé - Thank you for helping out olm3ca - since i have the i7 model i have a special interest in this build (but not the time for it) - and should you guys succeed i will donate 100usd to OSXL
-
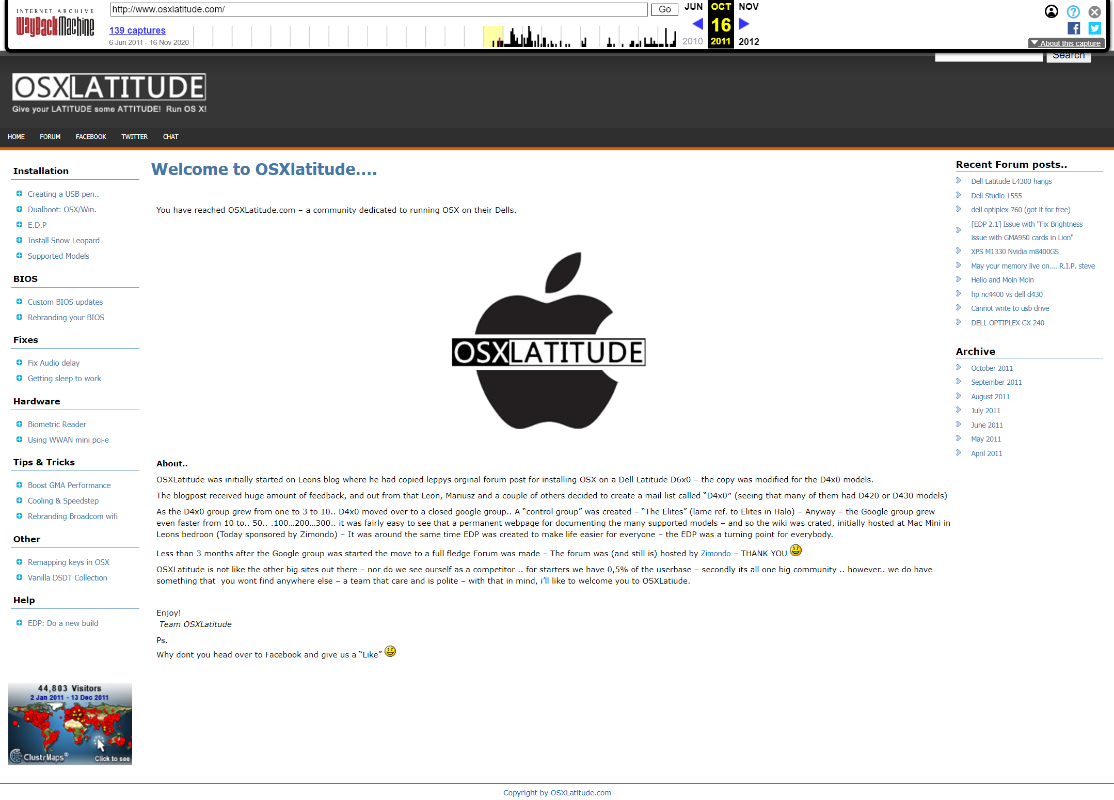
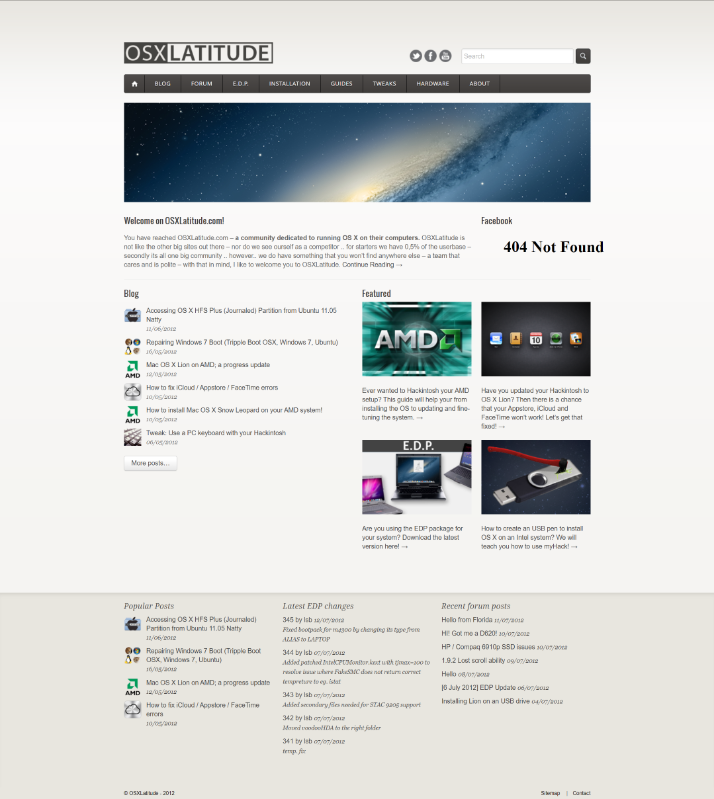
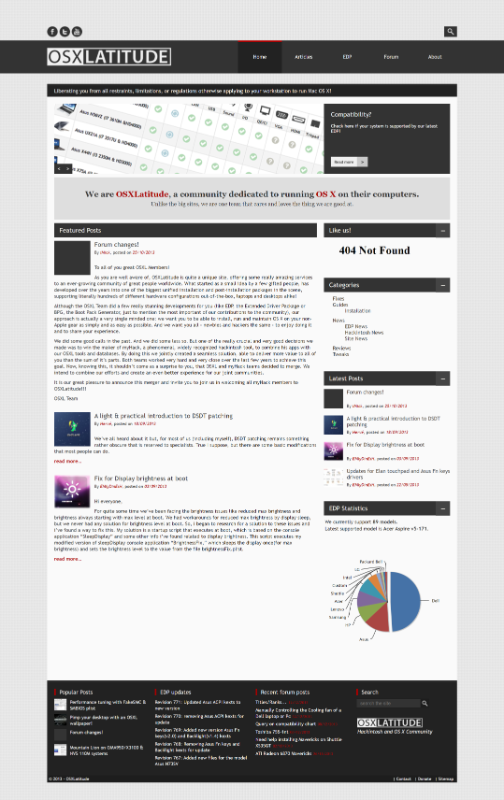
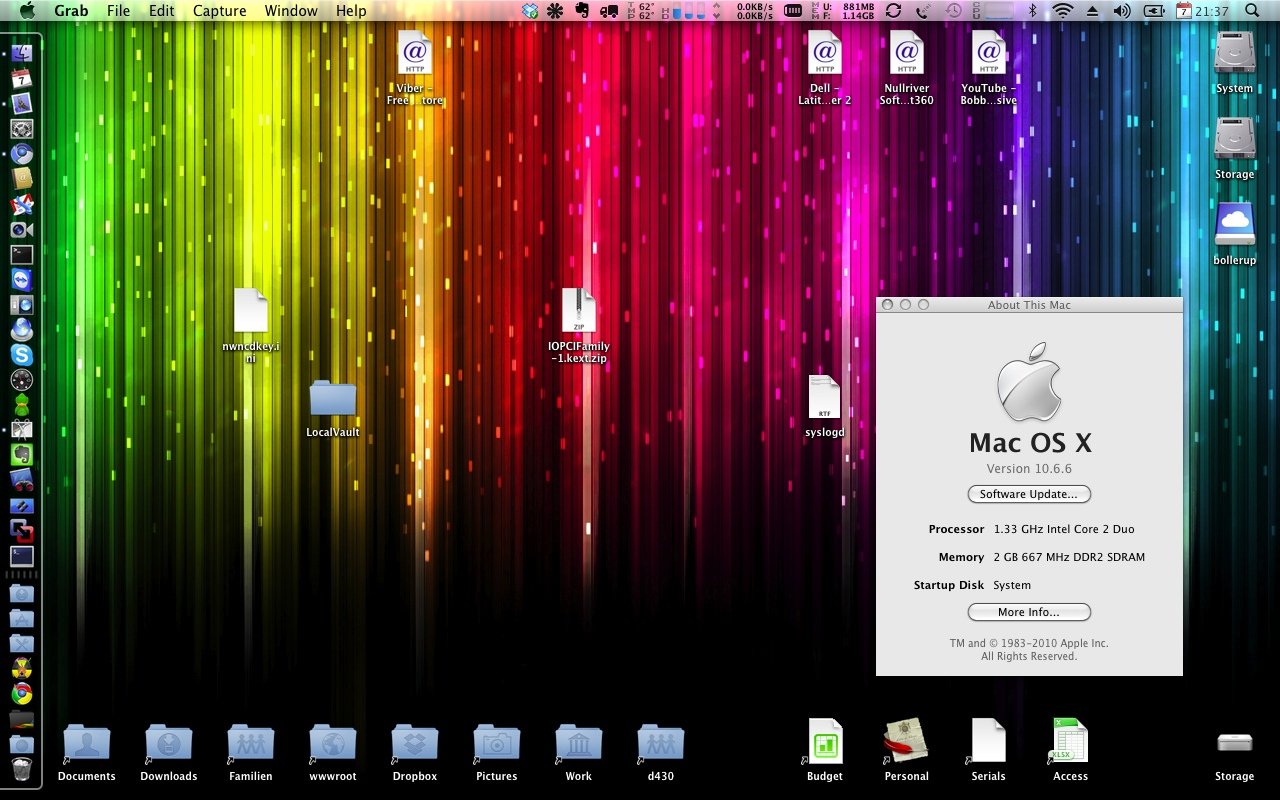
Hi, In the light of celebrating the 10th year anniversary of OSXL - I decided to dig through the waybackmachine. Check it out! Back in 2011 when we launched our first official page, it was with a clear vision of creating a new forum, free of ads, fast and reliable - To some, OSXL was just a nerdy bunch who put together something called EDP that for the most part.. worked.. but as EDP grew so did OSXL. In 2012 iMick took charge of the design and pushed OSXL to a brand new direction - shiny and nice - wordpress was still on the front but the backend is now IPboard (and have been ever since) The year is 2013 and a new design saw the light of day - it was a a nice refresh and brought a more "flat design" - between us, i never liked the "flatness" of things - keep that in mind when you think about the 2020 design - "Return of the angry dane" 2014 brought more updates to the site - among other, the compat. chart for EDP which actually used the database build into EDP - behind the scenes it was some cool shit there. The 2014 design lived with us for a long time with only minor changes along the way... but 2017/2018 brought a new design - sticking to the "flatness". ... and here we are in 2020 - a new fresh design - still running IPboard - still the same vision, a free place on the internet for macOS nerds to hangout, meet and hack the hell out of their machines. I would like to take a minute to say thank you to all of the users of OSXL who have made this journey worth it - but also to the outstanding crew of OSXL - you guys are amazing! Ps. Back in 2010 when OSXL was founded - one of the first machines that was hacked up was a "Dell Latitude D430" - here is the very first screenshot I ever uploaded from that machine.
-
My pleasure - Mario did and extremely good job at fetching beers.. hats of for that.
- 1 reply
-
- 1
-

-
Is the touch screen working ?
-
I would say its a cookie problem .. try in a inconito browser..
-
Source: http://matthewlewis.ca/disable-or-uninstall-synology-6-1-universal-search/ Synology DSM 6.1 has removed File Station from the core and swaps out the Search functionality from File Station into its own individual package. I’ve noticed some users (myself included) have been posting on forums and stated they no use for this package and did not want it installed, and it cannot be disabled or uninstalled via the Package Center. So here are some simple SSH commands (assuming you already have SSH is enabled in Control Panel / Terminal & SNMP) you can execute on your DiskStation to either disable or remove the package permanently. So login into your DiskStation with a ssh client such as PuTTy with your username and password followed by: sudo -i Enter in your account password, you should now be under the root account. To disable: synoservicecfg --disable pkgctl-SynoFinder To remove completely: synopkg uninstall SynoFinder And to logout of root account: logout You will have to logout and log back into the DSM to notice the package has been completely removed! How to stop and uninstall Universal Search? There's a lot of good, more advanced advice here, but the easiest way to do it for me was described on page 2 of this thread by quadcore: Control Panel =>Task Scheduler => Create => Triggered task => Under "General Tab" give the task a name of your choosing, and set "Event" to 'boot-up'. Under the "Task Settings" tab, in the "user-defined script" box, add: synoservice --disable pkgctl-SynoFinder synopkg uninstall SynoFinder (this is optional AK) Reboot, and observe in your Resource Monitor there isn't like 20 'synoelasticd' processes running. It works fine. I add the warning, you do this at your own risk.