Search the Community
Showing results for tags 'i7'.
Found 5 results
-
Hello, I retry the installation of OSX on my Latitude E5450. This model has: · CPU Type Mobile DualCore Intel Core i7-5600U, 2600 MHz · Motherboard Chipset Intel Wildcat Point-LP, Intel Broadwell · RAM: DDR3-1600 DDR3 SDRAM · VIDEO Intel HD Graphics 5500 · Audio Adapter Realtek ALC293 @ Intel Wildcat Point-LP PCH - High DefinitionAudio Controller [F-0] · Network Adapter WLAN Dell Wireless 1707 802.11b/g/n (2.4GHZ) · Network Adapter LAN Intel(R) Ethernet Connection (3) I218-LM · BIOS Properties: Version A11 I already tried before using a tutorial for an I5 version and it did not work. Could you help me solve the problem? I add as attachment the result of the config report of my computer Thank you for your help! Best regardsDELL_LATITUDE_E5450_I7_Hardware_Report_TXT_EN_OK.rar
-
Model: Dell E6220 i7-2620m, 8GB ram, Intel HD 3000 I'm currently following pafkata's guide on running sierra on my e6220 using clover: https://osxlatitude.com/index.php?/topic/9383-dell-e6220-i7-2620m-clover-detailed-guide/ Everything works until the very end of the macOS installer where I get the error "building boot caches on boot helper partition failed". I have tried booting into the SSD anyway but get a boot0af error. Does anyone know how I can resolve this issue? (P.S this is the first time installing Mac on this laptop) Thank you.
-
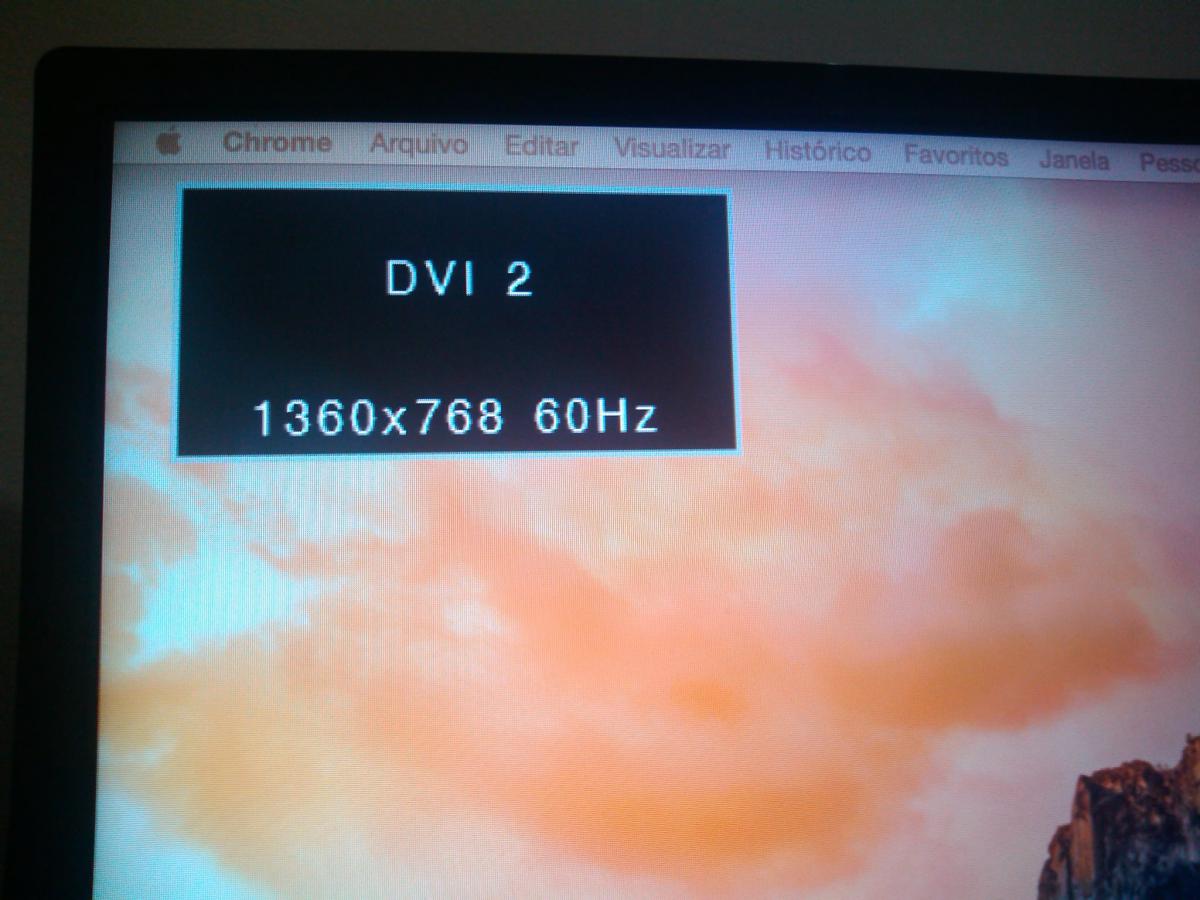
 Good night guys. I have a problem in Yosemite 10.10.2 in my HDMI output, when I connect the Win 8.1 or the Mavericks who had before that instação displayed HDMI on TV now only displays as DVI, HDMI before the audio did not work because I was using VoodooHDA more now that I could configure my AppleHDA for Conexant 20672 SmartAudio HD'm having this problem with HDMI and can not even test if my external audio is working: Detail that before did not apply at Clover Patch for my HDMI work, just installed the AppleIntelFramebufferCapri that comes in the latest Vietnam Tool and it worked using the Mavericks already in need Yosemite apply this patch and the screen is half buggy when you start your Mac with connected HDMI cable: Patch HDMI-DP port HD4000 1600x900 Name: AppleIntelFramebufferCapri Find: 040066010103010100000002 Replace: 040066010102040200000004 Find: 300200000000000001000000400000000000000001000000400000000000000001000000400000000000000000000000 Replace: 300200000205000000040000070400000304000000040000810000000406000000080000060000000000000000020011 It works just like DVI. Already tested several HDMI cables and give the same problem, you may change this Patch solve most do not know what to change it. MY SETTINGS: Dell Inspiron 15r SE 7520 CPU: i7 3632QM 2.2 / 3.2 RAM: 8GB DDR3 1600mhz GPU: HD 4000 2GB (1920x1080 internal LCD) / AMD Radeon 7730m 2GB (I can not turn, but it does not know if you can use it as a discrete GPU al I disabled via DSDT) Sorry my english. Thanks.
-
Credits: Big Thanks to EMlyDinEsH!!! Without his Help, this all isn't possible! IF POSSIBLE PLEASE MAKE A DONATION to EMlyDinEsH!!! Paypal: GUIDE: ================== Credits: Big Thanks to EMlyDinEsH!!! Without his Help, this all wasn't possible! Mirone for Patched AppleHDA! RehabMan for the Haswell Patch and all his Work in the Kext Drivers! The Clover Team!! For that awesome Bootloader! And all others Asus UX301LA Specs: CPU: i7-4558U (2 x 2,8 + 2HT) (Haswell-ULT) (Cache: L1=128KB L2=512KB L3=4MB) GPU: Intel Iris 5100 (Dev=0A2E Ven=8086) RAM: DDR3L-1600 (2x Elpida 4GB / Onboard) Chipset: Intel Lynx Point-LP / HM87 / ICH8(m) Audio: Intel HD (ALC282) SSD: 2x Sandisk X110(SD6) 128GB (M.2/NGFF) Touchpad: Elan V6 (Firmware: 6758151) SD Reader: (Update soon) Wifi: Intel 7260+BT4.0 AC (M.2/NGFF) Bluetooth: Intel 7260+BT4.0 AC (M.2/NGFF) USB: Lynx Point-LP USB xHCI HC Camera: HD WebCam (Ven=1BCF Dev=2987) Touchscreen: Atmel maXTouch Digitizer (Ven=3EB Dev=8A0C)Features: smbios-2.7, dmi-2.7, vsyscall32 Bios Features: pci upgrade shadowing cdboot bootselect socketedrom edd int13floppy1200 int17printer acpi usb smartbattery biosbootspecification uefi BIOS: UX301LAA.204 (09/11/2013) (AMI) Working/Not Working: Audio: (ALC282) Working with Patched AppleHDA HDMI/DisplayPort Audio: Working! USB: Working OTB with Issues. Better: GenericUSB3 Touchpad: Working with: ElanTouchpad Graphics: Working with patched DSDT (Duallink+All Ports Working) Sleep: Working! But after Wake you need to wait 5-10 Secounds! Backlight Keys: Working with patched DSDT & AsusNBFNKeys Backlight Display: Working with Patched DSDT Battery: Working with: ACPIBattery and Patched DSDT SD Reader: Working very good OTB (But no entry in Systemprofiler) HD WebCam: Working OTB (But doesnt turns off after you used it) Touchscreen: Working with Touch-Base drivers! KeyboardFN Keys: Working with AsusFNKeys HiDPI: Doesn't Work on 10.9 (With DisplayOverride) (2560x1440 on 13'3) Wifi: Not working and never will be! You need to change the module! But it's in the NGFF/M.2 Format, there is nothing other out now! Bluetooth: Working! But you can't turn it off! It's working, but always on! (...In Progress...) What do you need? 1. Make a new MacOSX Install "USB-Thumb Drive" ---> You need a OSX Computer or VMware OSX or something with OSX for this Step! ---> You need a "Clean Vanilla OSX Install Drive"!!!! ---> Do not use unifail, or something else! Make it with DiskMakerX or CommandLine! ---> After you successful created your OSX Install Drive, Download Clover! ---> Install Clover to your "OSX Install Drive"! -------> Change Destination --> OSX Install Drive! -------> Customize > Tick only: ----------> "Install for UEFI booting only" / Drivers64UEFI > "EmuvariableUEFI-64" & "OsxAptioFixDrv-64" ----------> Select only this and nothing else! Click Install! ------> Now there should be a new Drive, called "EFI". Open it! ------> Download this Files: ------> NullEthernet, ACPIBatteryManager, FakeSMC, ACPIBacklight, GenericUSB3, ------> EAPDFix, AsusNBFnKeys, ApplePS2ElanTouchpad, AppleHDA, HFSPlus, DSDT.aml ------> Put all that files in a Folder, you need them Later again! ------> Now open again your "EFI" Partition on your "OSX Thumb Drive" ------> Put this files: NullEthernet, ACPIBatteryManager, FakeSMC, ACPIBacklight, GenericUSB3, ------> EAPDFix, AsusNBFnKeys, ApplePS2ElanTouchpad ------> Into: /EFI/CLOVER/kexts (All the files are .kext files) ------> Put DSDT.aml into: /EFI/CLOVER/ACPI/patched ------> Put HFSPlus.efi into: /EFI/CLOVER/drivers64UEFI ------> Delete VboxHFS.efi from: /EFI/CLOVER/drivers64UEFI ------> Download Config.plist and put it to: /EFI/CLOVER 2. You are ready to Install! Start the computer, go in BIOS Settings, ---> Load default settings! ---> VT-d ---> Disable it! ---> Add a new Entry for CLOVERX64.Efi (From the OSX Install Thumb Drive) ---> Change your RAID to AHCI! (OSX doesn't Support intel Raid) ---> Disable "Secure Boot" or Just delete the KEYs! 3. Now Start your OSX Install... Don't need to explain this Step ----> If you get a reboot, and OSX Install doesn't start, you have 2 Solutions: ----> 1. You need to patch the Kernel on the OSX Install Drive (and Later on the installed OSX) ----> 2. You can patch you BIOS with PMpatch! (You can destroy your Laptop!) ----> Solution 1 is Safe, but you need to do this after every OSX Update... ----> Solution 2 is forever, you need to patch this only on BIOS Updates... 4. Now you have Installed OSX! Go & Buy a USB-Wifi Dongle, or use the Lan-Adapter included! ----> Now you need to download Clover again. Install it now on your HDD, click Customize: ----------> "Install for UEFI booting only" / Drivers64UEFI > "EmuvariableUEFI-64" & "OsxAptioFixDrv-64" ----------> "Install RC Scripts for Selected Partition" ----------> Select only this and nothing else! Click Install! ----> Now download Kext Utility and install with Kext Utility only this kexts: ------> NullEthernet, ACPIBatteryManager, ACPIBacklight, GenericUSB3, ------> EAPDFix, AsusNBFnKeys, ApplePS2ElanTouchpad, AppleHDA ----> Download FakeSMC from Sourceforge, install it (Customize -> Check if everything is ticked) ----> Put the HFSPlus to /EFI/CLOVER/drivers64UEFI (And Delete VboxHFS.efi in that folder) ----> Download ssdtPrGen.sh run it in Terminal: --------> "sudo chmod +x ./ssdtPrGen.sh" and "sudo ./ssdtPrGen.sh" --------> now you have on your Desktop a file called "ssdt_pr.aml" (You need only this file) --------> Rename ssdt_pr.aml to SSDT.aml! ----> Put DSDT.aml & SSDT.aml to /EFI/CLOVER/ACPI/patched ----> Customize your Config.plist or leave it how it is and put it to: --------> /EFI/CLOVER 5. You are Ready! You can Reboot and Enjoy your new Mac ----> Read how to Customize everything... ----> ApplePS2ElanTouchpad, AsusNBFnKeys (Have much options...) ----> Clover have much options you can change with config.plist... ----> Search yourself, how to optimize some things Last Update: 25.01.2014 Downloads on GitHub: https://github.com/Ramalama2/UX301_DSDT I have Attached all the necessary files. They are from (25.01.2014) ======================== Original MacBook/iMac Tables: MacBookPro11,1 Firmware Update (MBP111.0138.B03 (EFI 1.3)) MacBookPro11,2 Firmware Update (MBP112.0138.B02 (EFI 1.2)) MacBookAir6,2 Firmware Update (MBA61.0099.B04 (EFI 2.7)) iMac14,1 Firmware Update (IM141.0118.B00 (EFI 2.1)) iMac14.2 Firmware Update (IM142.0118.B00 (EFI 2.1)) You can Download them on GitHub: https://github.com/Ramalama2/UX301_DSDT If you have requests for other Apple Tables, just post, and i upload them! I can upload other Tables from other Laptops/PC's as well! Just request them! Cheers Ux301LA.zip
-
Hi, I used my hack yo create installer but unable to install. I then used unifail method and installed maverick on my usb hdd. but i am not able to use trackpad or mouse so unable to do anything Please help me.The usb ports are working fine Lenovo G580| i7-3612QM 2.2GHz | 6GB DDR3 | intel HD4000 1366*768 ! nVidia 610M not working| Mountain Lion 10.8.5 | Sleep, No