-
Posts
14365 -
Joined
-
Last visited
-
Days Won
871
Content Type
Profiles
Articles, News and Tips
Forums
Everything posted by Jake Lo
-

[SOLVED] E6430 Problem getting clover up and running
Jake Lo replied to firewall's topic in The Archive
attach a screenshot here. -
Yes, you won't see any status when run the sudo touch, you will when you run sudo kextcache. Run the 2 commands a few times until you see a successful message.
-
What's the specs of your system? Did you download the bootpack and added to the Generic EFI folder/Clover folder?
-
run it again until you see this Successfully updated disk0s3. kextcache updated critical boot files, requesting launchd reboot
-
If it's a Realtek reader, it's not supported.
-

Dell Latitude E5530 Installation - Working Approach?
Jake Lo replied to dpw95's topic in The Archive
Boot with verbose mode so you know what's causing the hang. When you see Clover, hit the spacebar and select boot with verbose or with no cache -
Is there any issue with USB ports and if so, what did you do to fix it? Yes, a simple guide for the El Capitan will help others with the same or similar model.
-

El Capitan on 9020 uSFF & boot speed of Yosemite
Jake Lo replied to Snookiwooki's topic in The Archive
Try launching it with Clover Configurator. -
You probably don't have the Windows disk formatted for UEFI. Presuming you're installing Windows 8.1, format your USB disk to Fat32. Extract the entire contents of Windows iso to the USB. It should boot to it then.
- 674 replies
-
Good to know...
-
1) IntelMausiEthernet 2) Yes to enable audio after sleep/wake 3) BrcmPatchRAM2 is for 10.11, BrcmPatchRAM is for 10.10.x and below. 4) Is require for sleep with LID close 5) Type 0x0706 to properly display CPU as i7 instead of unknown. 6) Will need the beta version of SSDTPRgen.sh that support Broadwell. Might have to fix some smart quotes to get it going.
-
yes keep the vanilla AppleHDA.kext. Copy all the kexts in /other/LE to /Library/Extensions and run the permission fix from the guide. you might have to reboot a couple of time for the cache to kick in. HDMI audio won't work until you get audio working first.
-

E6420 El Capitan-Difference between Lo and Hi Res for config./DSDT?
Jake Lo replied to ssprod's topic in The Archive
Try this Archive.zip -

E6420 El Capitan-Difference between Lo and Hi Res for config./DSDT?
Jake Lo replied to ssprod's topic in The Archive
Can you confirm this model doesn't have the Nvidia discrete card? -
Did you run the above commands after you remove the kexts? Did you receive any error when you run the commands? Make sure the vanilla AppleHDA is in /S/L/E
-
You need to remove VoodhooHDA and AppleHDADisabler if you're using this patched kext.
-

El Capitan on 9020 uSFF & boot speed of Yosemite
Jake Lo replied to Snookiwooki's topic in The Archive
Follow my new Clover El Capitan guide here For bootpack, use this Optiplex9020.zip Make sure to disable USB 3.0 in BIOS first Update: New bootpack for El Capitan / Sierra here USB 3.0 enabled!!! -

E6420 El Capitan-Difference between Lo and Hi Res for config./DSDT?
Jake Lo replied to ssprod's topic in The Archive
Your DSDT needs to have dual link Enabled as well. DSDT.aml.zip -
See my new guide here. Yours has the discreet nvidia card so additional patch might be required to disable it in DSDT. Boot to Clover gui, hit F4 and then boot into OS X. Mount the EFI partition and upload the origin folder with all the file from /EFI/Clover/ACPI/
- 1 reply
-
- 7450clover
- kext
-
(and 1 more)
Tagged with:
-
New Clover guide with bootpack for E7440 here.
-
See my new guide here.
-
Try this. Install the 2 kexts to /S/L/E or /L/E, whichever you prefer. Replace with this Config file. Repair permission and rebuild cache. sudo chmod -Rf 755 /L*/E* sudo chown -Rf 0:0 /L*/E* sudo chmod -Rf 755 /S*/L*/E* sudo chown -Rf 0:0 /S*/L*/E* sudo touch -f /L*/E* sudo touch -f /S*/L*/E* sudo kextcache -Boot -U / Inpiron 5548 Audio.zip
-

E6420 El Capitan-Difference between Lo and Hi Res for config./DSDT?
Jake Lo replied to ssprod's topic in The Archive
Enable dual link under Graphics in Clover Config file. Set it to 1. -
Try booting without cache ( hit the spacebar and select it from the drop down) Reboot to normal and see it audio works. Need to verify cache is working. Clover patch on-the fly won't work unless cache is working properly.
-
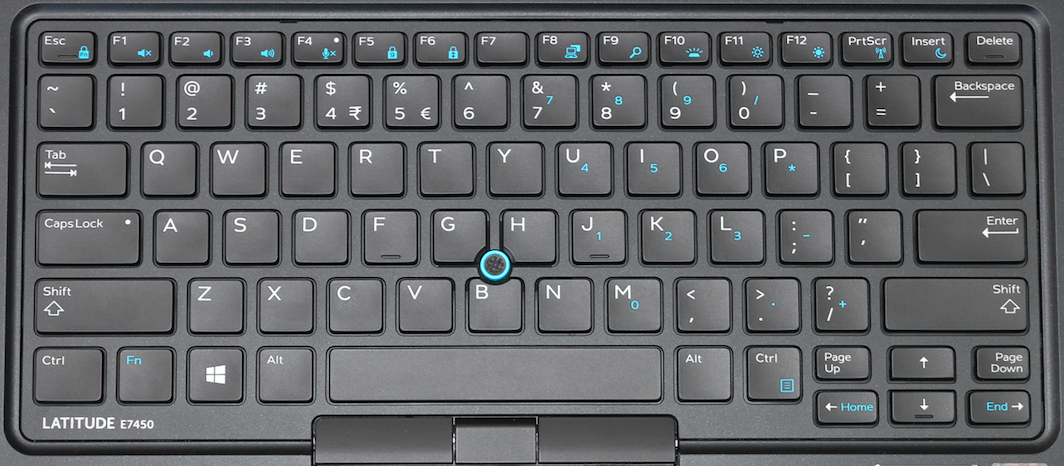
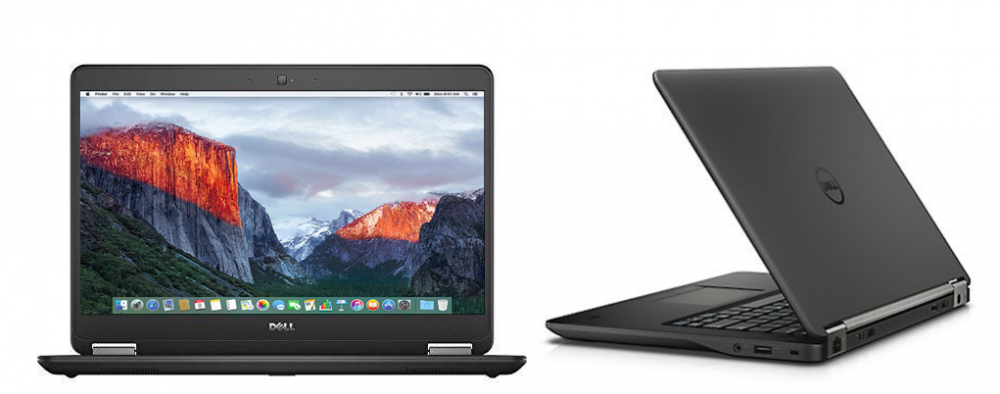
El Capitan Guide Specifications: Processor : Intel Core i7-5600U Processor (4M Cache, 2.60 GHz) Graphics Processor(GPU) : Intel Integrated HD Graphics 5500 Chipset : Intel 5th Generation Wildcat Point LP chipset Storage : Samsung PM851 256GB mSata-SSD RAM : 16GB DDR3L 1600 MHz DIMMS Wifi : Intel Wireless Gigabit Ethernet 802.11AC (M.2, 7265AC), Bluetooth 4.0 LE LAN : Intel I218-LM3 PCI-E Gigabit Ethernet Adapter Audio : Realtek High Definition Audio ALC293 (ALC3235) USB 3.0 : Intel Wildcat Point-Lp - USB 3.0 xHCI Controller Touchpad : Alps Multi-touch Touchpad v8 Hardware Webcam : USB3.0 UVC HD WebCam Card reader : O2 Micro OZ777xxx/OZ62 PCI-E Card Reader Monitor : 35.5cm (14) FHD (1920x1080) Anti Glare (16:9) WLED, 300 nits, Magnesium LCD back Battery : 3Cells 40 Whr Lithium Polymer battery with ExpressCharge Interface : 1 x Microphone/Headphone Combo jack 1 x Mini DisplayPort for external monitor 3 x USB 3.0 port(s) 1 x RJ45 LAN Jack for LAN insert 1 x HDMI Working: Graphics with Acceleration Audio with patched AppleHDA Bluetooth /Wireless (Replaced with DW1560) HDMI Audio/Video mini Display Port LAN USB3.0 Webcam Battery Fn Hotkeys SD Card reader Alps Touchpad / Trackstick Sleep, Processor P&C-States with Native power management Not working: Finger Sensor, smart card reader if you have one Prerequisite: Set DVMT to 96MB (0x3) Source => FireWolf's guide. Steps to change the DVMT value (Done on Windows or WinPE) 1) to backup the BIOS (DellInc.-A10.rom): Universal BIOS Backup ToolKit 2.0.exe.zip At time of writing - BIOS version E7450 A10 2) UEFITool.exe to find the module labeled SetupPrep and extract the PE32 image section (setup.bin) Update: For Dell Only: Search with this GUID then extracting the PE32 body under it would be faster /easier than finding the module per guide 899407d7-99fe-43d8-9a21-79ec328cac21 3) Universal IFR Extractor.exe to extract setup.bin to a readable text file 4) Use notepad to search for "DVMT" in the text file, 2 were found at 0x15b and 0x15c Both with value of 0x1 and need to be set to 0x3 5) Format a USB drive to fat32 and create a folder name EFI (SD Card works too) 6) Download the EFI Shell and extract the Boot folder to EFI folder i.e.. /EFI/Boot/bootx64.efi 7) Boot system with the USB and select UEFI Boot At the grub prompt, enter these commands, hit enter after each command, then exit and reboot setup_var 0x15b 0x3 setup_var 0x15c 0x3 To verify, just enter setup_var 0x15b and hit enter, the value will be listed Note: Settings retained even after BIOS update and no need to rerun again But will reset if you select Restore Settings in BIOS!!! /!\ New Development: If you don't want to mod the BIOS as it might be difficult for some models, you could skip this step by adding 2 new kexts to /EFI/Clover/kexts/Other Lilu.kext & Whatevergreen Installation: See here with Bootpack Post Install: Enable Brightness Control and Trackstick Scrolling Trackstick Scrolling Download and Install Karabiner Launch Karabiner/Preferences/Change key/Point Devices/CursorMove to ScrollWheel Enable MiddleClick+CursorMove to Scrollwheel Brightness Control Launch Karabiner/Preferences/Misc & Uninstall Under Custom Setting, click Open private.xml Replace file with the attached -> private.xml.zip Go back to Change Key Tab and select 'Reload XML' The new custom file will show on the very top call 'Remap Brightness Key' & 'Remap Volumes Key' Place the check marks there. Now Hit F11 & F12 for Brightness, hit F1, F2, & F3 for Volumes Control (Keyboards with same/similar layout will work with custom xml above too) Note1: Personally use SmartScroll for Trackstick scrolling with Inertia. Don't really use Touchpad, 2 fingers scrolling and tap and drag does work. Note2: Please use this beta version of ssdPRGen.sh for Broadwell system Credits: FireWolf, Joe82, EmlyDinEsh, Bronxteck, Hervé, Rehabman, Piker-Alpha, Sontrg, toleda, Dr. Hurt, Clover Team, ...anyone involved with getting Broadwell supported


